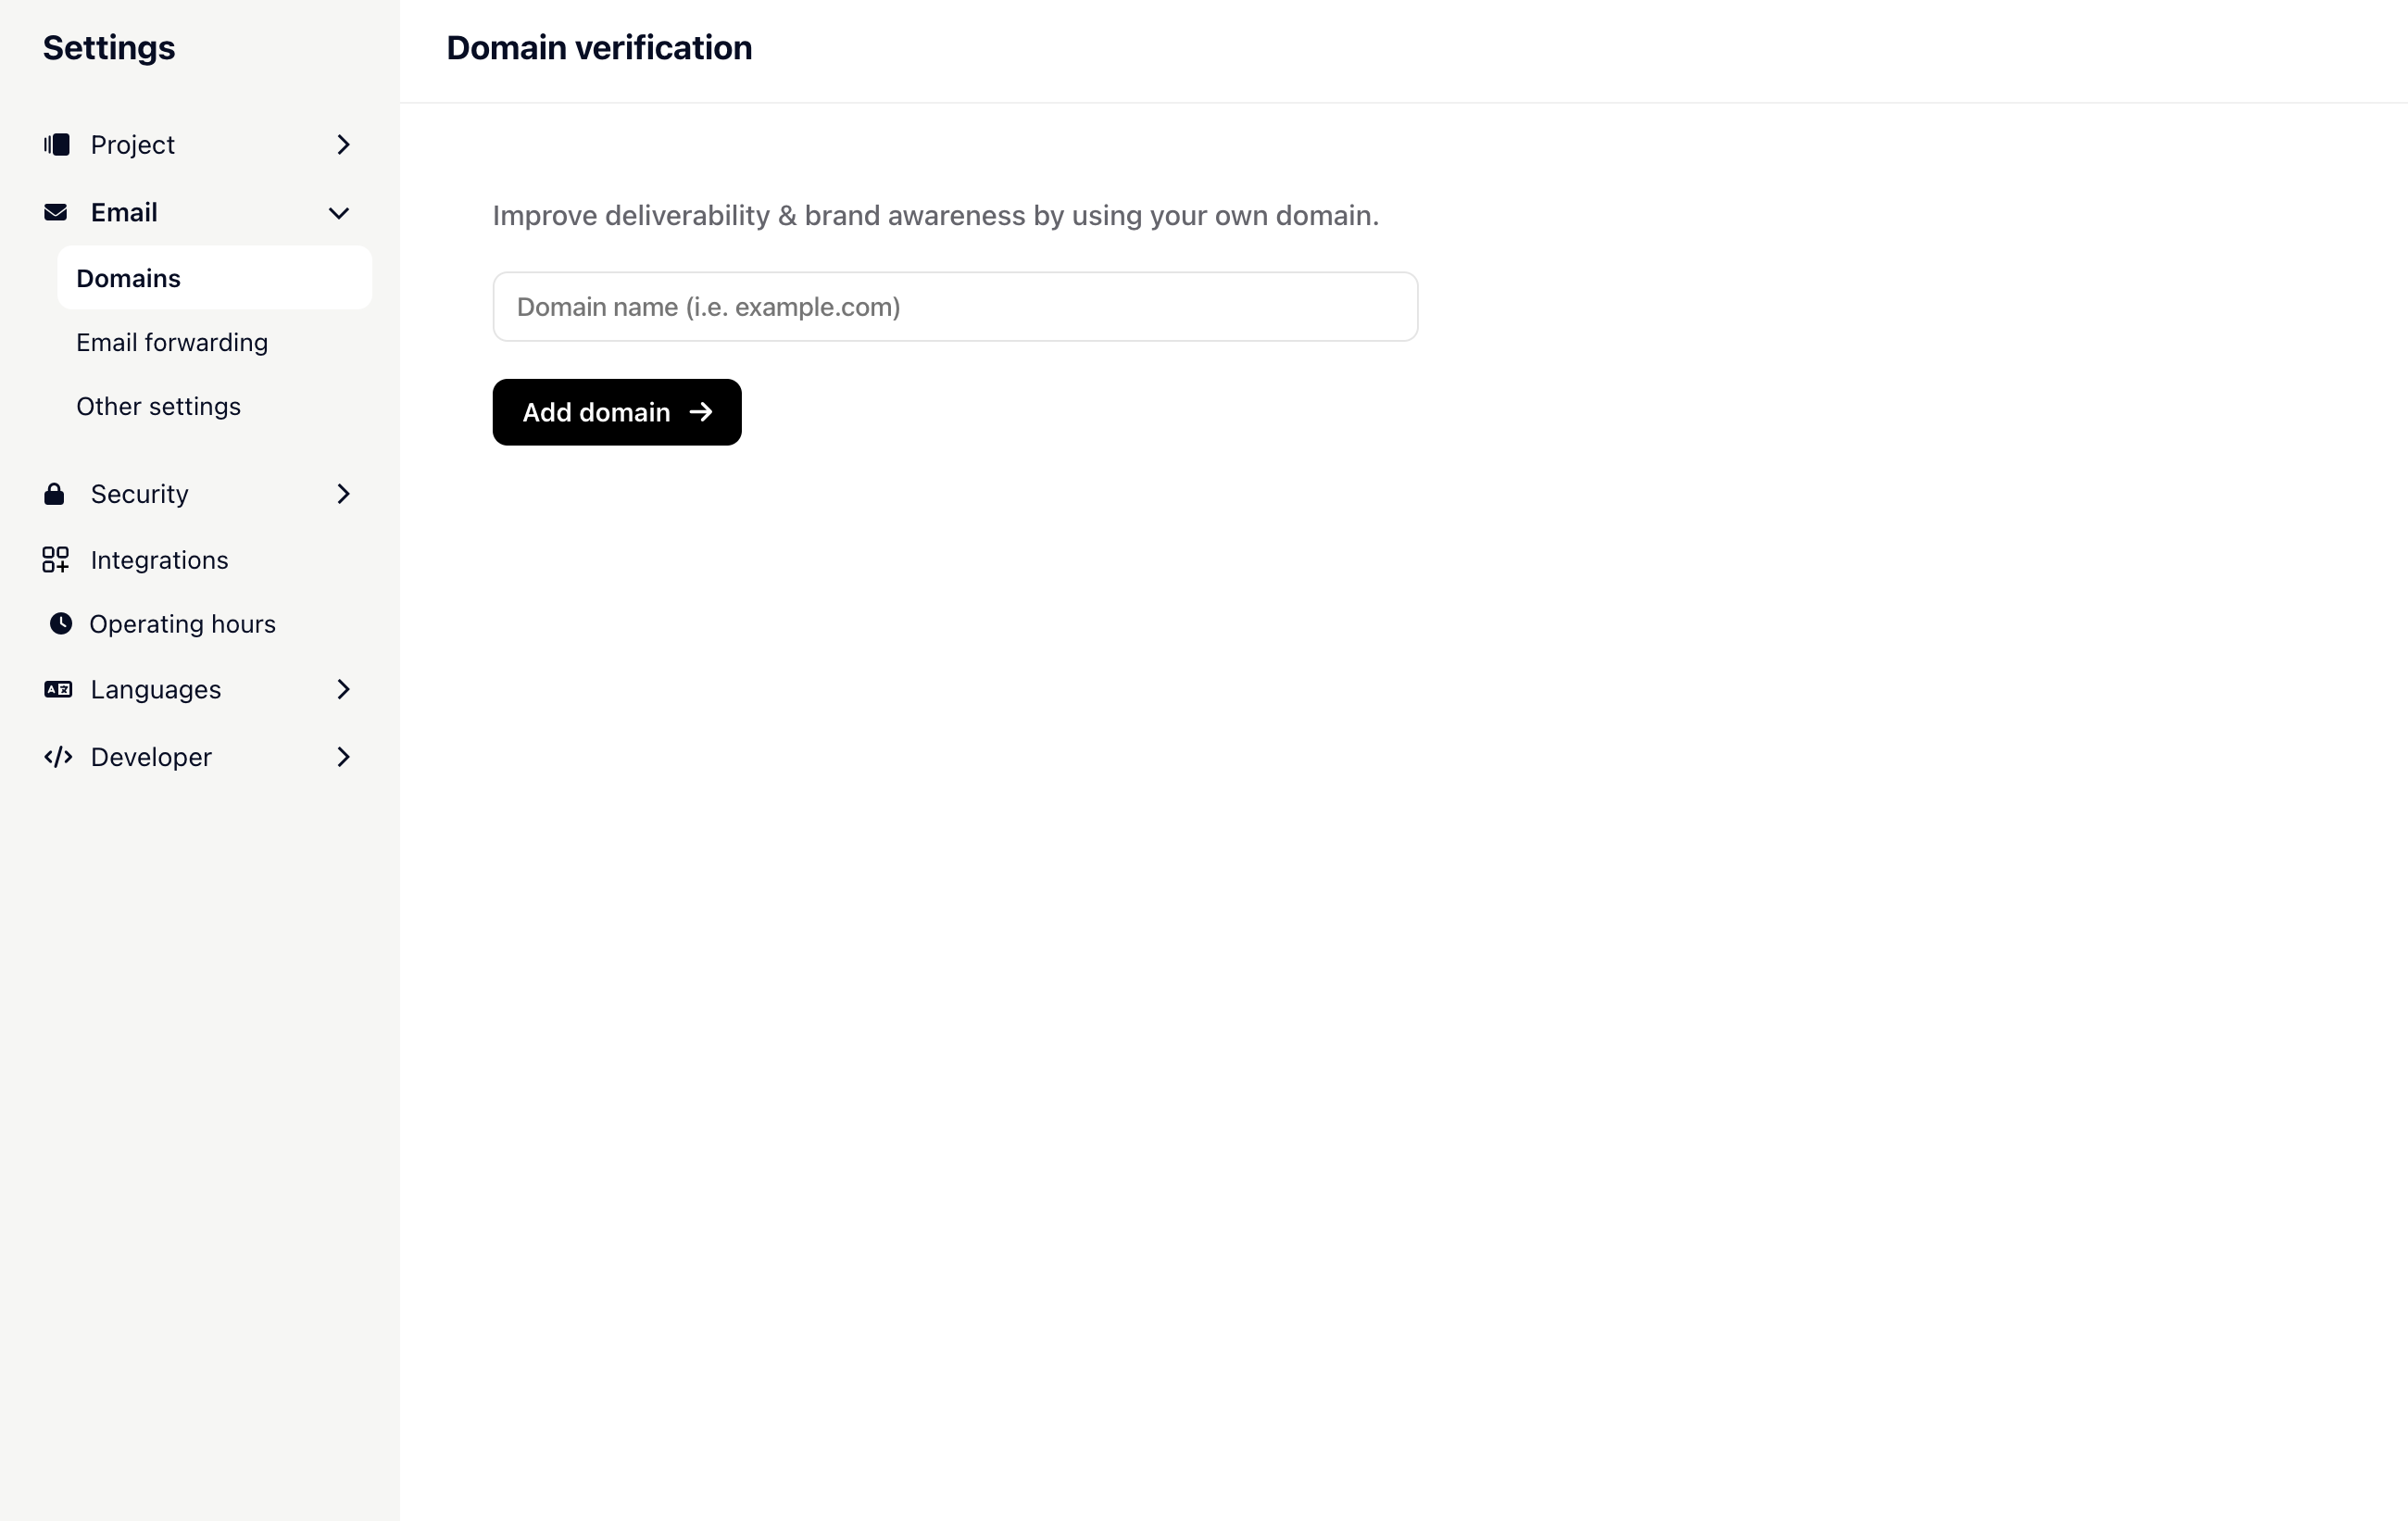
Here you will learn how to set up and verify your own email address using your domain to achieve a serious and professional email presence.
Go to settings and look for the "Domain verification" option.
Enter your domain and click "Add domain".

After you add your domain, you get information about the required DNS entries. You need to make two entries with your hosting provider: one of TXT type and one of CNAME type.
Copy the "Hostname" and the "Value" for the CNAME record and the TXT record.
Log in to your hosting provider and locate the DNS settings.
Add a new DNS record and select the "TXT" type. Paste the "Hostname" and "Value" you copied earlier.
Now copy the "Hostname" and "Value" for the CNAME record.
Add another DNS record, select the "CNAME" type, and paste the copied "Hostname" and "Value".
Return to Gleap and click on "Verify domain".
Please note that it can take up to 48 hours for the DNS changes to be detected.
After successful domain verification, you can now change your sender name and sender email address.
After following these steps, you have successfully set up and verified your own email address using your domain. You can now send emails with a serious and professional appearance.
Please note that the exact steps may vary depending on your email provider and hosting provider. If you have any questions or problems, please contact Support for further assistance.