To initiate the survey creation process, navigate to the "Outbound Messages" section within Gleap. You can do this by either selecting "All" under Outbound Messages or by filtering for "Surveys" on the left-hand side of the interface. Then, locate the "New survey" option in the top-right corner of the screen.
After selecting "New survey," you will have the option to choose from various survey templates or start from scratch. The available survey templates include:
Net Promoter Score® (NPS): Measure customer loyalty and satisfaction.
Product Market Fit: Assess the fit of your product in the market.
Understand Why Customers Leave: Gather insights into reasons for customer churn.
Product Satisfaction Survey: Evaluate user satisfaction with your product.
Learn About New Users: Understand the needs and preferences of new users.
Generate More Leads: Collect information to boost lead generation.
Once you've selected a survey type, you can proceed to customize it according to your requirements. This includes defining the survey questions and response options. Gleap provides flexibility in designing your surveys to gather specific insights.
In the top-left corner of the survey creation interface, you'll find options to integrate various survey tools. You can add and configure these tools to enhance the functionality and data collection capabilities of your surveys.
By following these steps, you can effectively create and deploy surveys to gather valuable feedback and insights from your users using Gleap. Survey templates streamline the process, while customization options allow you to tailor surveys to your unique needs. Additionally, the integration of survey tools provides additional functionality for data analysis and reporting.
Of course, survey questions and options as well as scales need to be translatable to other languages. This can easily be achieved by clicking on the language tab that appears above the question field, for example. Doing so, will guide you to all translations. Pick the language you’d like to translate the questions for on the top and you’re good to go.

Next up is the options tab. Here you can set further options for your survey. First, you can choose whether you want the survey to appear in a small box or using the large format. Second, you can decide if you want to collect users’ emails and enable the privacy policy check. Also, you can decide if you want the survey to appear in one single page or step by step. Single page basically means that all the questions you’ve set in the first step will appear at once, which deactivating this toggle will make them appear question by question.
In order to effectively communicate with customers who use your product or service, it is often necessary to send them the same messages multiple times, particularly when a specific event occurs or they take a particular action. For instance, you might send them a message once a customer signs up.
Event-based messaging provides a solution to this issue. By setting up an outbound message (email, chat-message, survey) that is triggered whenever an event is detected.
Start by creating (or editing) a new outbound message. We are creating a new survey for the example.
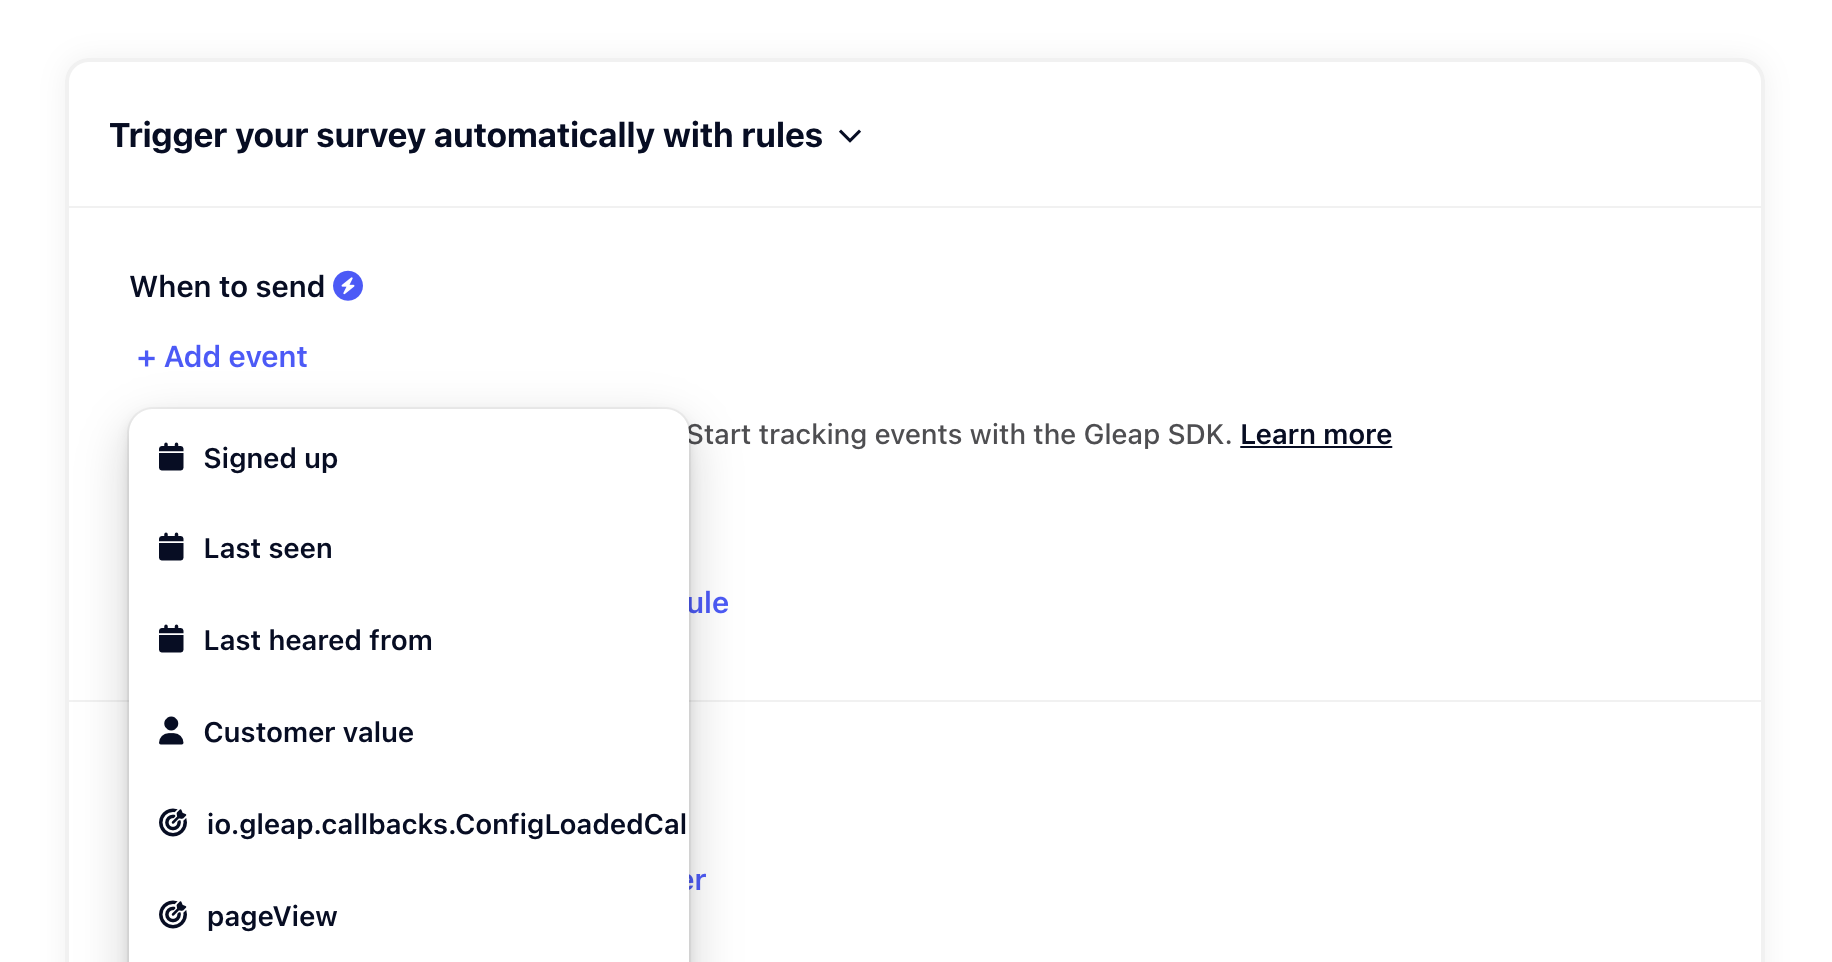
Every outbound message has one primary trigger. This can either be a predefined Gleap event or a custom event triggered by you through the Gleap SDK.
To get started, click on "+ Add event" and choose the desired event.

For our example we want to send the survey to all users that signed up more than 2 days ago. For this we will choose the predefined event "Signed up".
Predefined events are available by default. They get evaluated every time the user starts a new session (this usually means on app load).
Custom events are tracked through the Gleap SDK. You can track up to 120 different custom events. If you track more than 120 different custom events, Gleap will ignore new custom events until you clean up unused events.
Custom events get evaluated at the exact moment they get tracked.
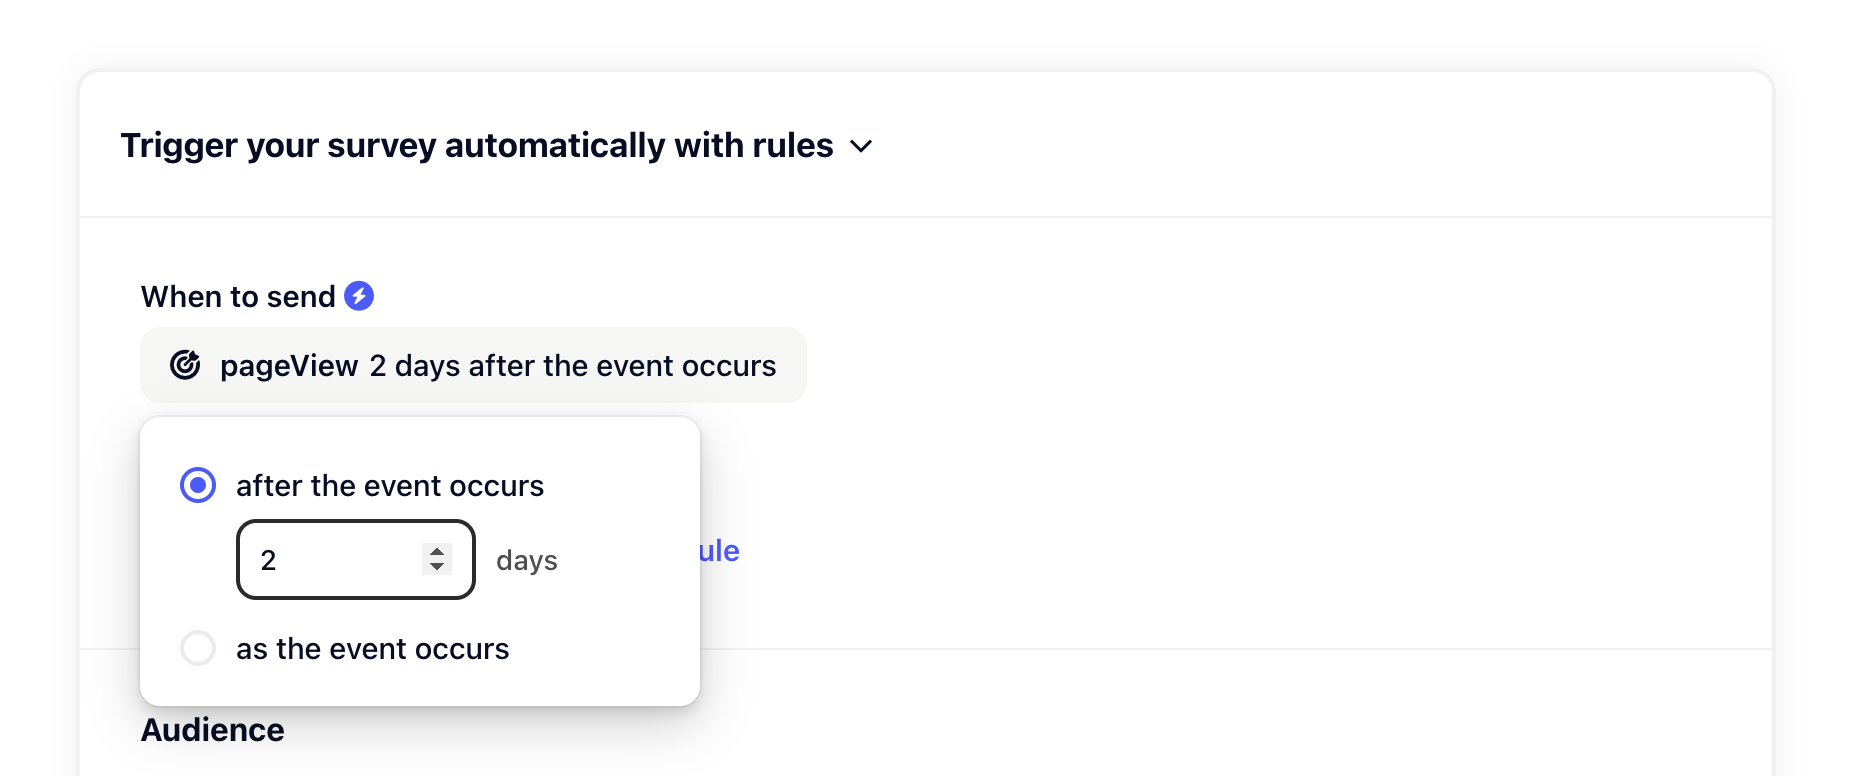
It is possible to delay the trigger. If you want to send a survey based on an event, but delayed, simply choose "after the event occurs" and choose the amount of days.
The event will then be scheduled for sending after the entered delay.

If you want to send your outbound message only to a specific audience (for example guests that signed up more than 5 days ago), you can do so by setting up some audience filters.
Please note: Audience filters only filter sending the outbound message. They don't trigger the message. If you don't specify an outbound trigger, the message won't be sent. Audience filters serve to filter outbound messages, so they can be delivered to the audience you want to target.

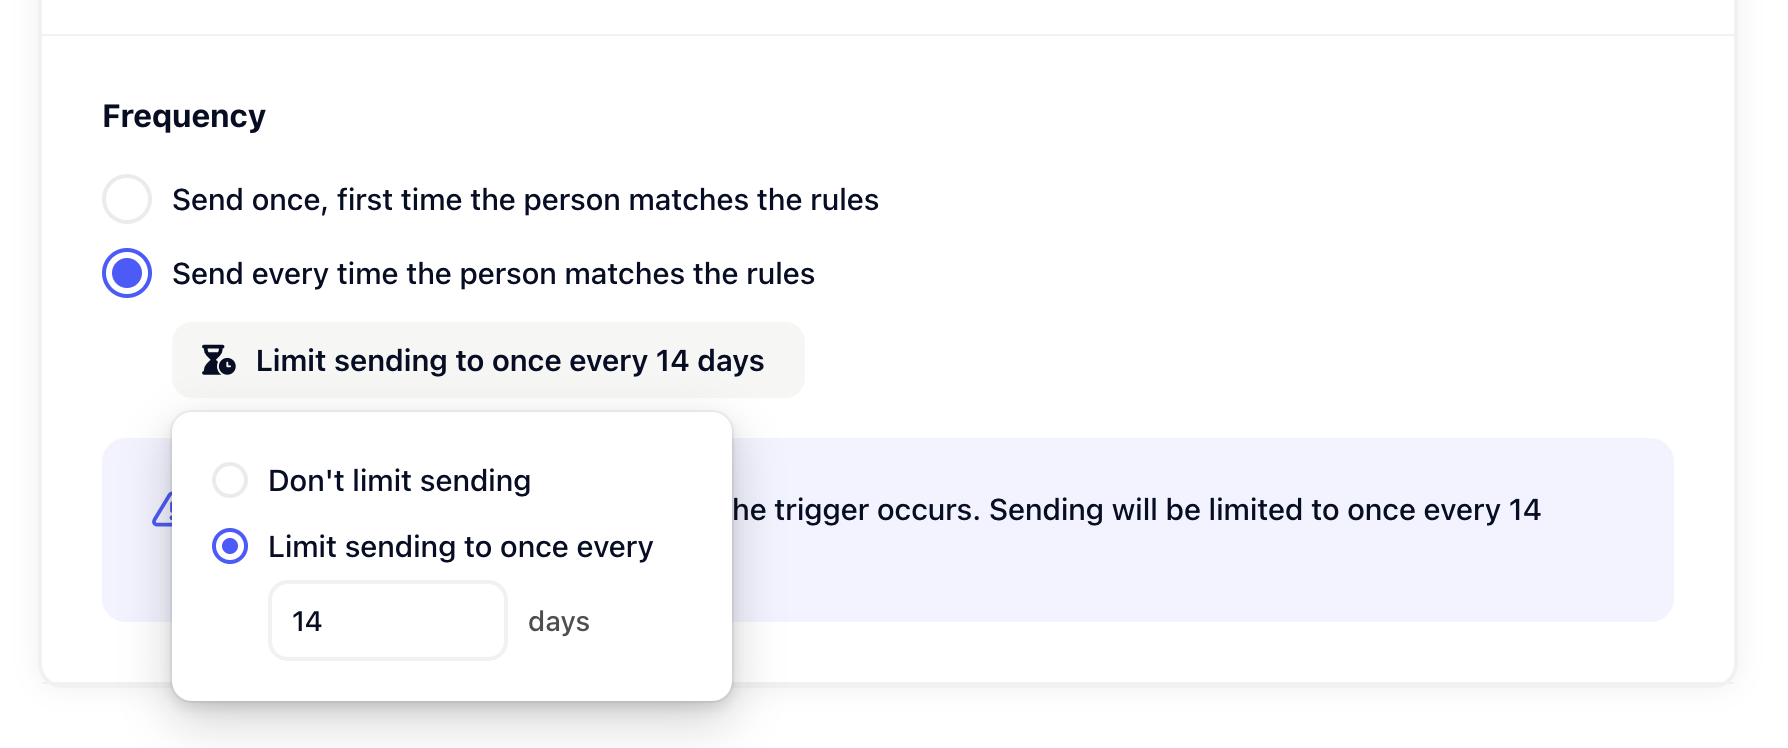
In some situations you want to control how often the outbound message gets sent. For example: You probably want to send an "Welcome" message to users after they signed up only once, whereas you want to send an NPS survey every 45 days.
This can be controlled with our frequency settings.
