This concise guide outlines the process of customizing contact fields in the software. It covers accessing settings, navigating to "Data attributes," selecting the "Contact" tab, adding new fields, choosing data types, and confirming and saving changes.
Click on the settings icon within the software interface.
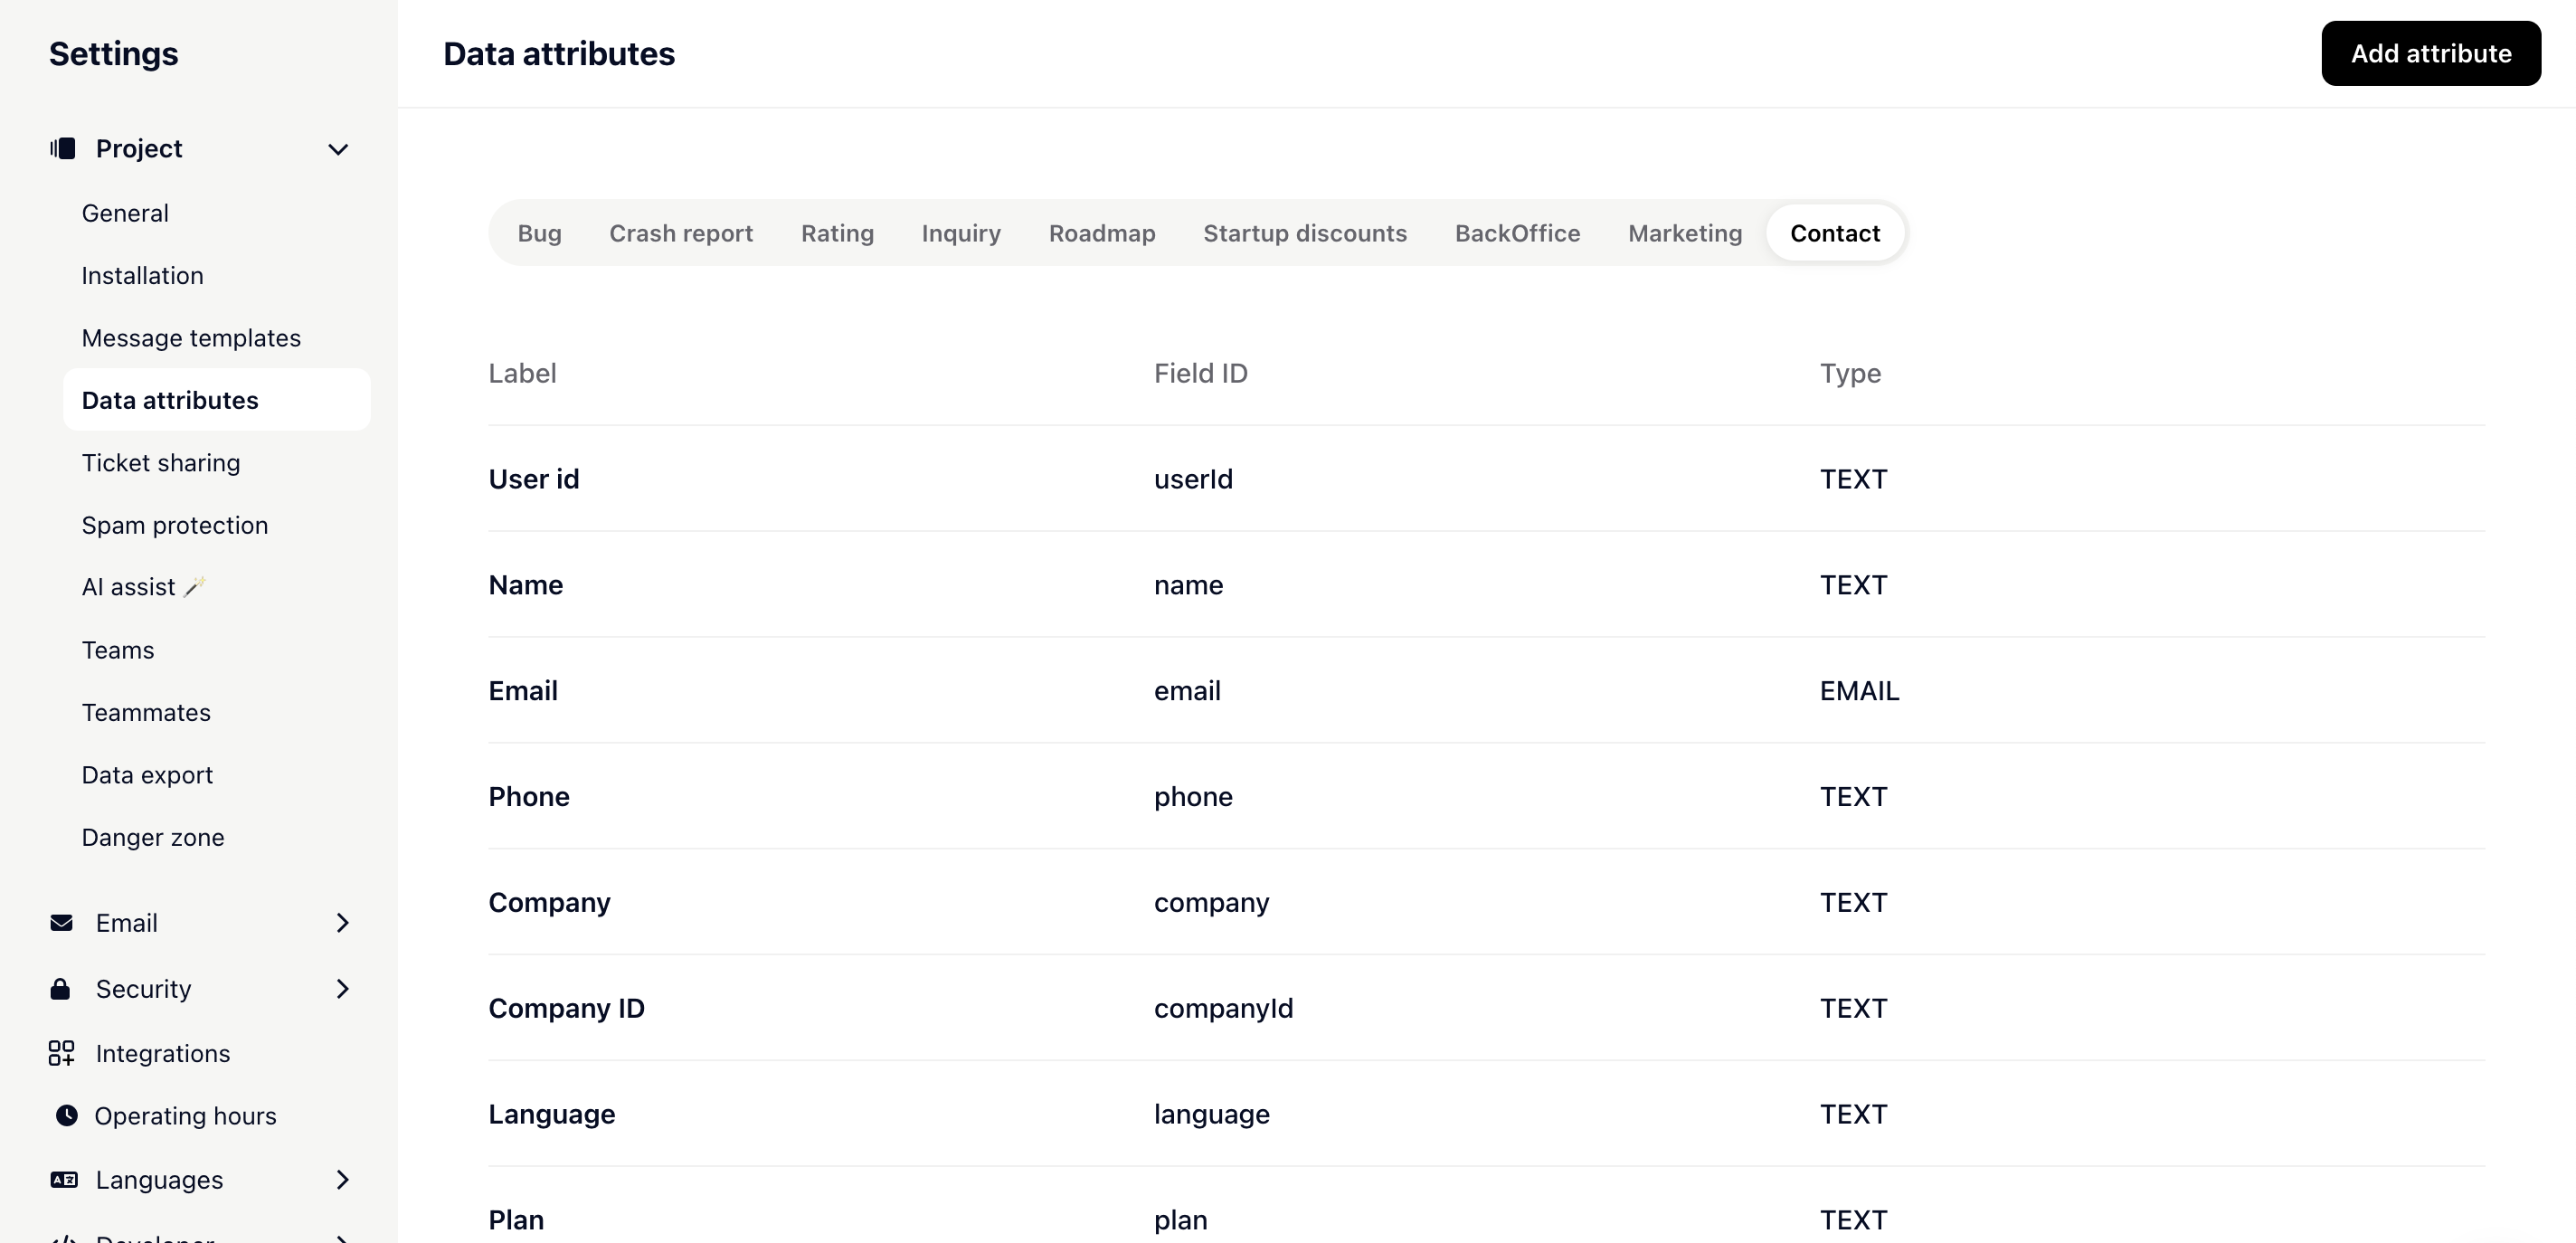
In the settings, locate and click on the option labeled "data attributes."
Within "data attributes," navigate to the "Contact" tab.
Here, you have the option to add new fields. Click on the "Add attribute" button to create a new field for your contacts.
Select the type of the new field from the available options. This could be, for example, text, number, date, or any other specific type of data you want to capture.
Confirm your selection and save the changes made.
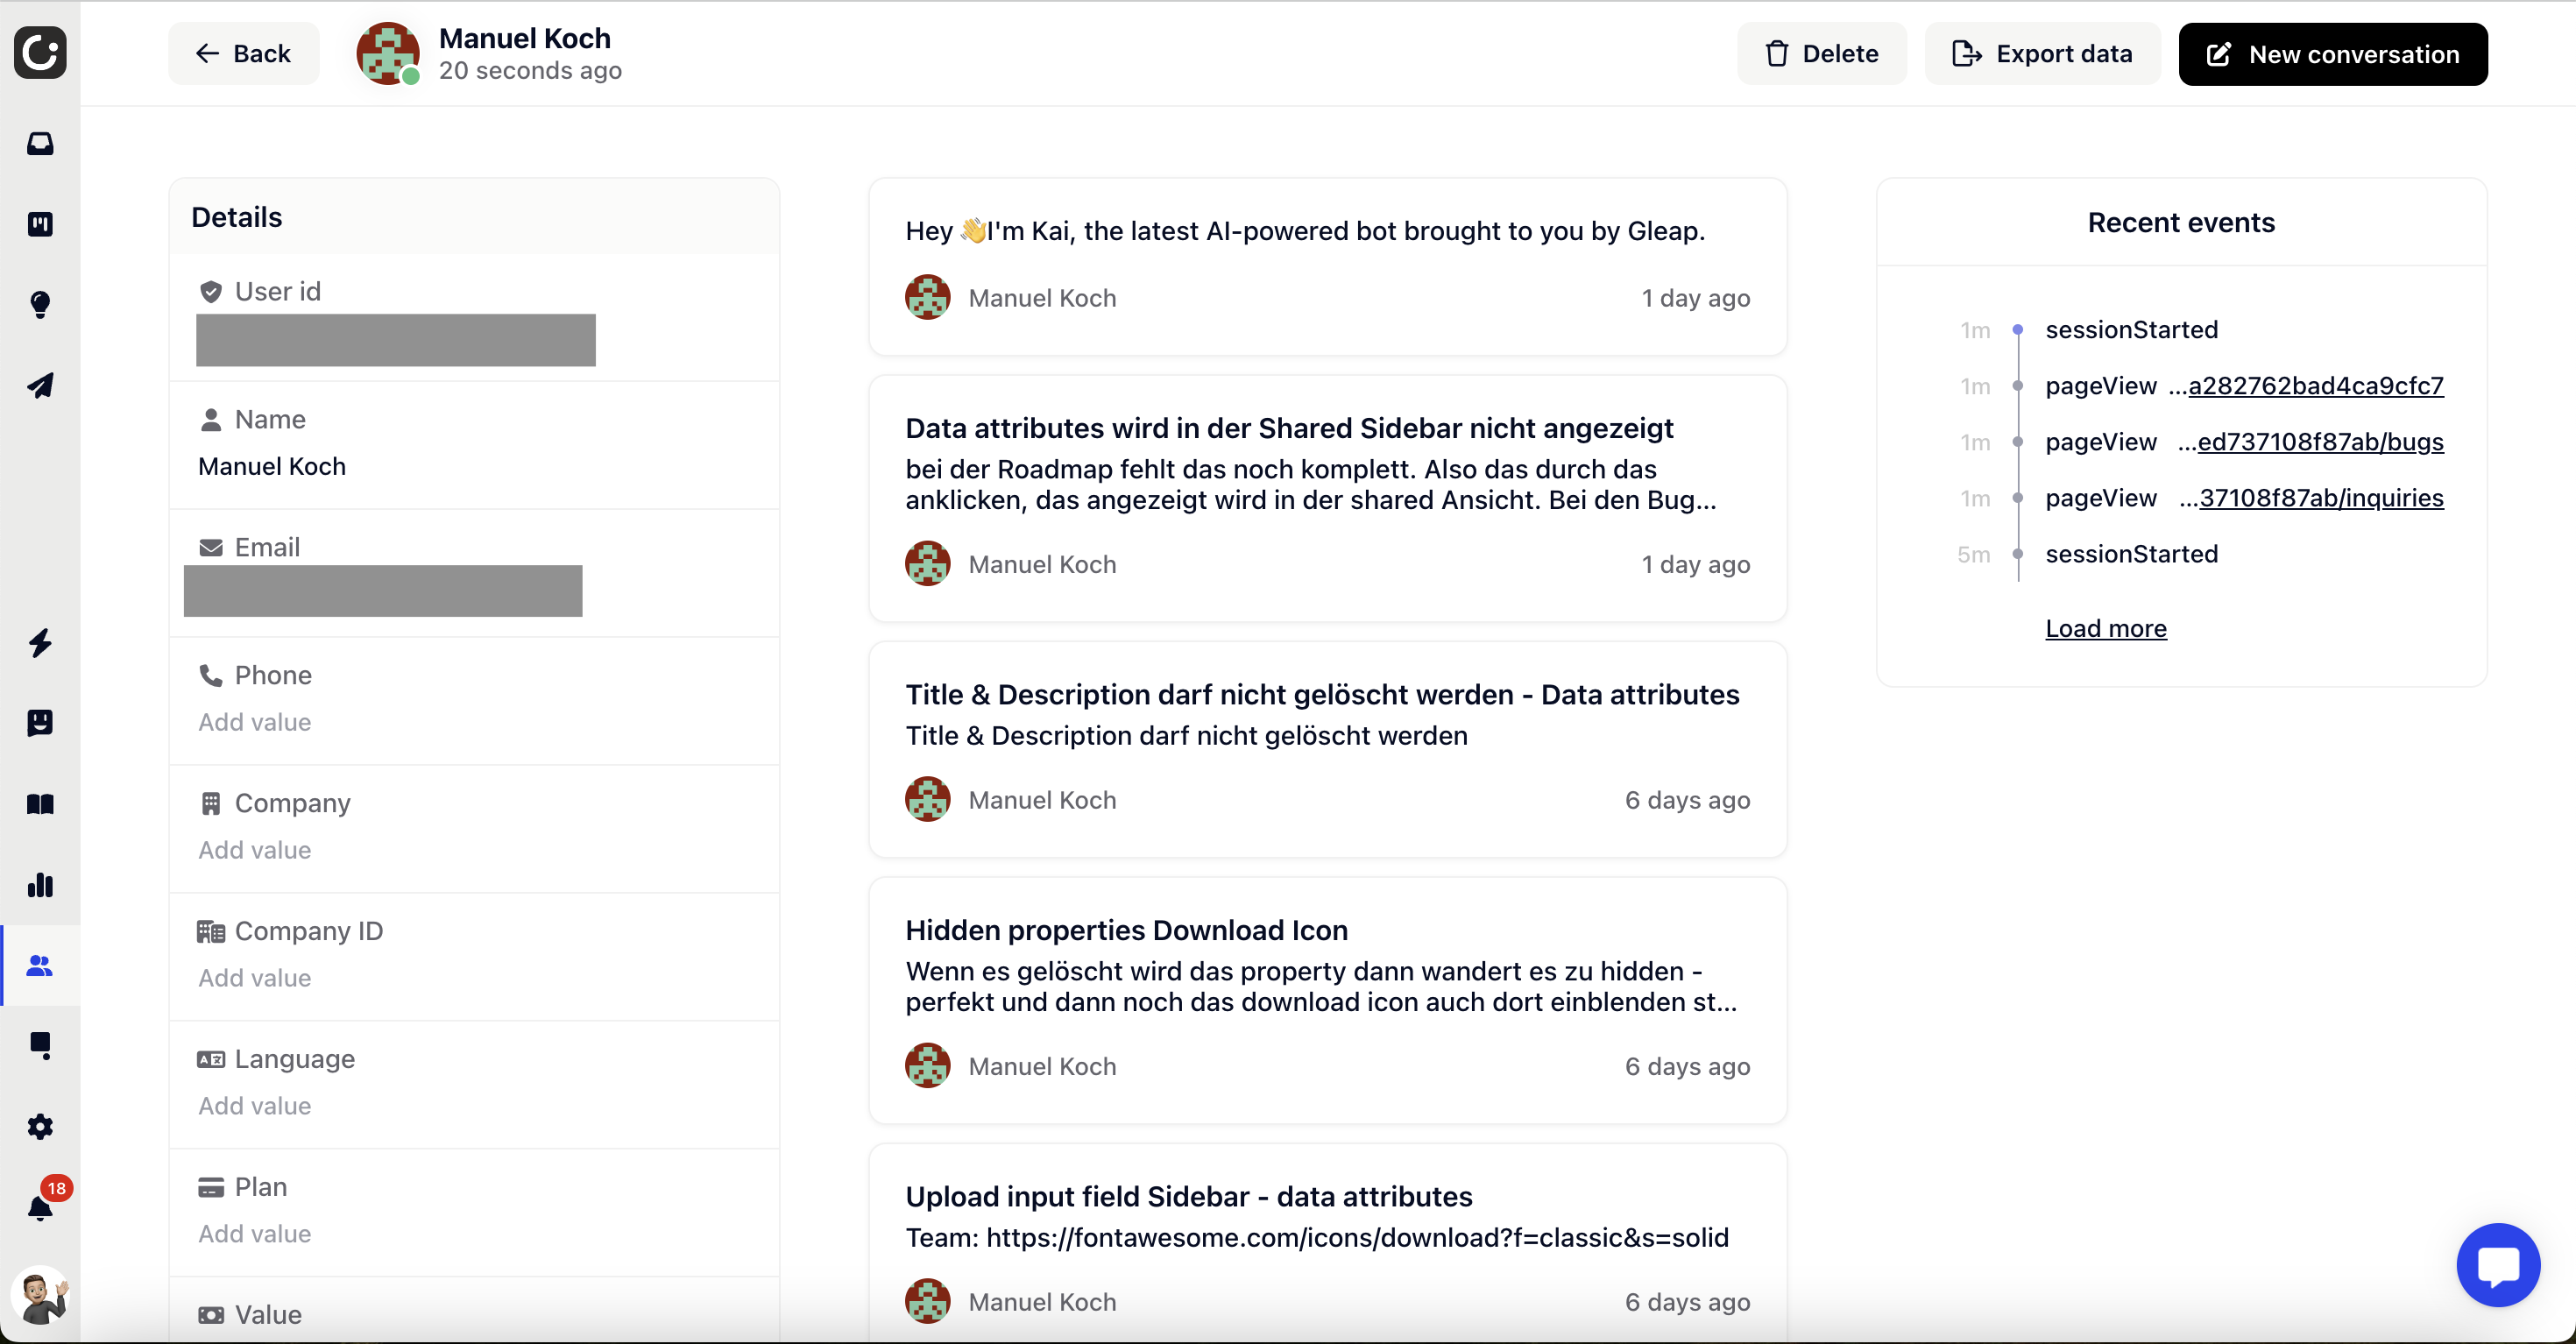
You can set a contact's language using the default language field. Set this field to a standard language code such as en, en-GB, de, de-AT, de-CH, etc. If the language code is invalid or not set, the language automatically falls back to your primary project language, which you can configure under Settings → Languages → Primary Language.