Tools are no-code and deeply embedded integrations that can connect your live external data with Gleap. This live data can be used to power AI responses allowing your customers to self-serve their queries automatically.
A great way to get started is to think of common questions that your teammates spend considerable time answering, using information currently not available in Gleap.
These can be questions where your customers simply want to get information that you store on an external system such as, "What is my order status?", or take actions like, "Reschedule a delivery" or "Process a refund" in your external system.
When you know which questions you want to solve, it's surprisingly simple and quick to set up a Tool with little to no technical expertise.
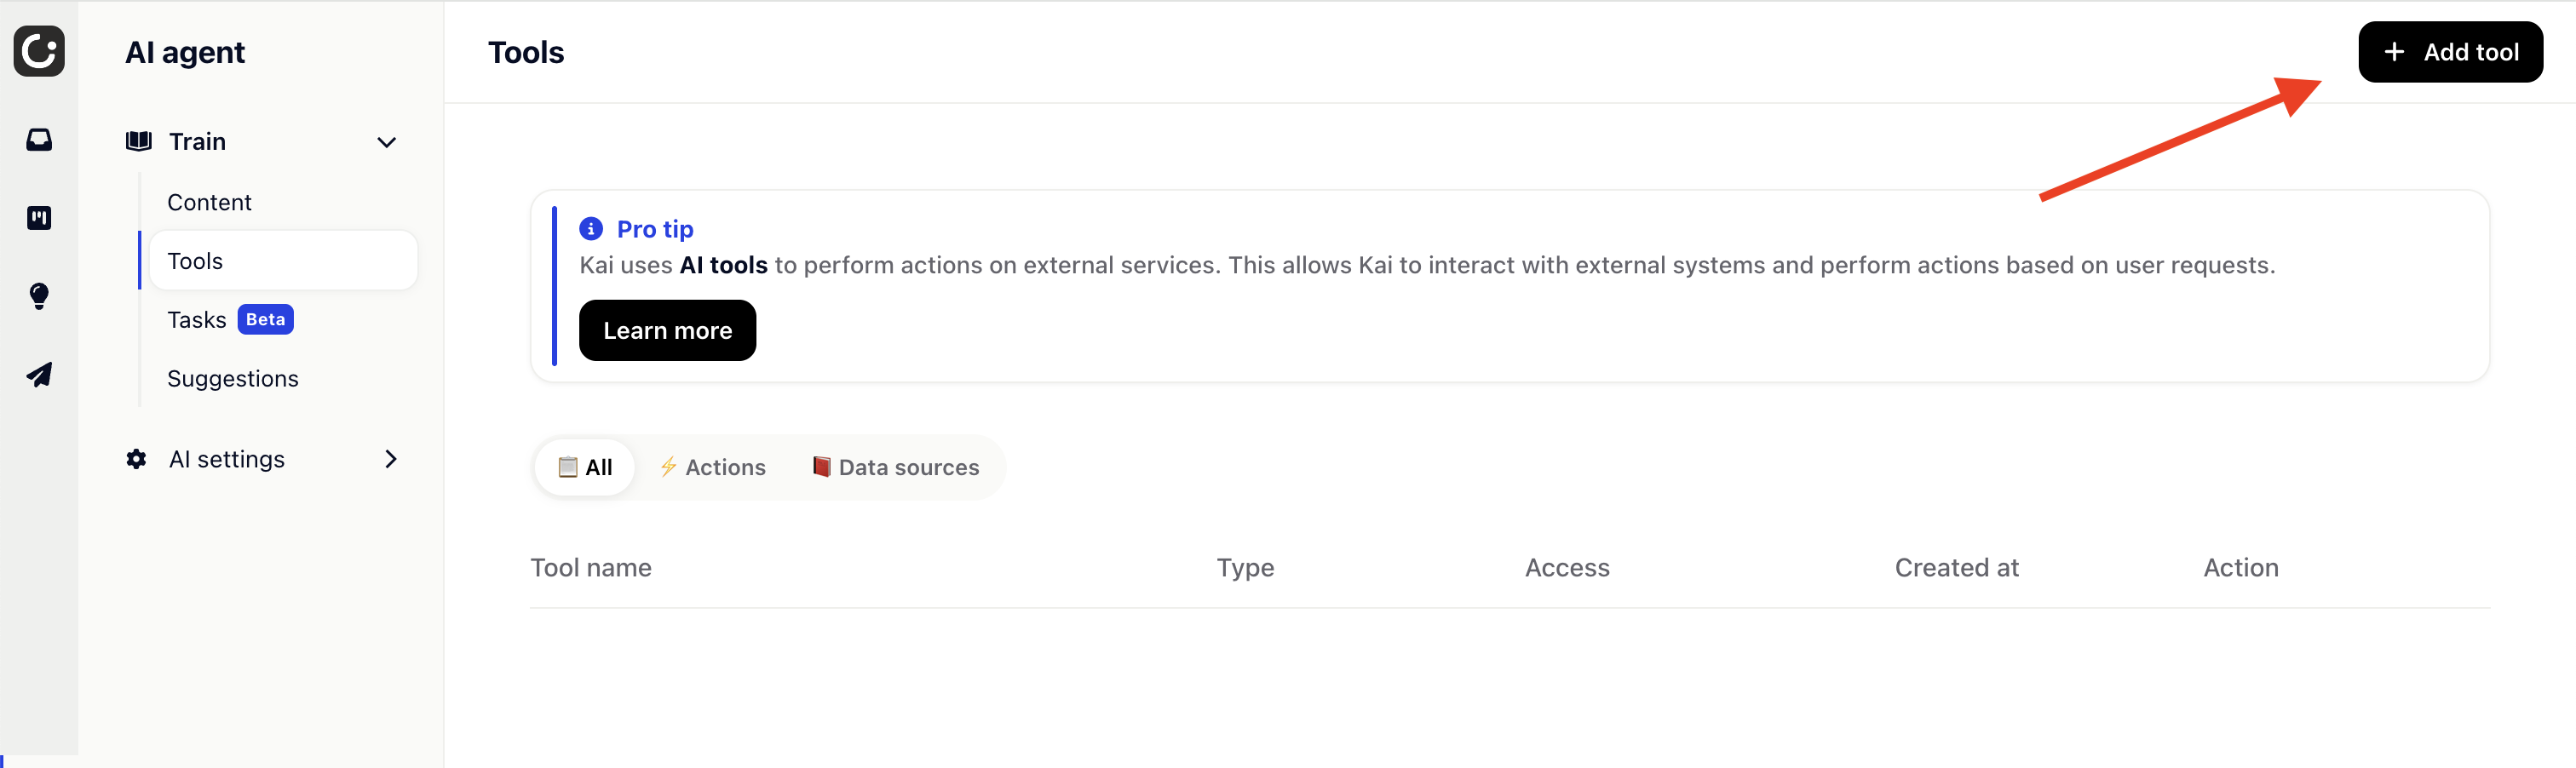
First, navigate to AI agent > Tools.
This is where you'll set up all the different connections you have to external data (e.g. Shopify, Salesforce, etc.) depending on your use case. Click “Add tool” to get started.
Give your Tool a unique name that explains exactly which action it will be taking (e.g. "cancel_subscription"). Use the description field to tell the AI when to use this tool and what information they can expect it to fetch.
Example:
Use this tool to cancel a subscription.
Examples:
Cancel my sub.
I’d like to cancel my subscription.

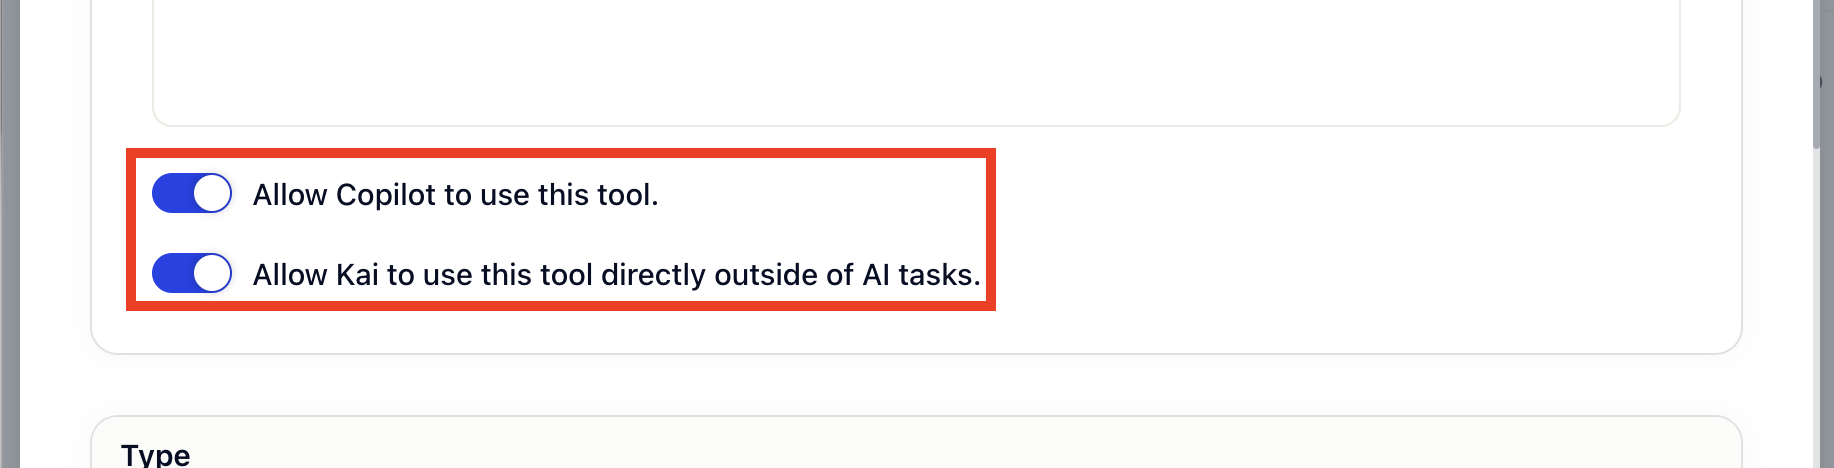
The “Allow Kai to use this tool directly” option, allows you to enable this tool directly for Kai. For simple tools (like fetching data, etc.) you can enable direct tool usage. This allows Kai to use the tool directly.
For more complicated use-cases, like multi step cancelation, where you first want to search for subscriptions, try to offer a discount based on the cancelation reason and progress the cancelation only at the end, you might want to not use the tool directly, but rather as part of an AI task. In such a scenario don’t enable direct Kai usage.
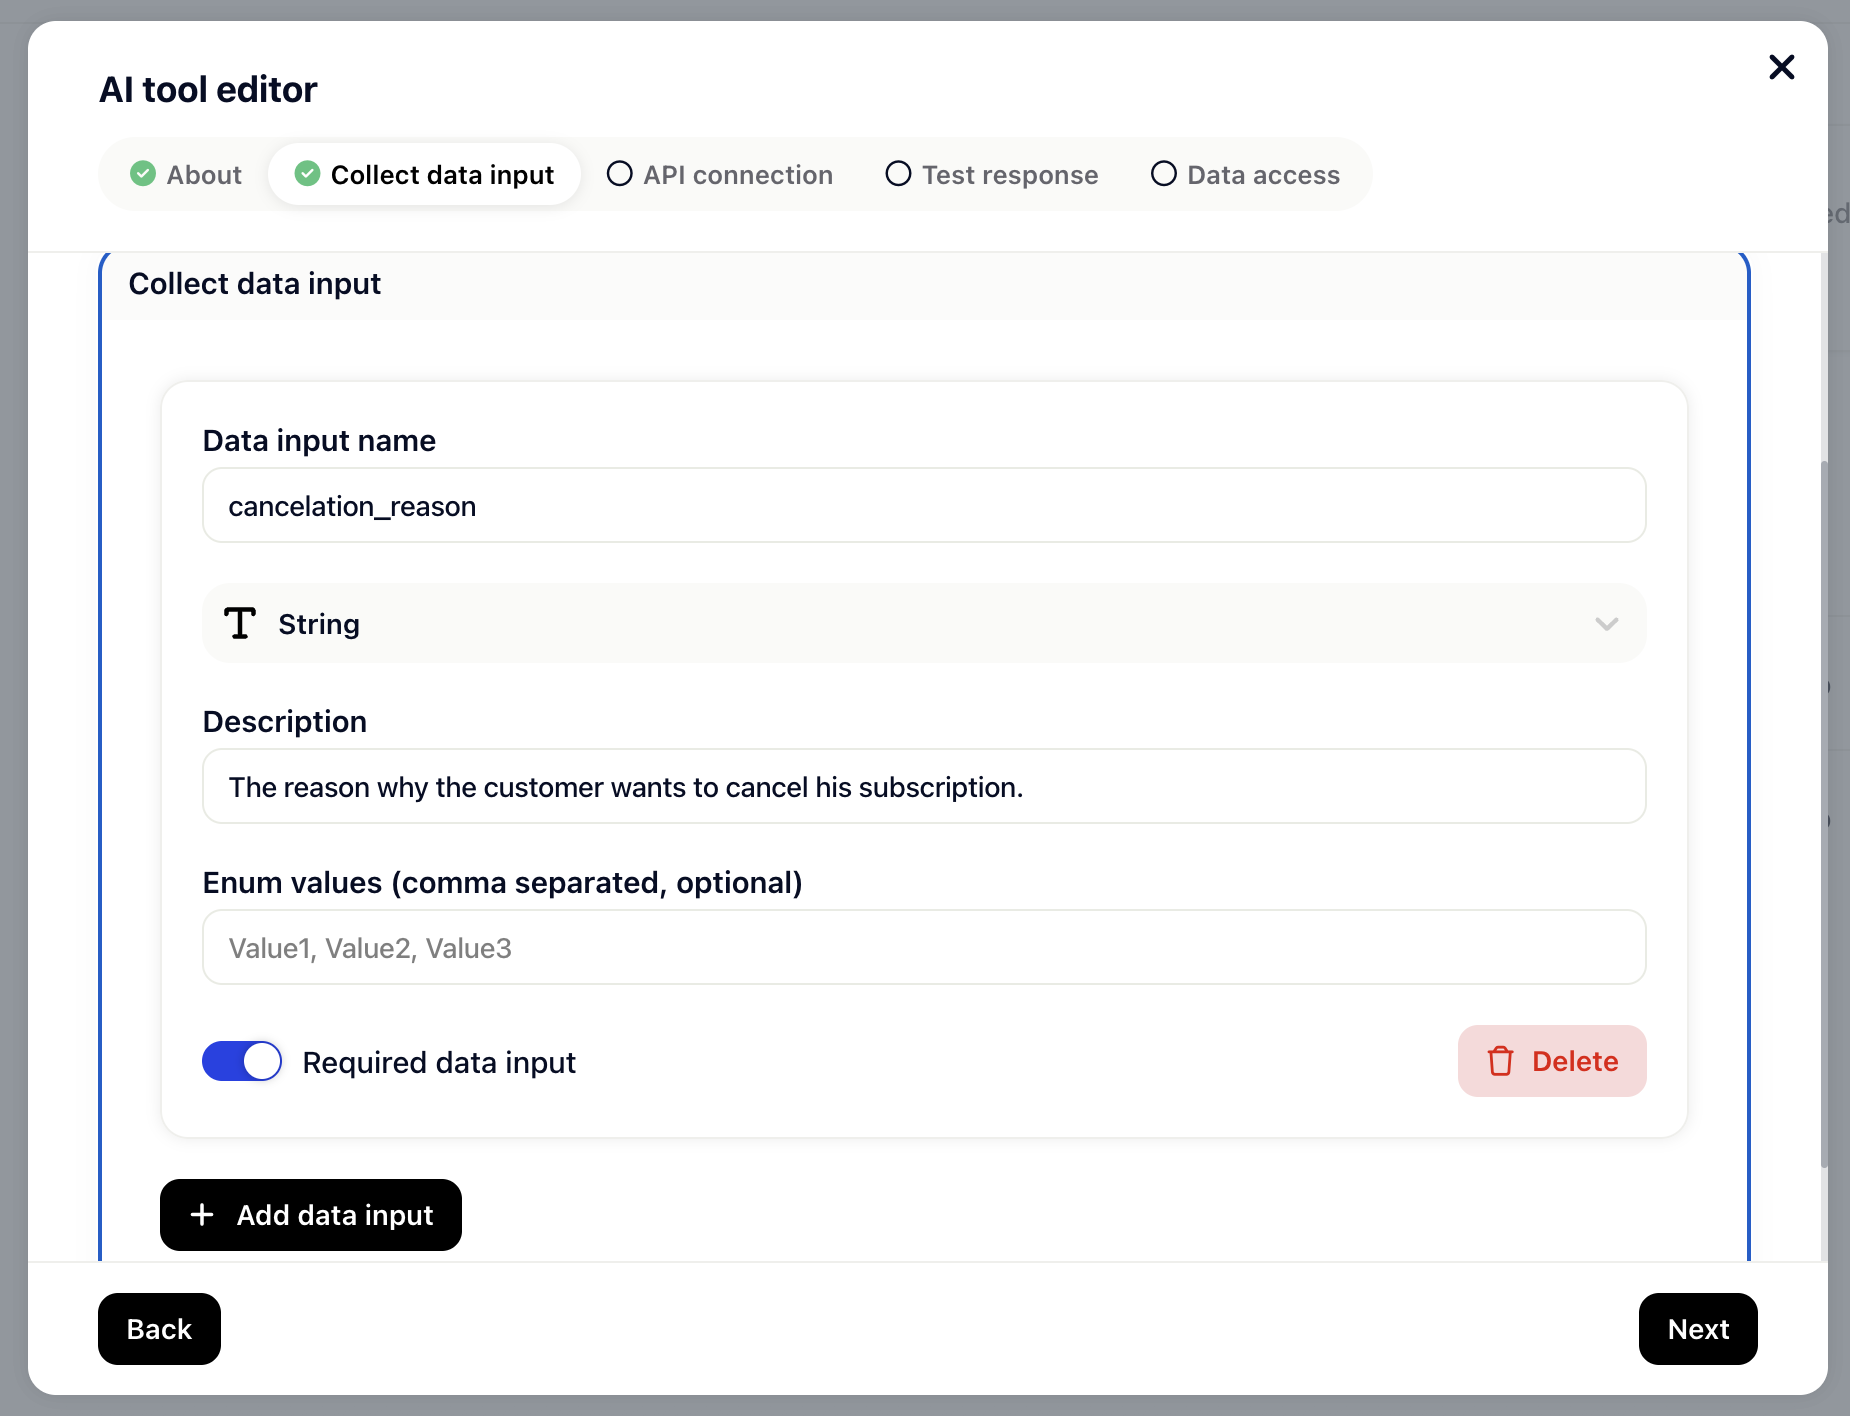
The collect data input step is optional but really powerful. It allows you to instruct the AI to collect data from the conversation. In our example this is the “cancelation_reason”.
If a data input is required, the AI will ask the customer to provide it and only call the tool when the data input has been set.
Data inputs support String, Number and Boolean inputs.
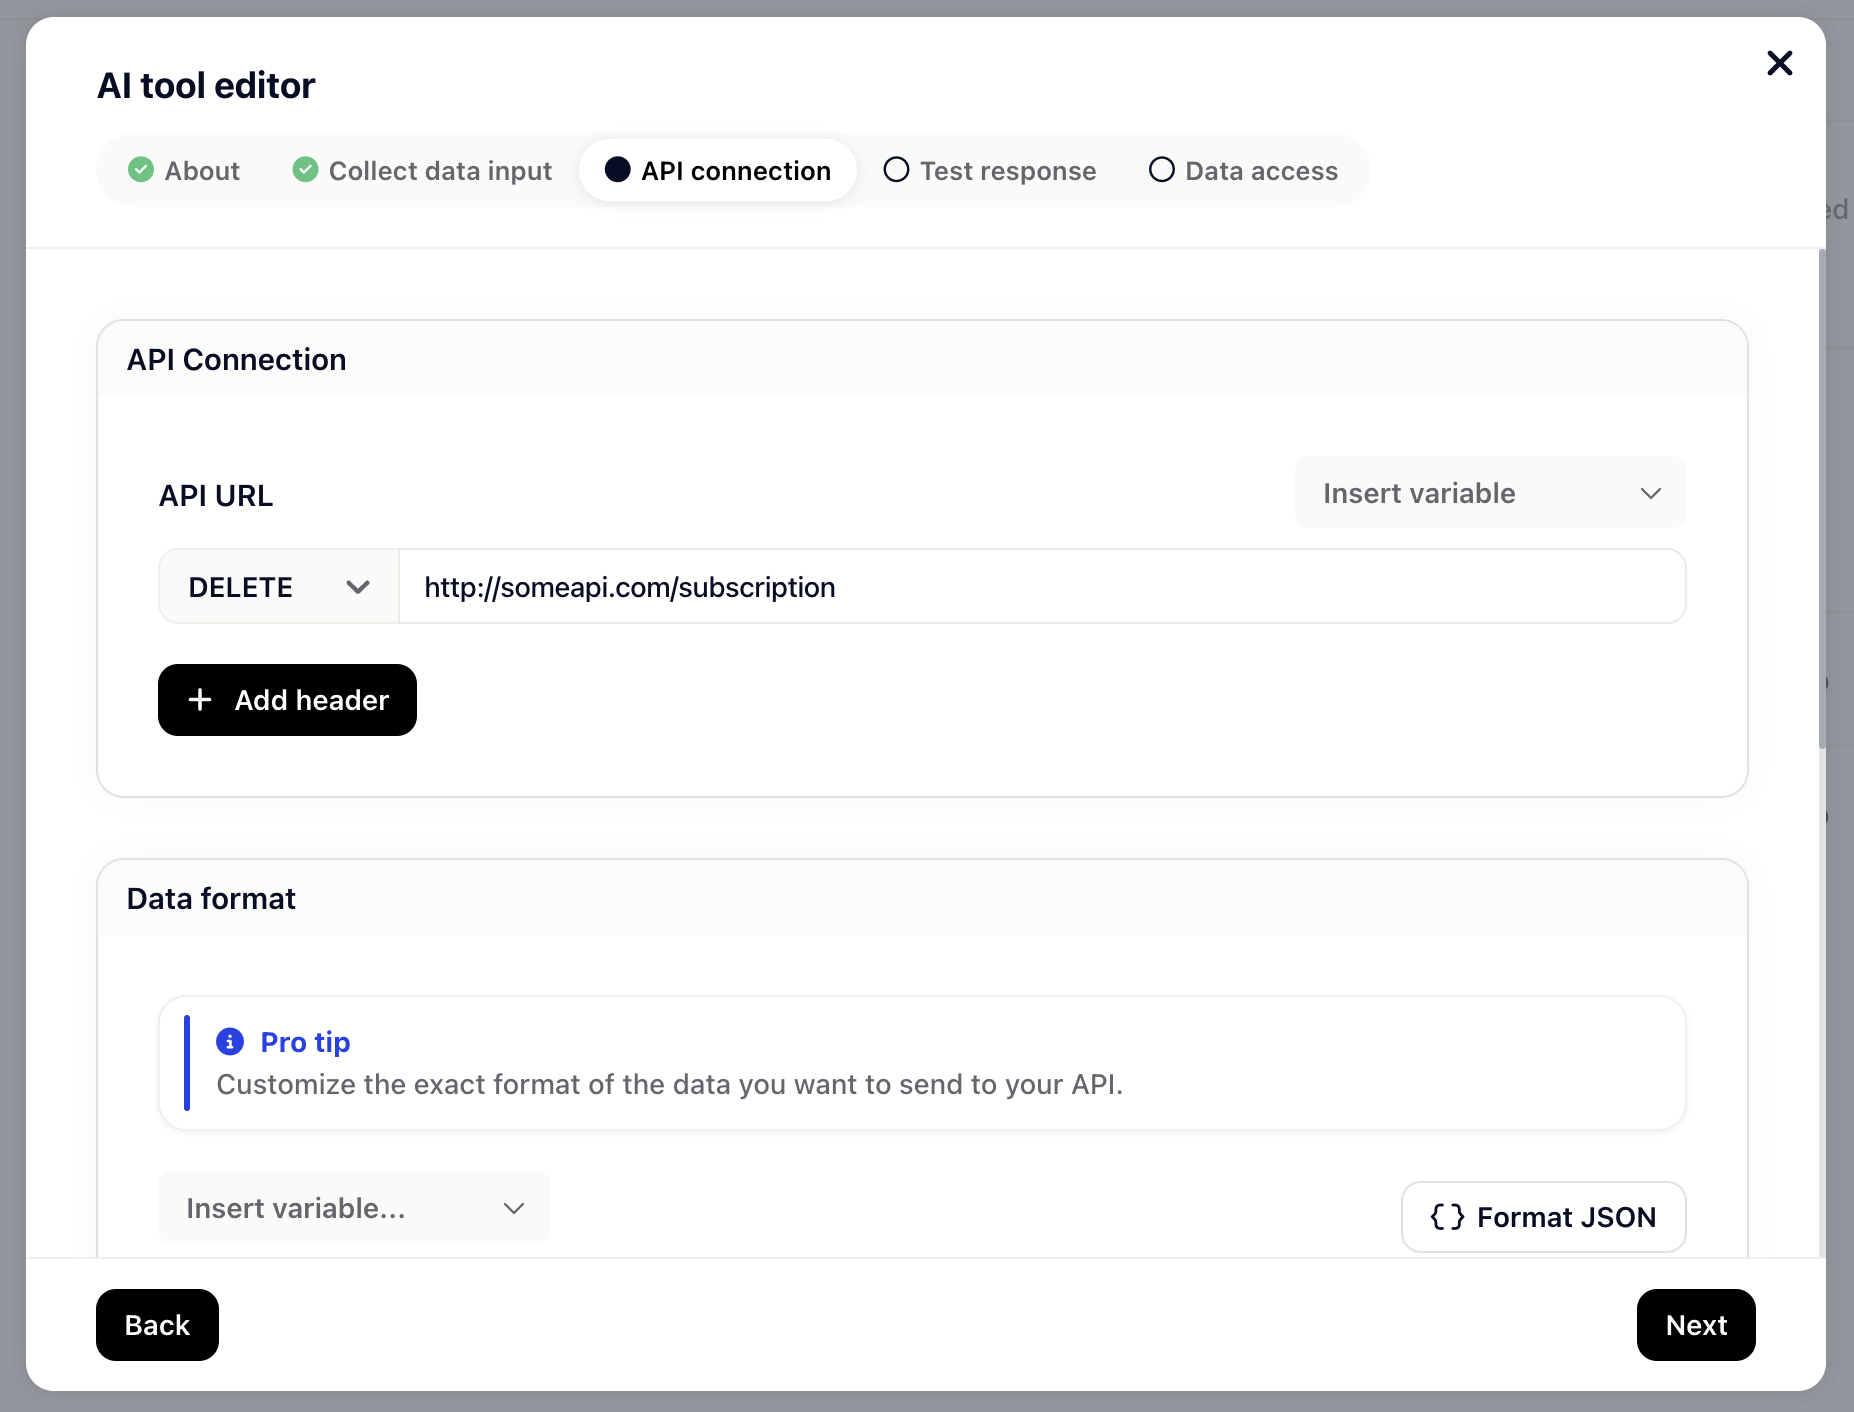
Next, fill in the request details. This is where you'll need to enter the HTTPS URL to the 3rd party system you're connecting to (e.g. Shopify, Salesforce, etc.).
You can specify what action you'd like this request to take by selecting the method:
GET - Read and store information from the 3rd party system.
POST - Create or add information to the 3rd party system.
PUT - Update information in the 3rd party system.
DELETE - Remove information from the 3rd party system.
PATCH - Update information in the 3rd party system.
In this example, we'll ask the request to DELETE the subscription from the API and enter the URL.
To make a request, the URL must be an HTTPS address and return a JSON response.
You can choose to add any additional parameters to this request by clicking Add key value pair and then select Key value pair under HTTP Headers.
Make sure to include appropriate HTTP headers as required by the API you're making a request to (for example, accept: application/json and content-type: application/json)
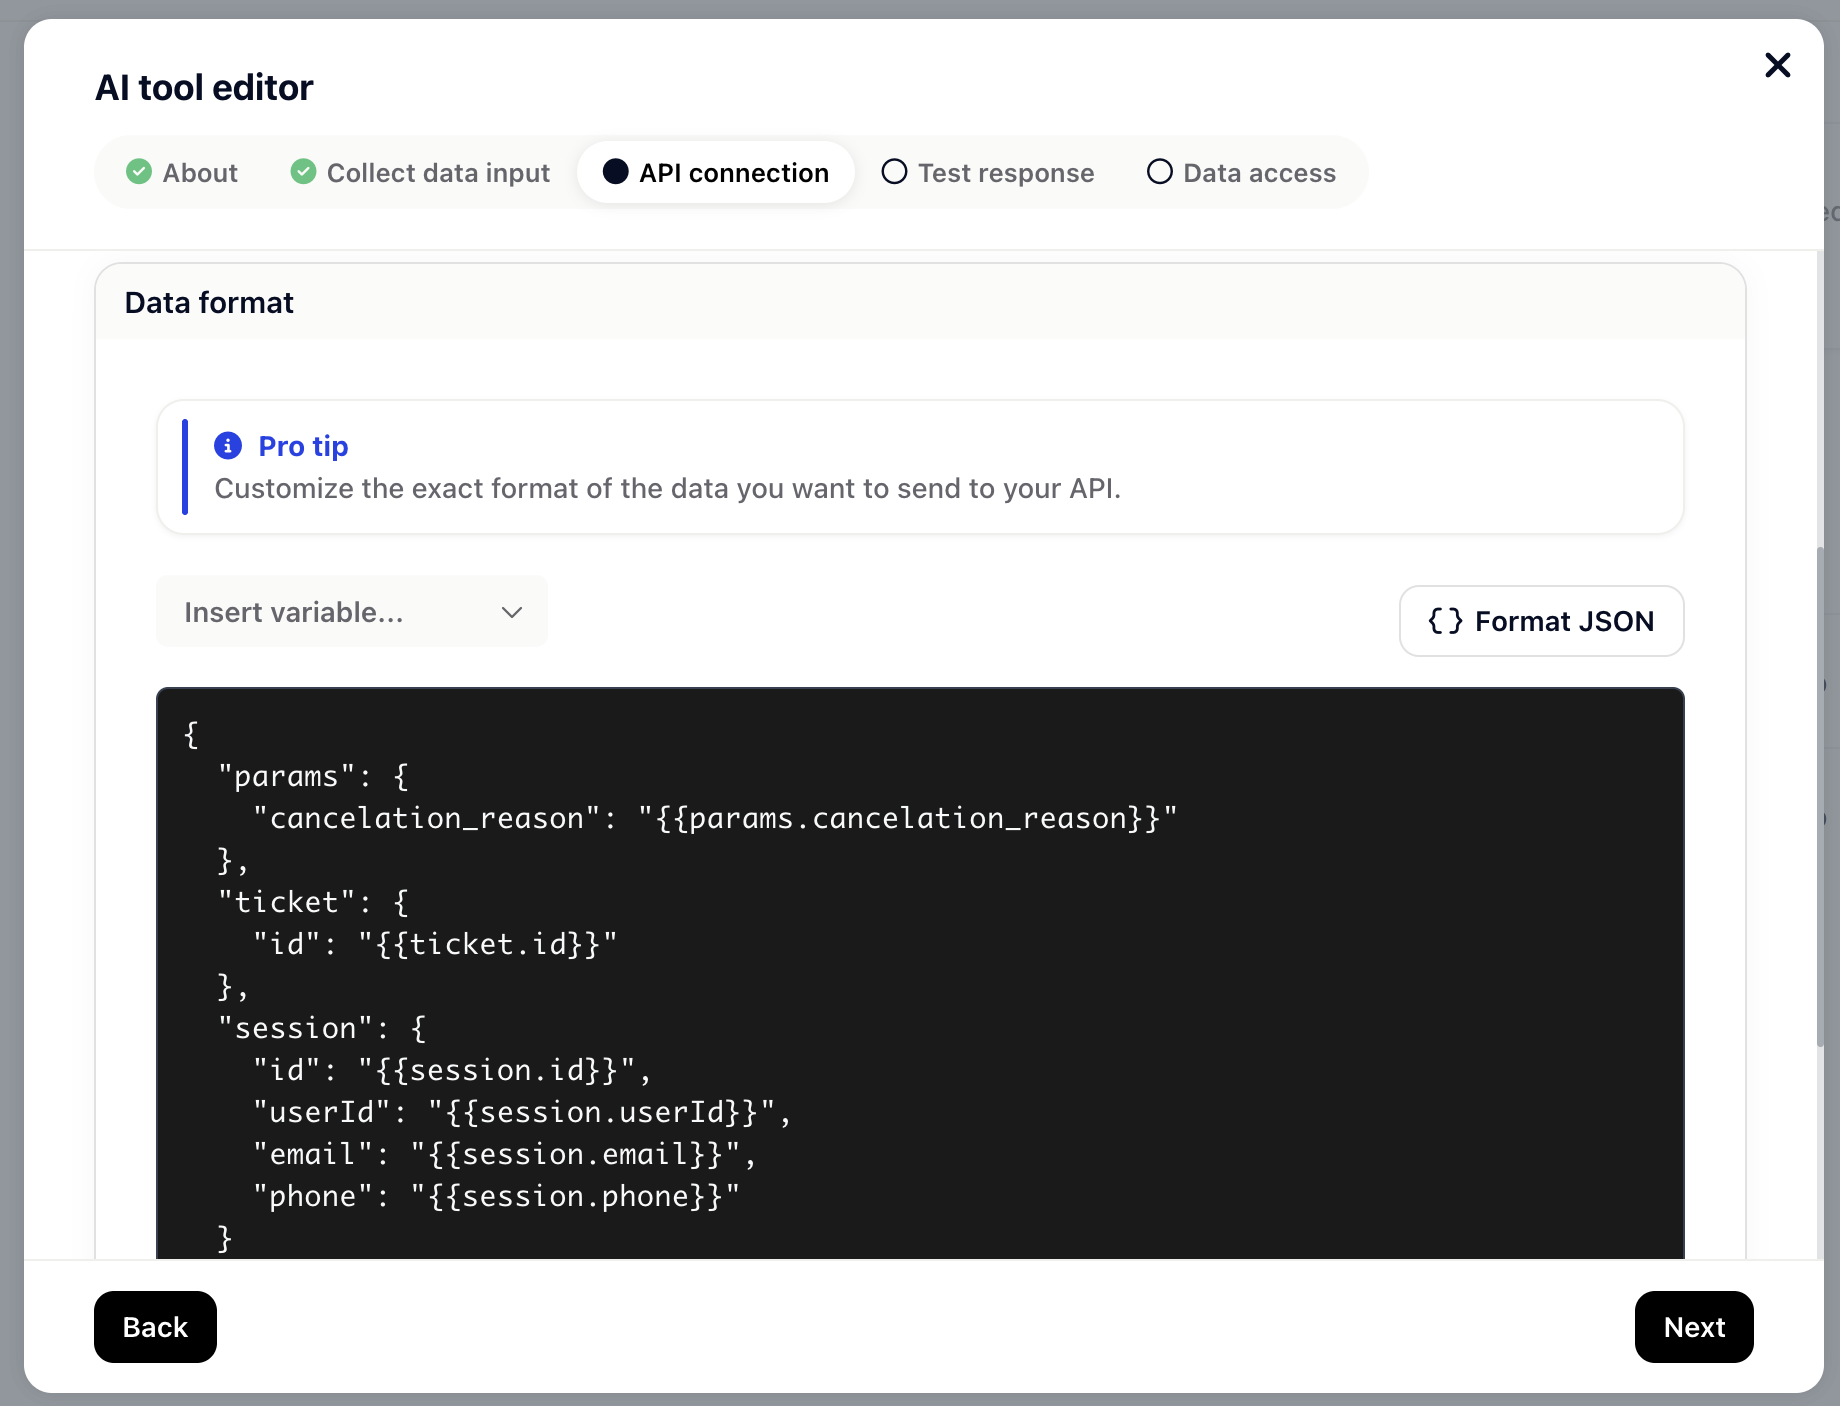
If you're making a POST, PUT or DELETE request, you'll have an option to provide a request body to include any data you want to send in the request.
You can insert variables from the user, ticket and collected data inputs as templated values in the URL and in the request body. Use custom data attributes you have already set up in your project.
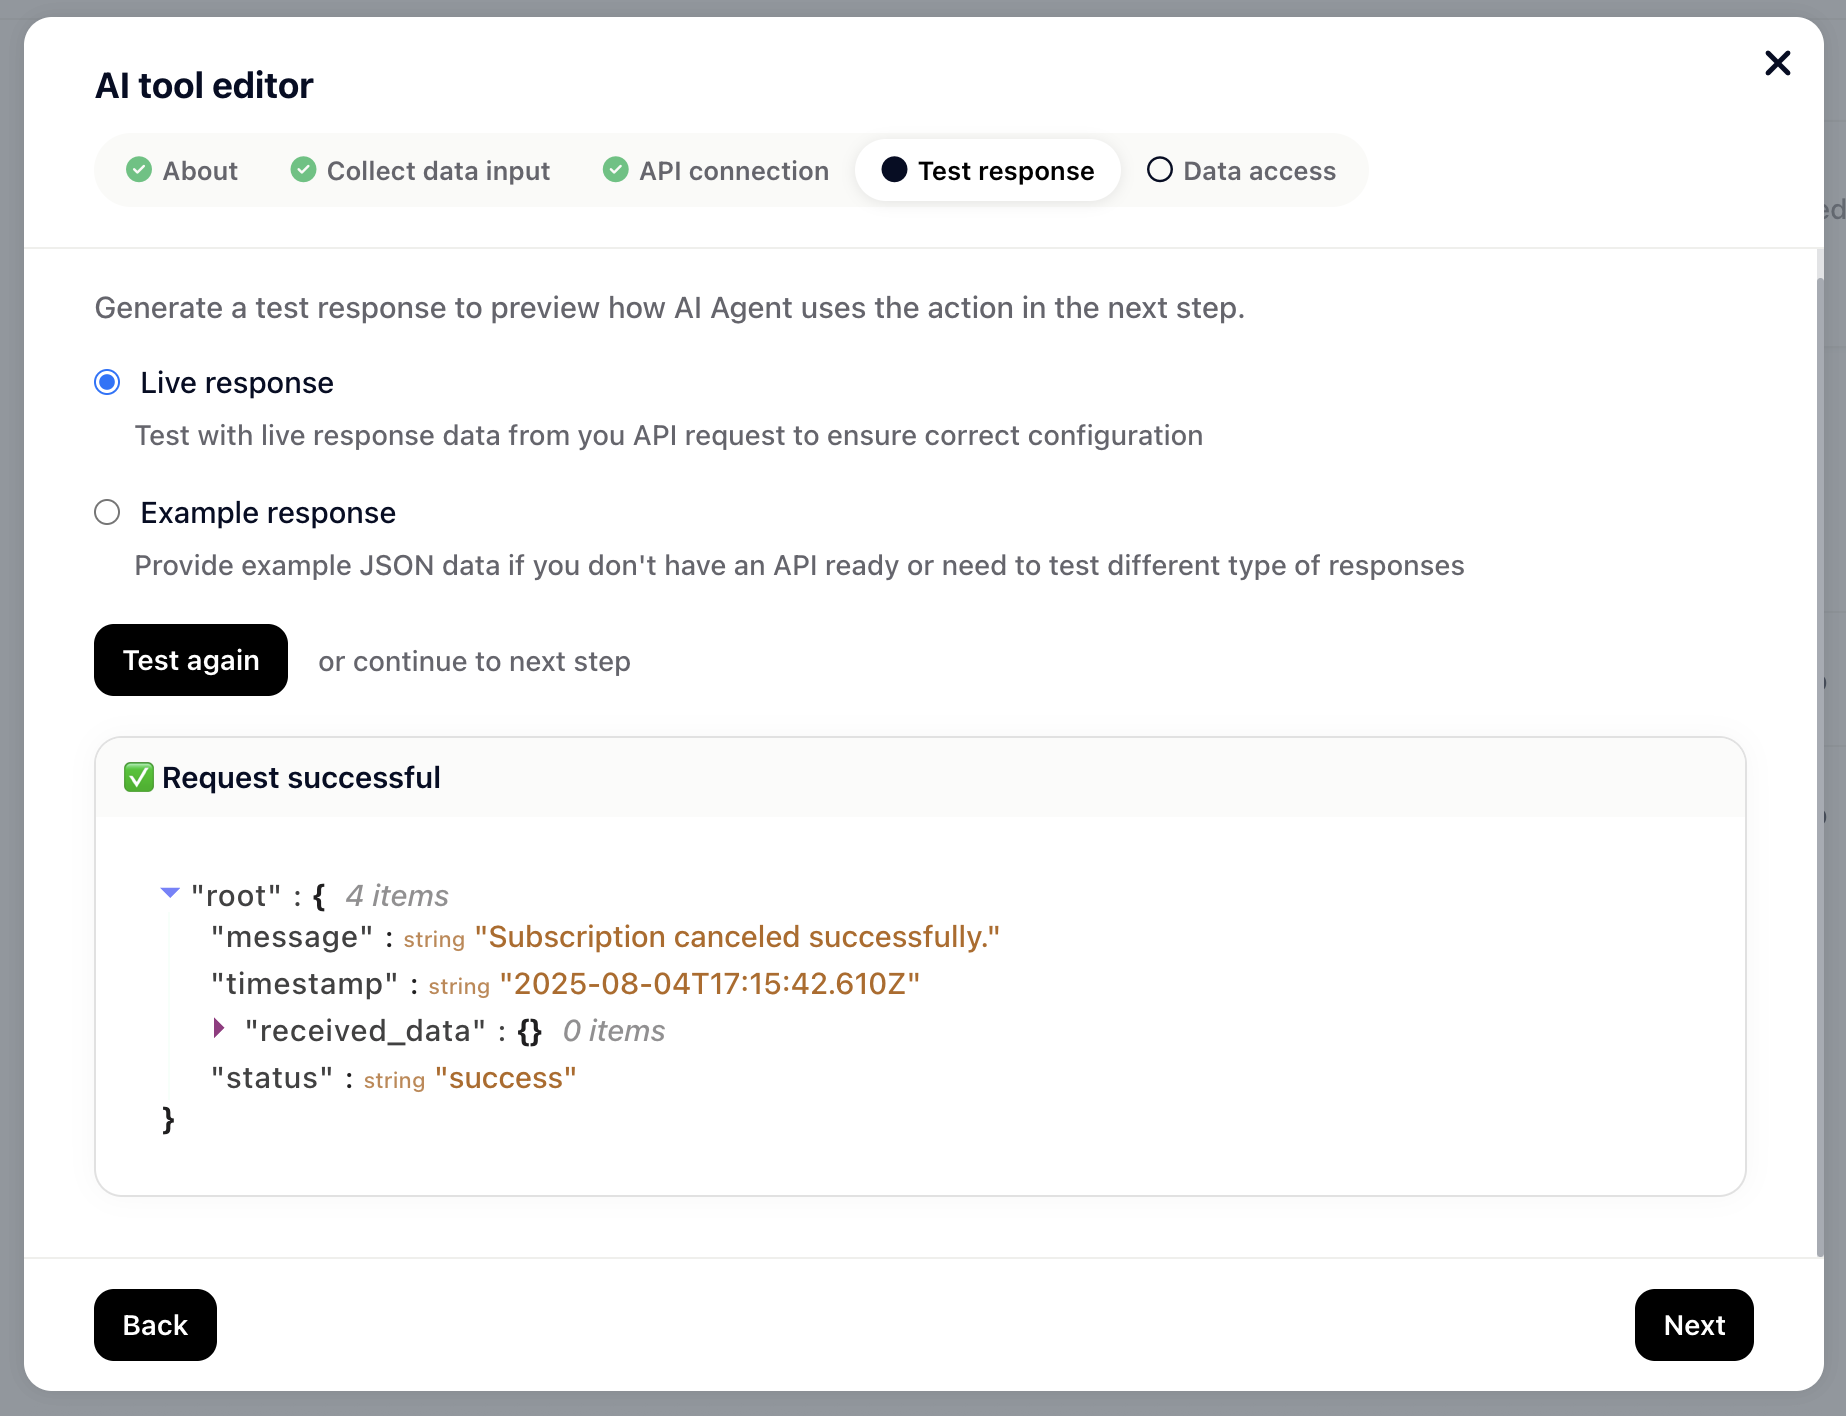
Next, you'll need to test the response for this tool to make sure it's fetching the right data from the 3rd party system you're connecting to.
You can either fetch a “Live response” or provide an “Example response“.
For a live response, click on “Send test request” and enter some values for the given variables in your request. This is super handy for testing.
For an example response, simply copy the example response in the text field.
Click next to complete the step.
When creating tools for AI responses, there is no need to map response data to Gleap attributes or objects. Instead, the AI directly interprets the JSON response and can then use it to resolve questions.
By default, the AI can access the full response data to generate replies. Select “Custom” data access if you wish to limit the data the AI can read. Check the data fields you want to give the AI access to.
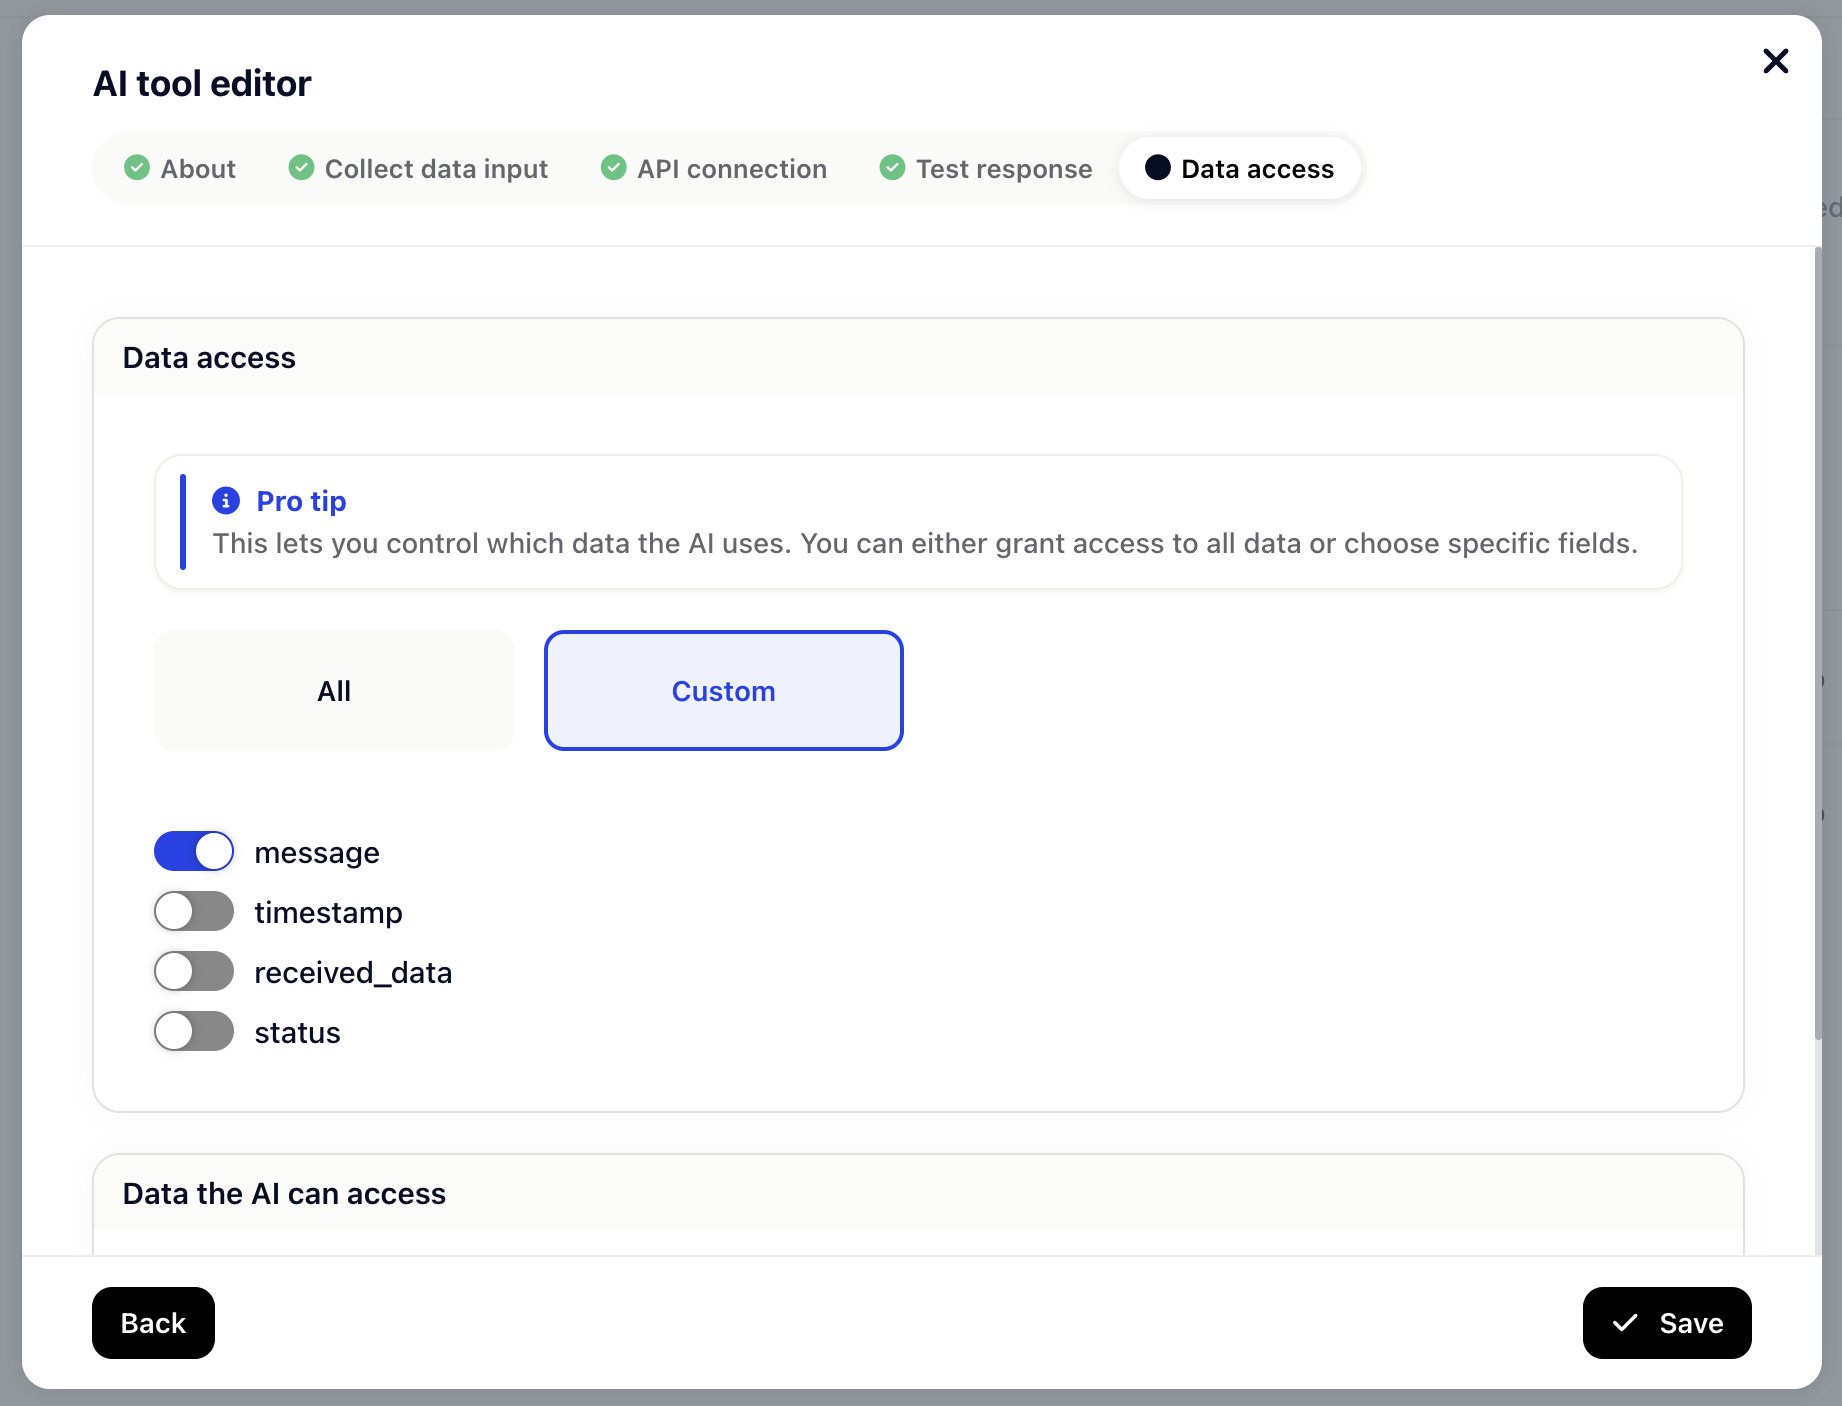
Then click Save and Set live and that's it, the AI is ready to use your Tool. 🎉