Let's start by navigating to Outreach -> Tooltips -> Create tooltip.
Within the newly created tooltip, click on "Add tooltips", to add new tooltips to the tooltip group you just created. This will open the tooltip editor.
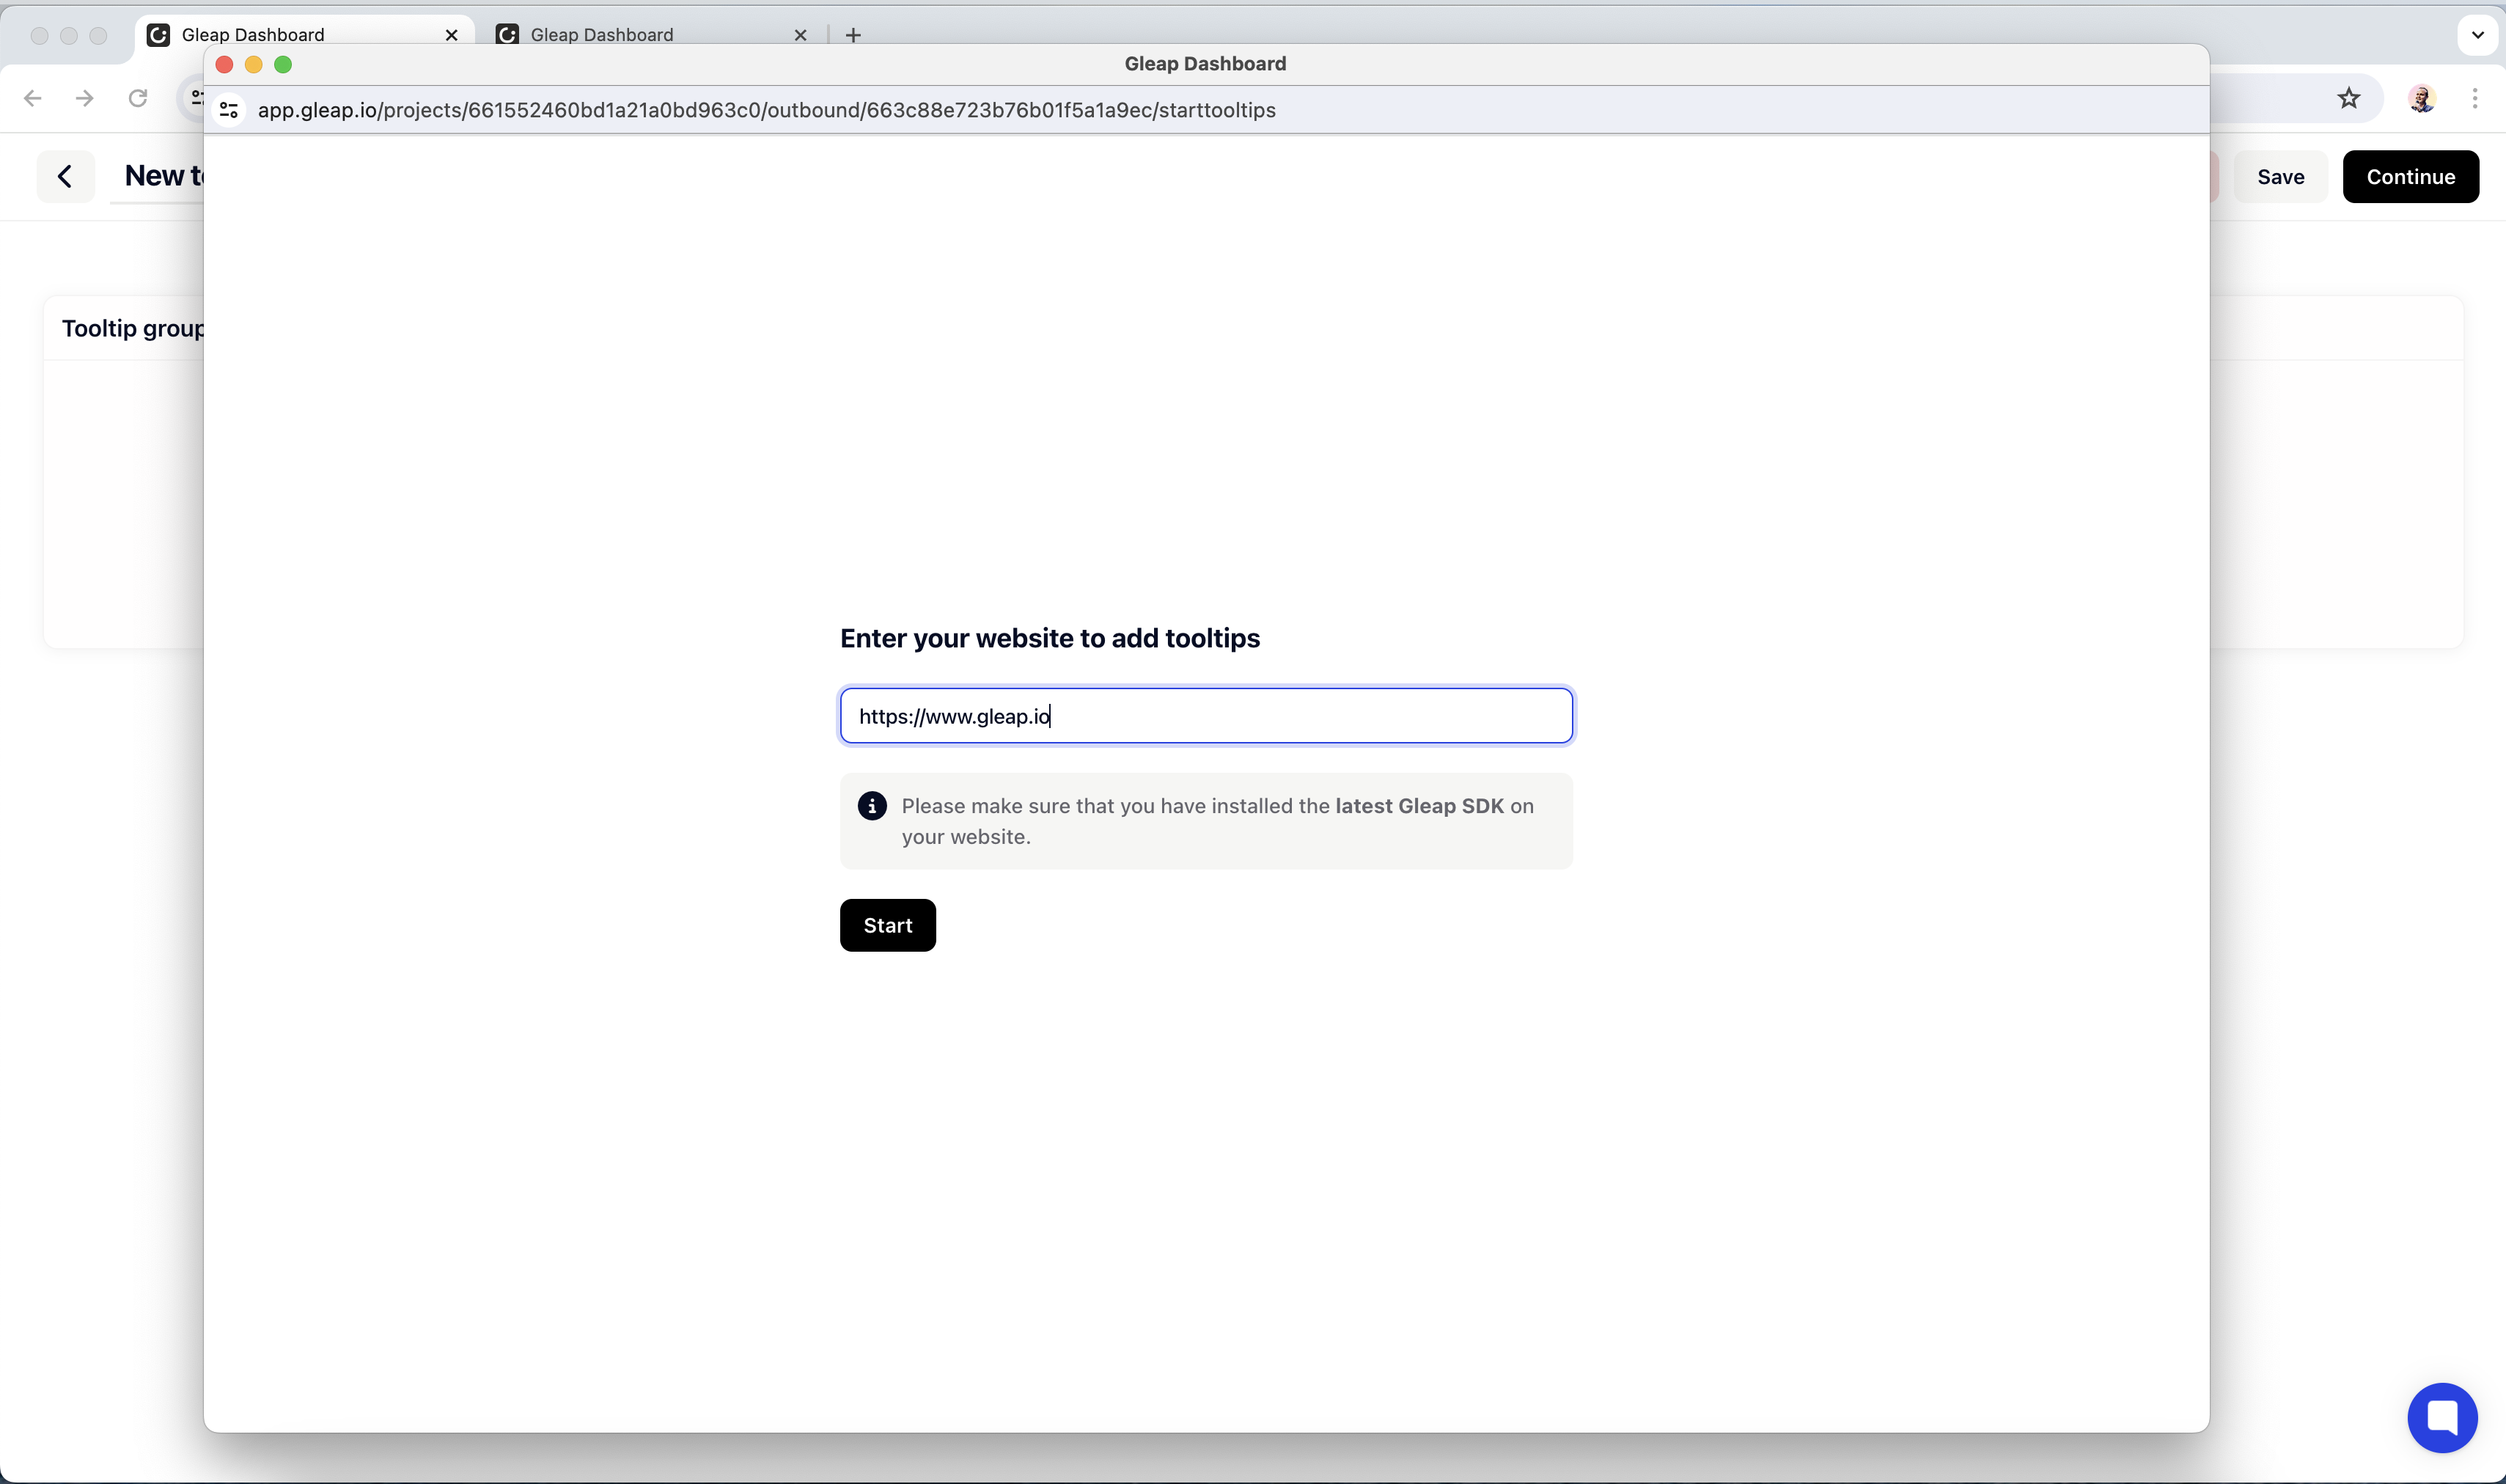
In order to get started, enter the URL of the app or website you want to add tooltips to. Please note, you must install the latest Gleap SDK version on that website.
Hit "Start" to get started.
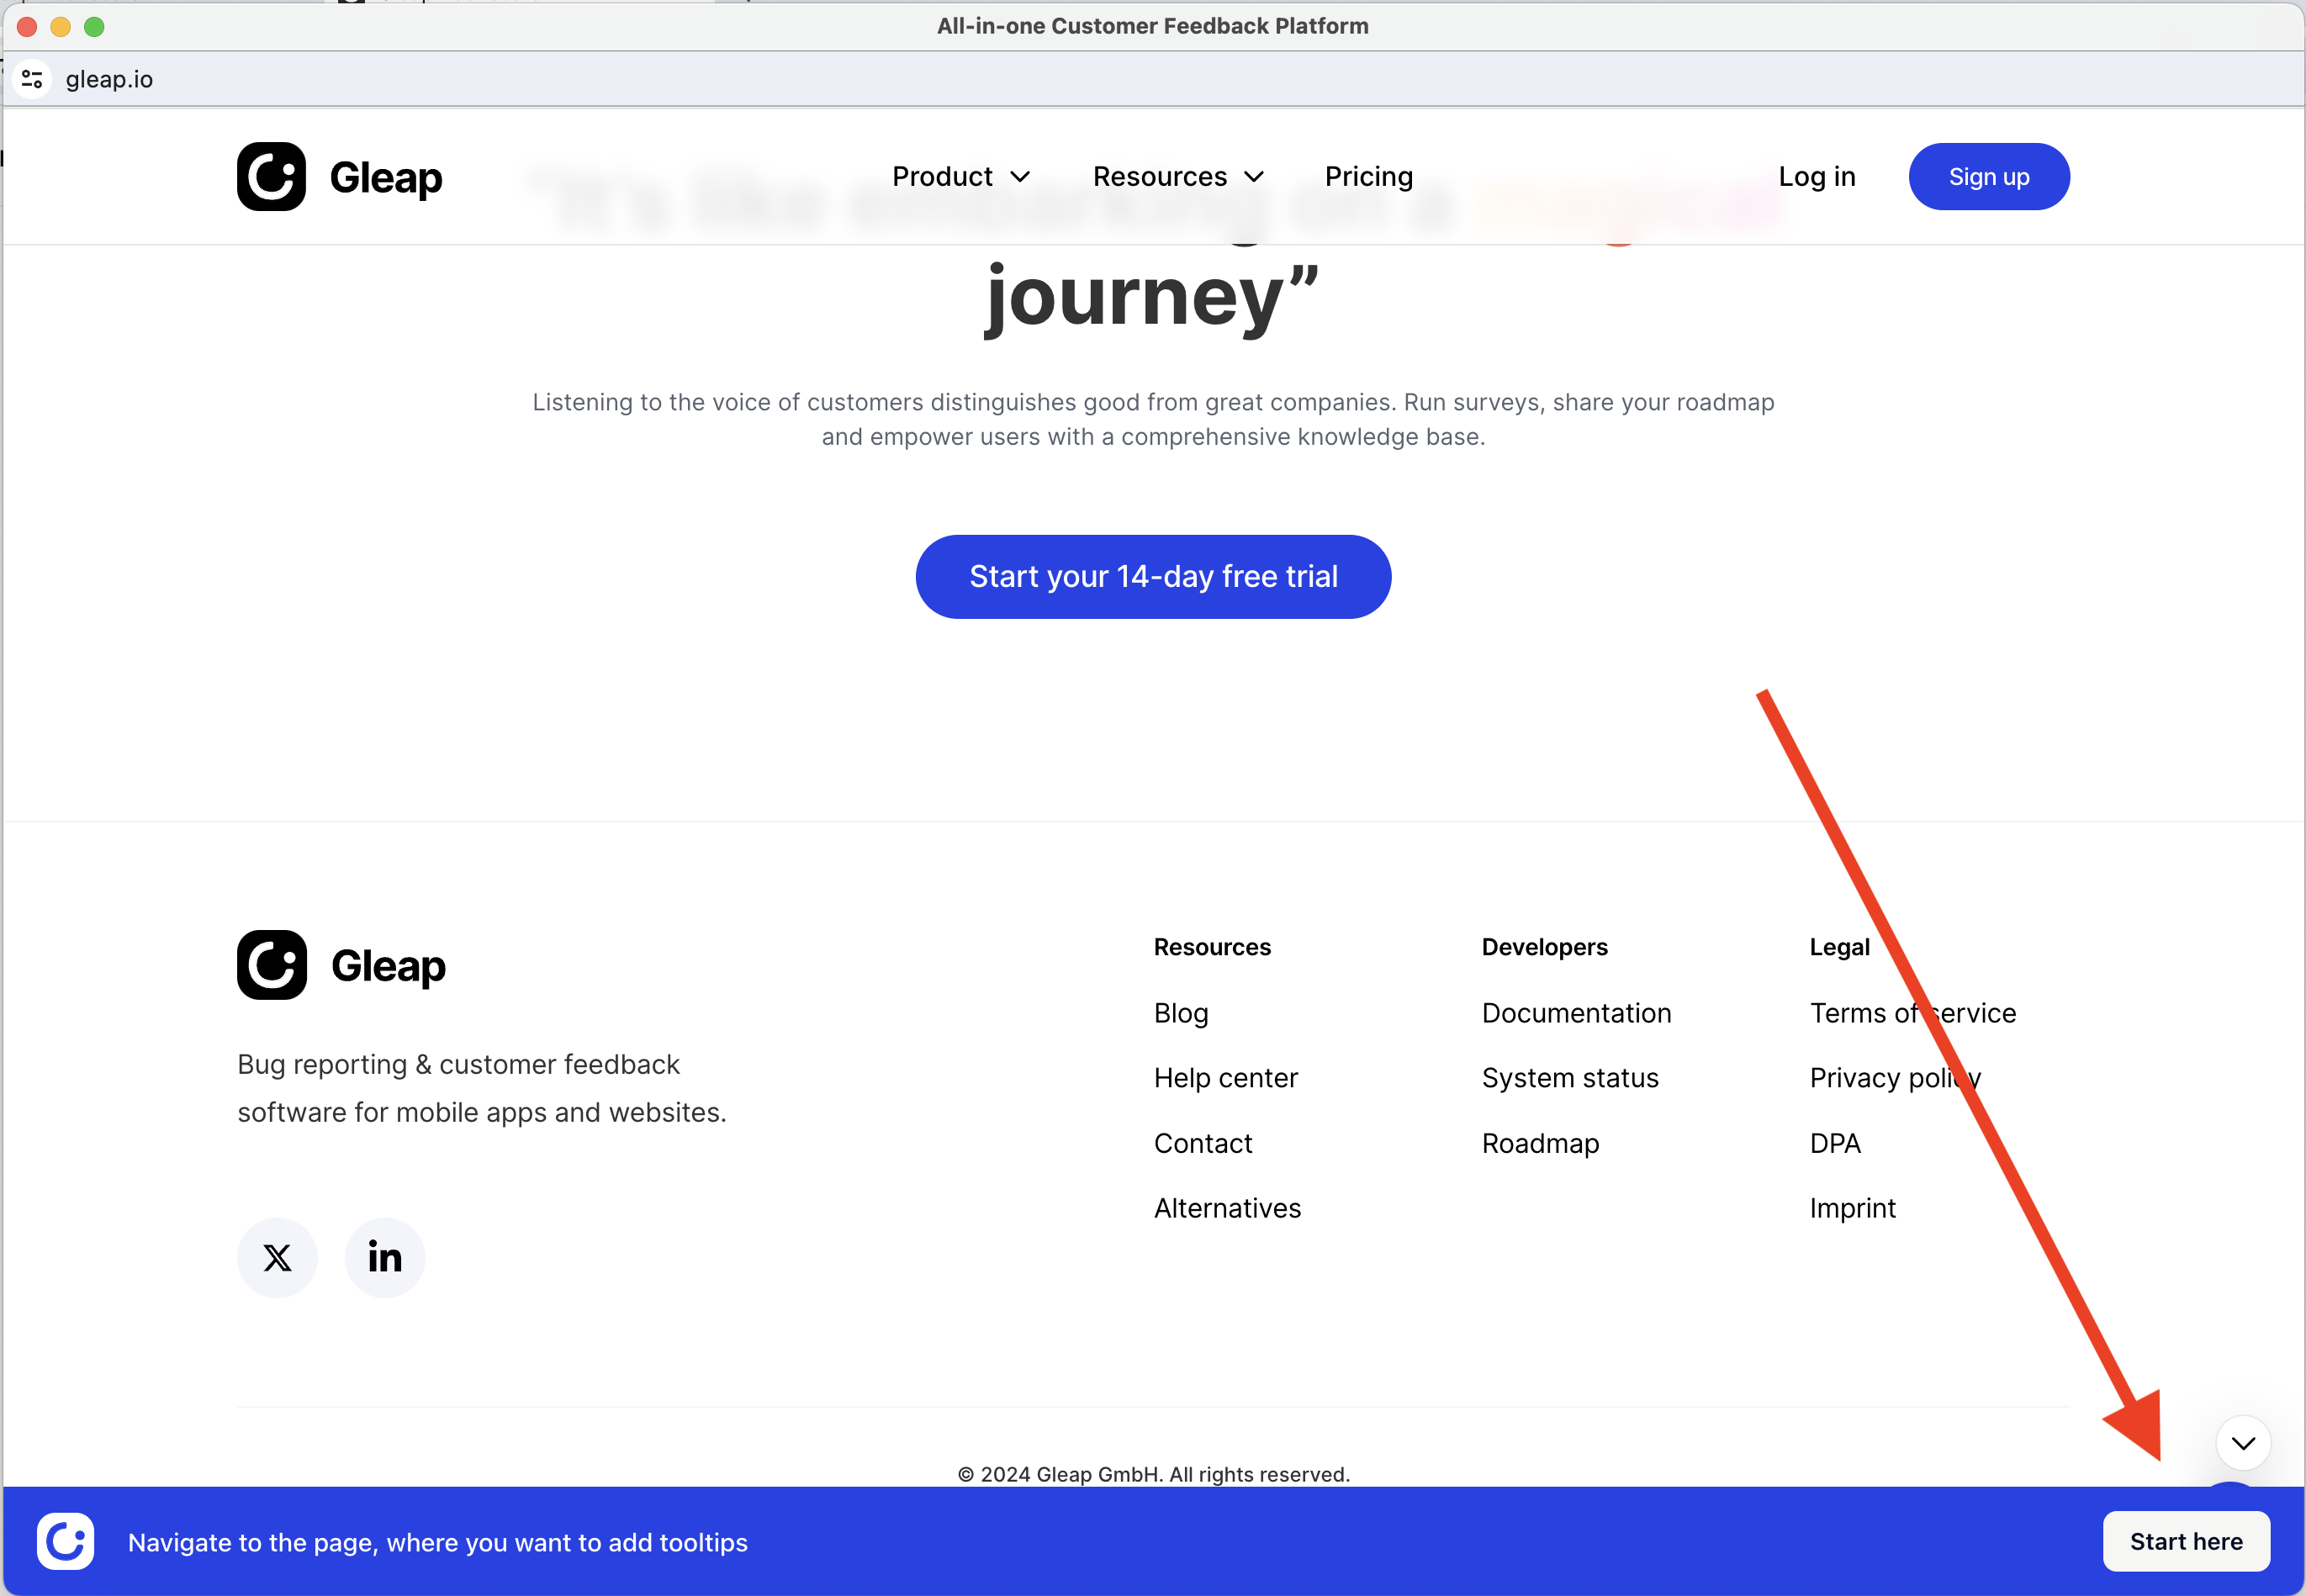
Once loaded, you will see our tooltip editor popup on the page. The editor allows you to navigate to the exact location, where you want to add tooltips to. Simply navigate through your app and click "Start here" whenever you are ready.
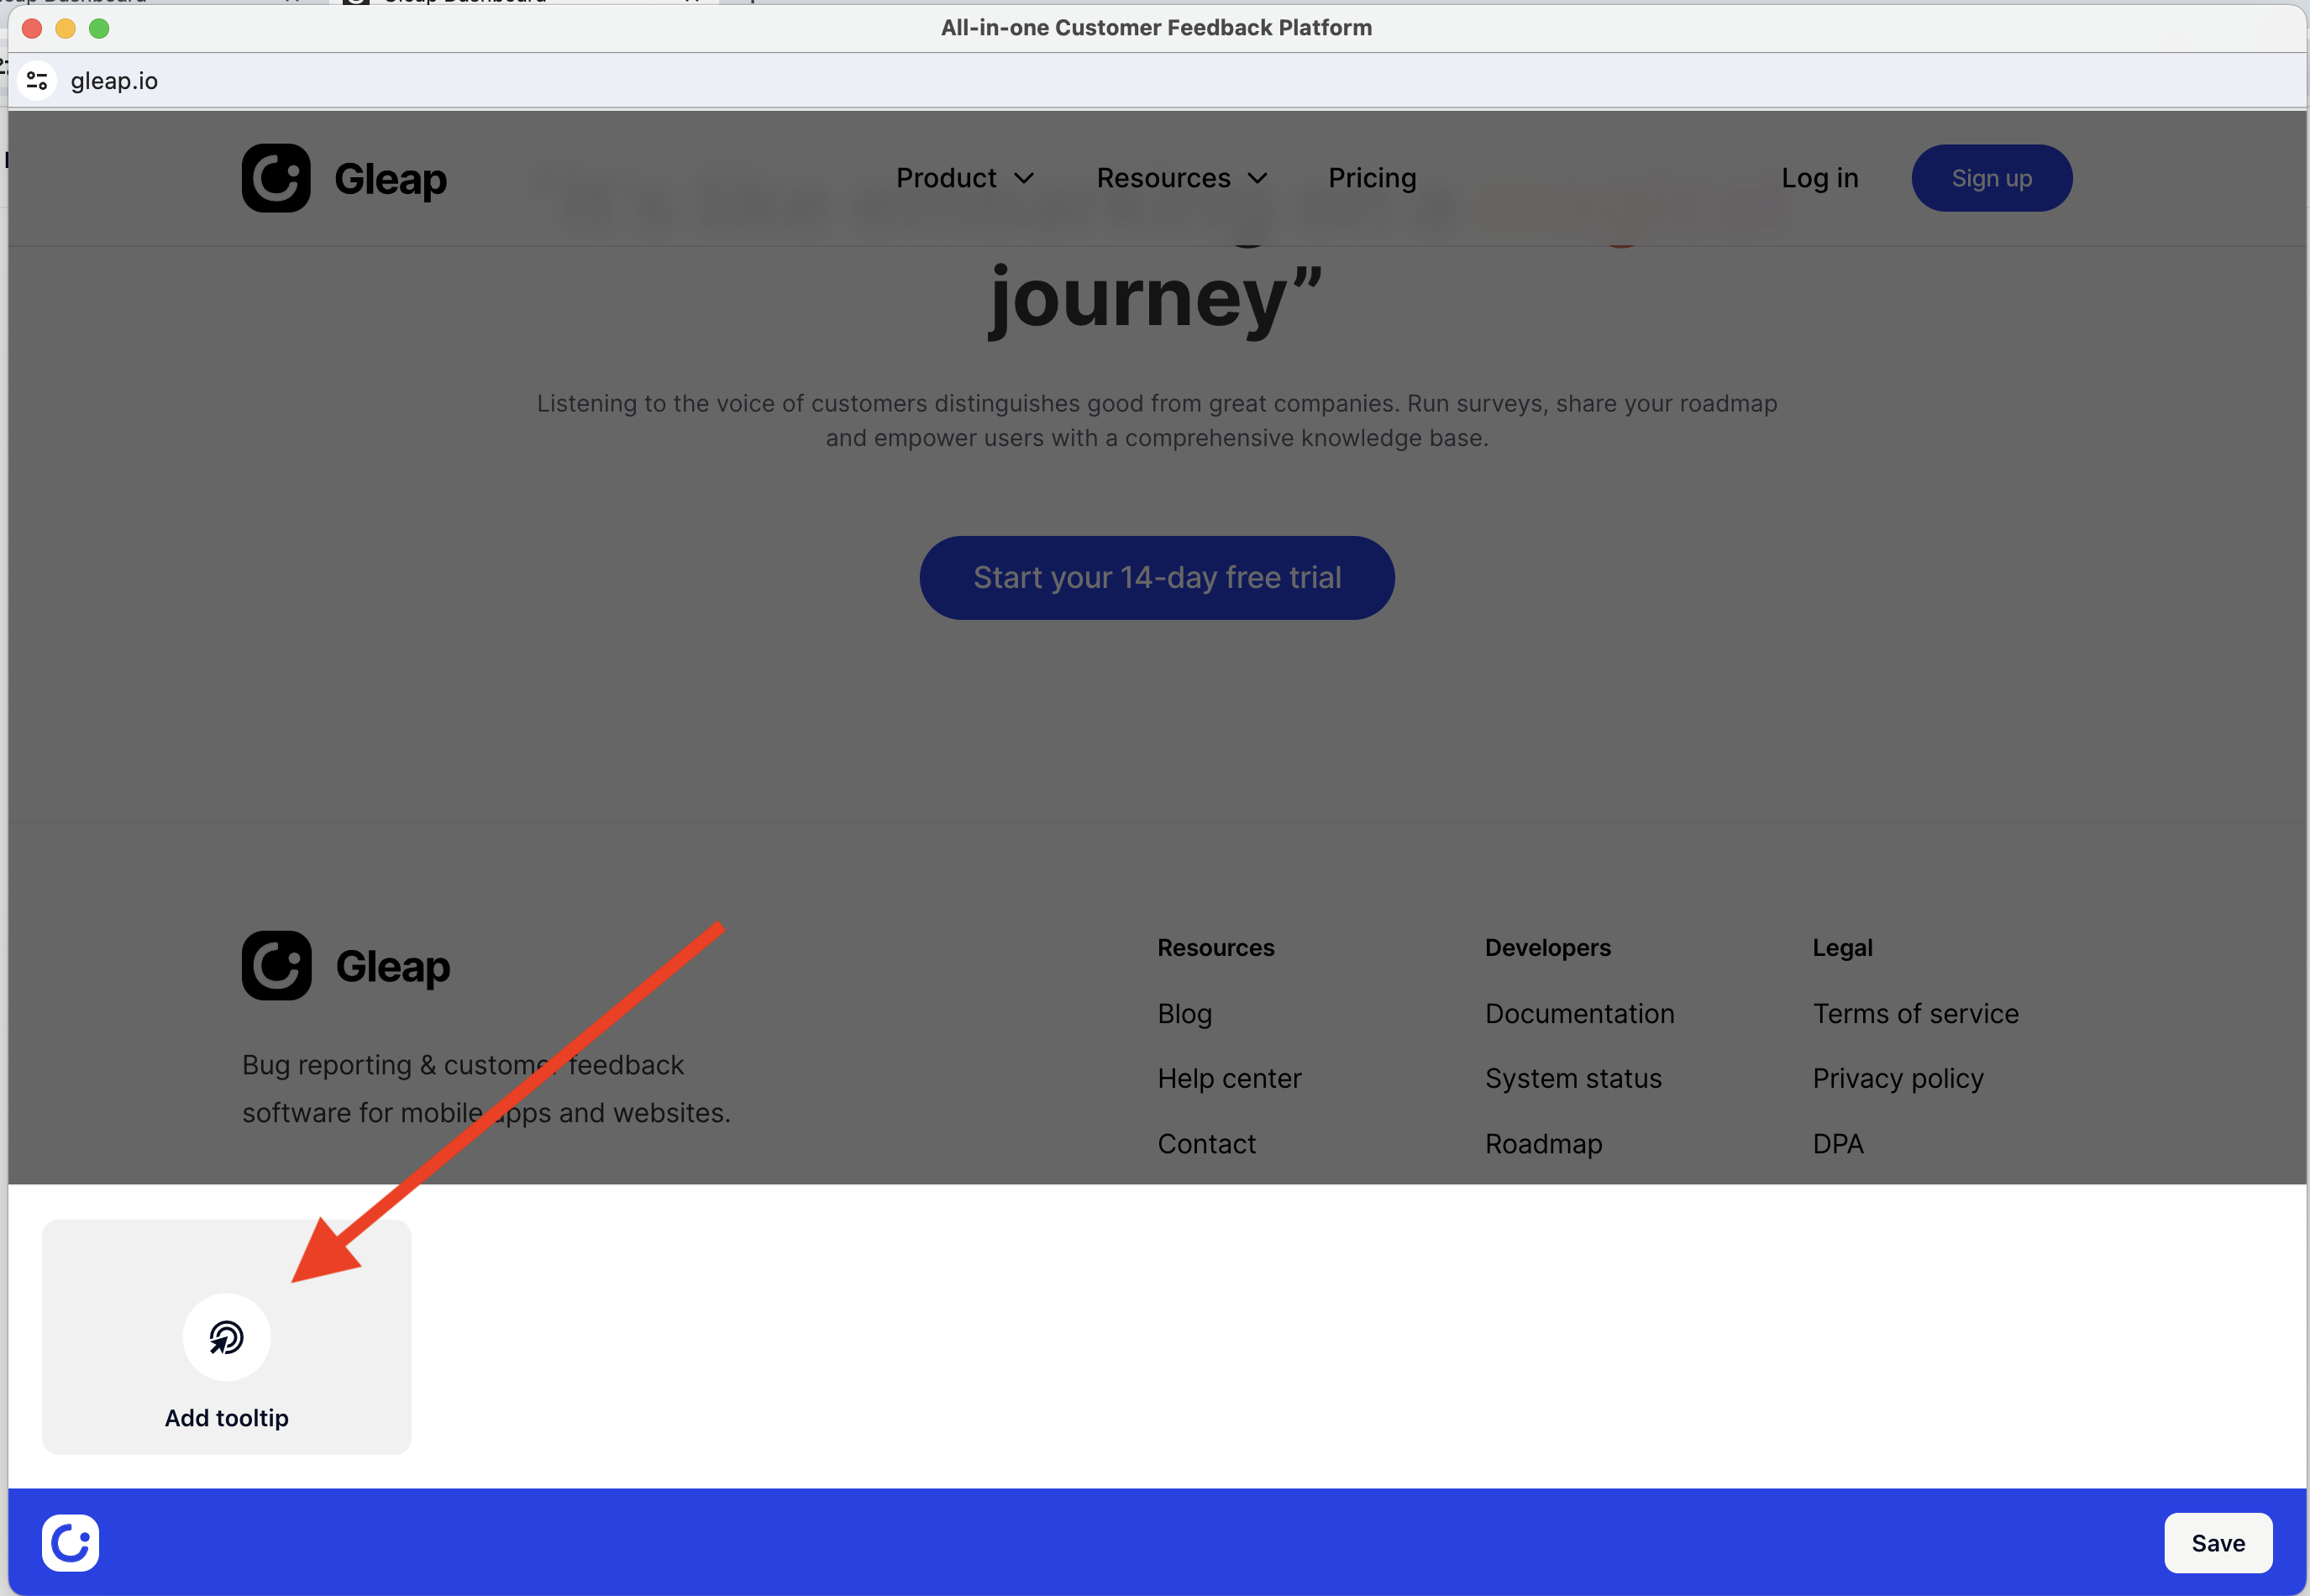
You navigated to the page where you want to add the tooltip(s) to. Get started by clicking on "Add tooltip".
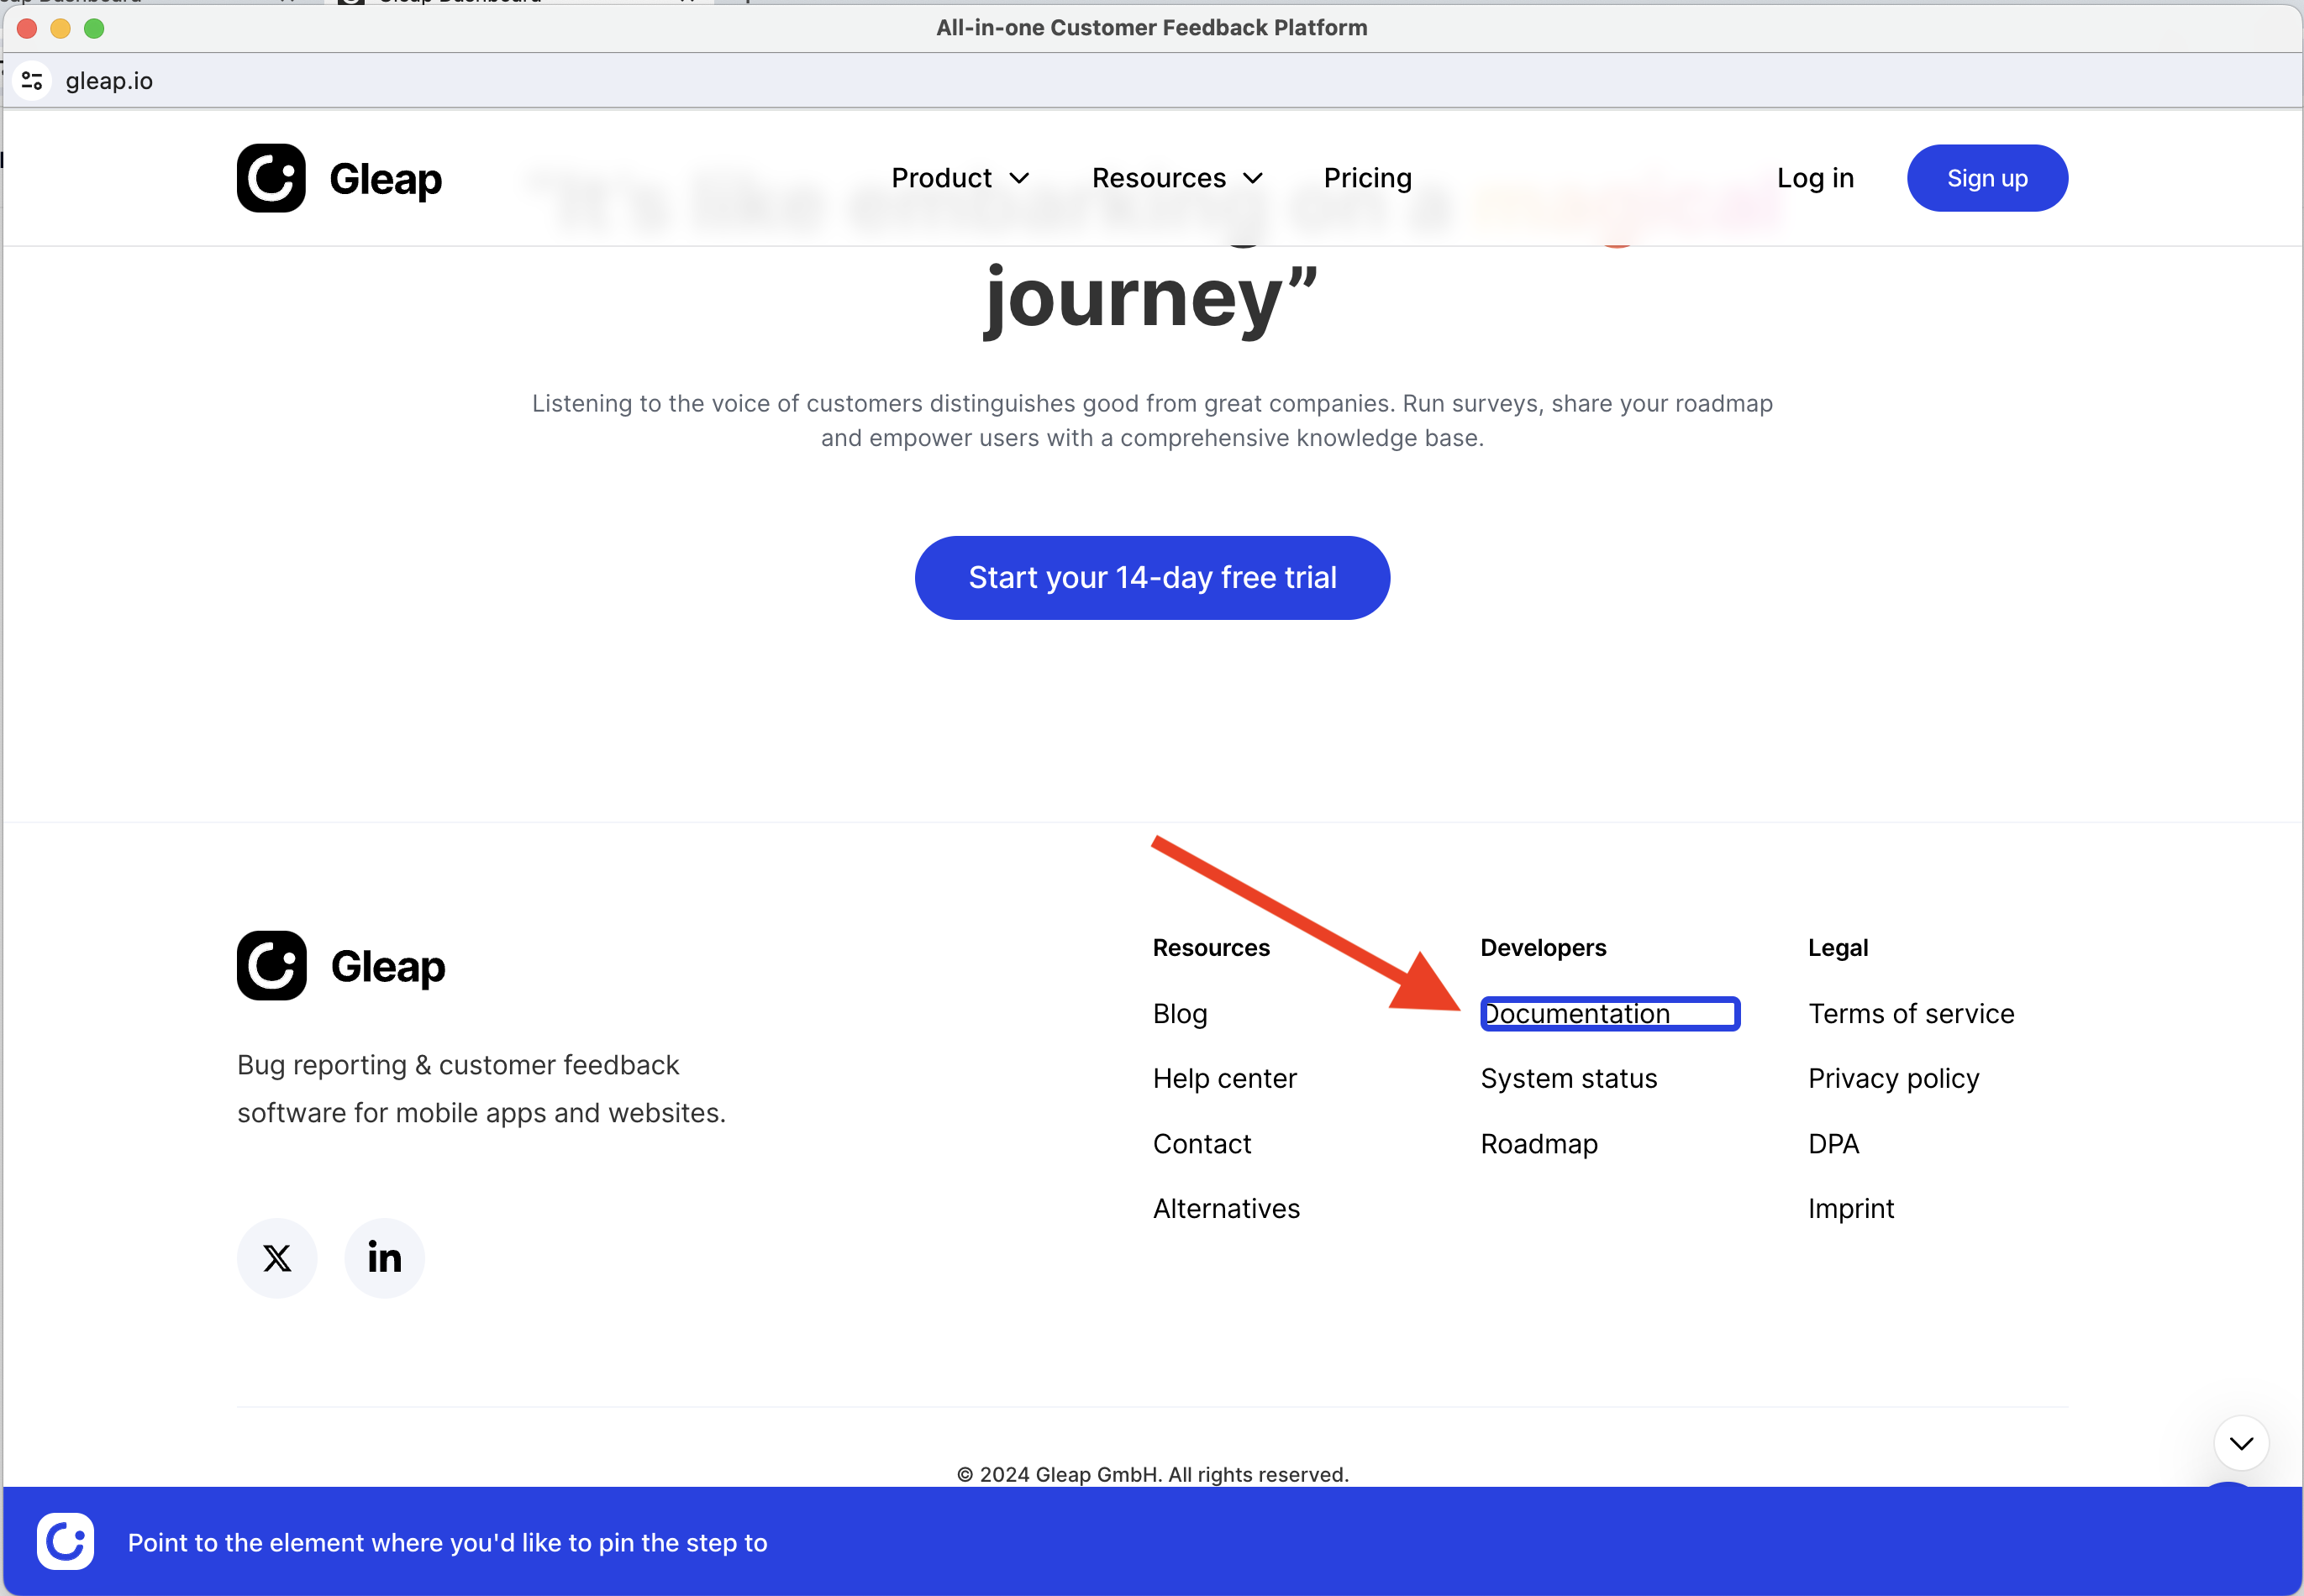
This starts the element picker, which allows you to point to the element, the tooltip should be added to. In our case, we choose the "Documentation" in the footer.
After you clicked on the element of interest, the tooltip editor will open. The editor allows you to set the content of the tooltip, as well as different options around positioning, colors, hotspots, etc.
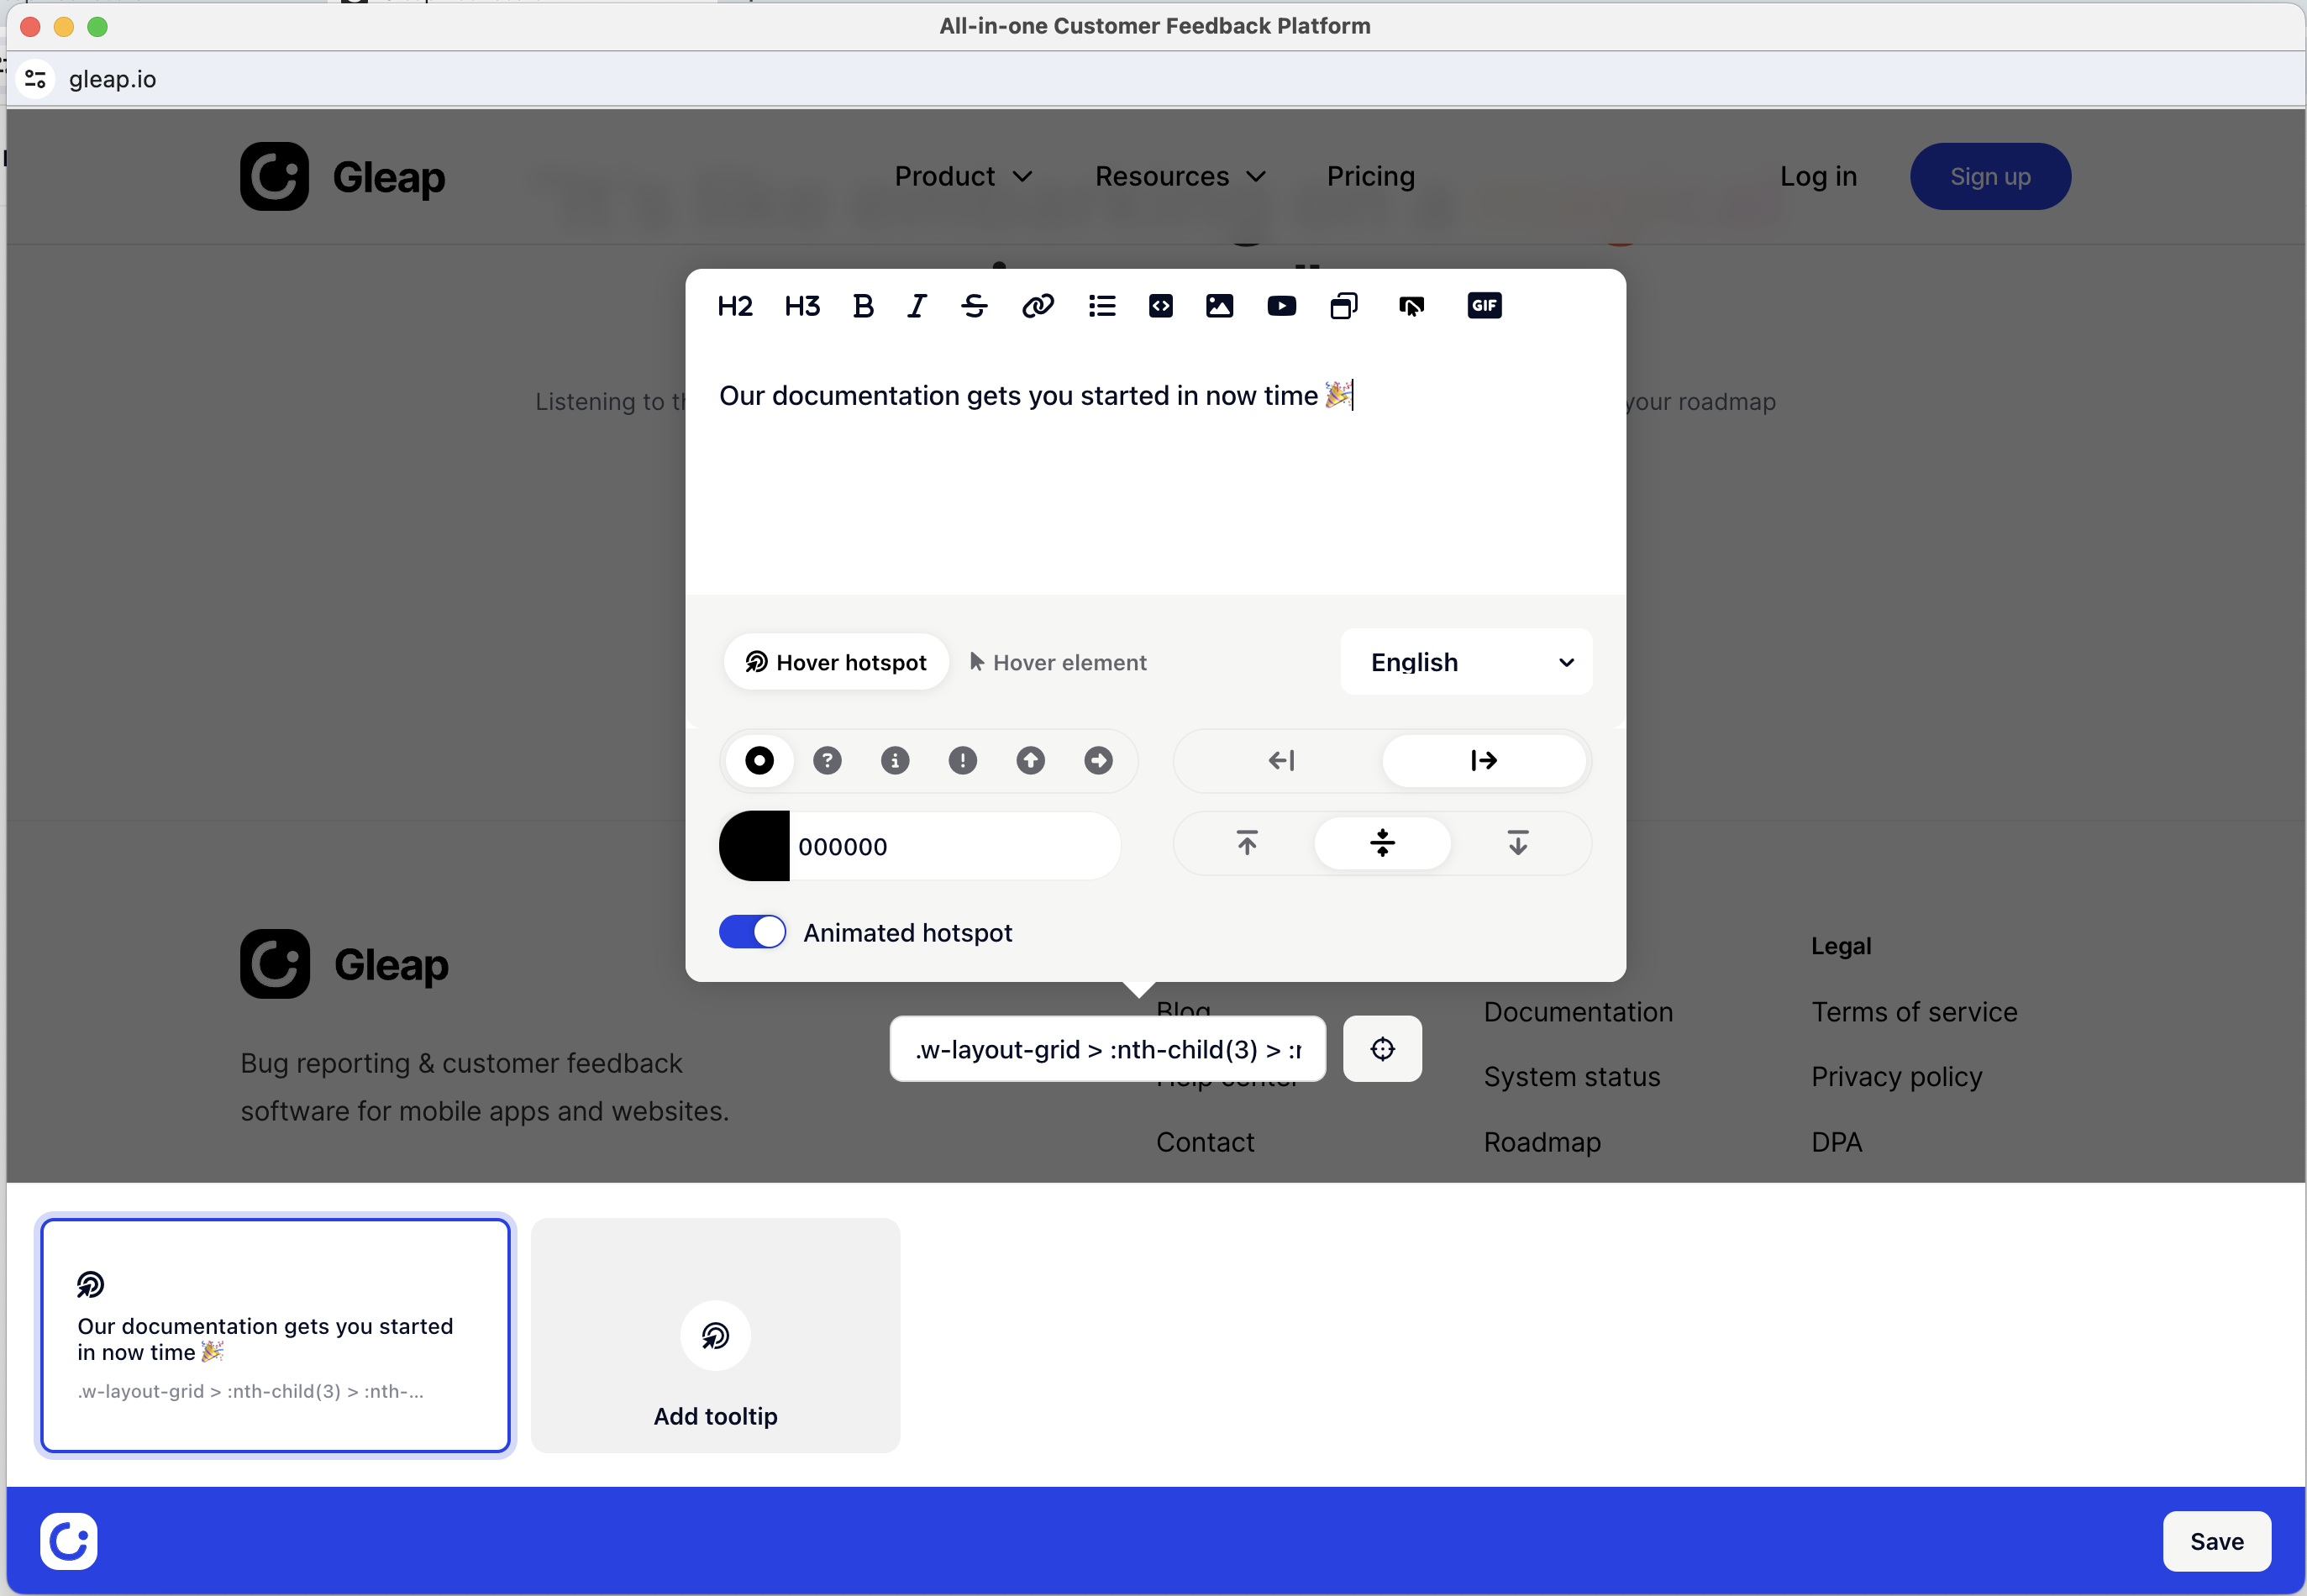
Let's break down the different options.
Hover hotspot:
This option will insert a little "hotspot" / point of interest, that the customer can hover on to see the tooltip content. This is super useful to add links to your help center articles or show tips for more complex UI elements in your app / website.
Hover element:
The hover element option simply shows the tooltip, when hovering over the selected element. No hotspot will be added for this option.
The "Hover hotspot" option provides extensive customization options, including the ability to select the icon for the hotspot, choose its color, animate the hotspot to enhance visibility, and adjust its positioning for precise placement.
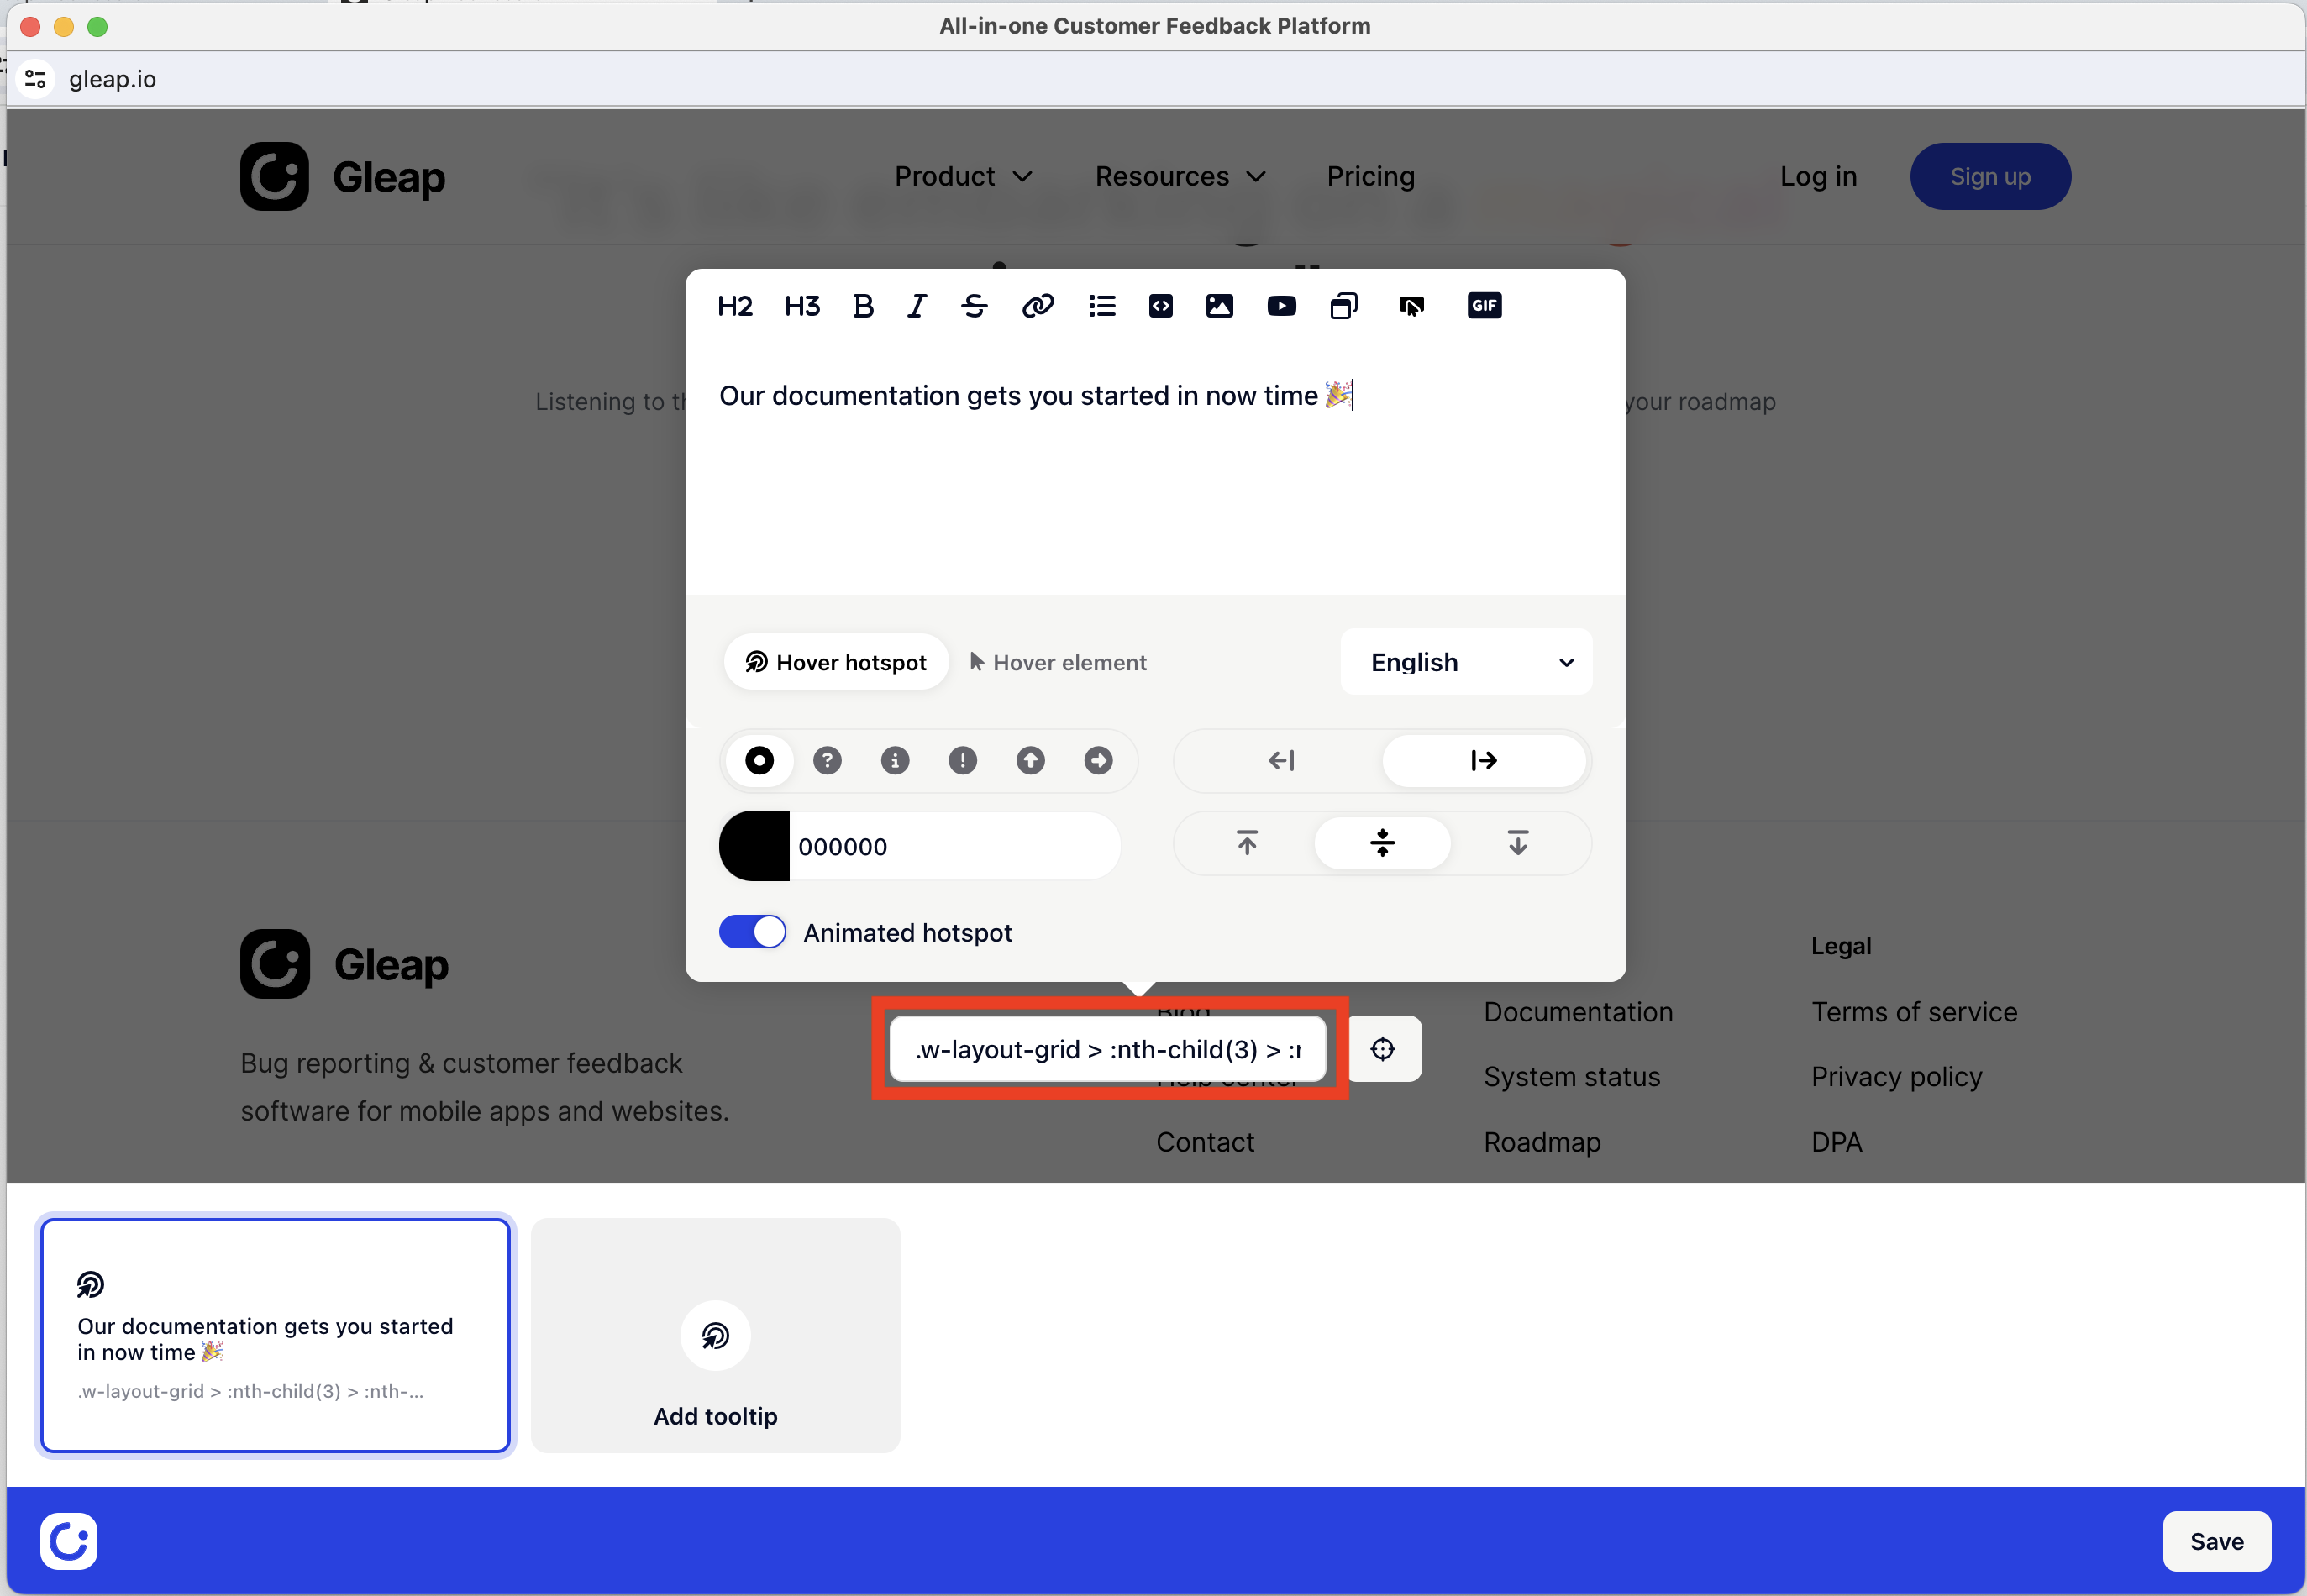
In certain edge cases, our visual element picker might not be sufficient enough. You can always overwrite the element selector directly within the selector textbox.
Internally Gleap uses querySelector() to identify the elements.
Once you are happy with the tooltip, you can either add more tooltips to your tooltip group, or save the changes by clicking "Save" in the bottom right corner.
Before launching your tooltip, you should specify the audience you want to reach with the tooltip.
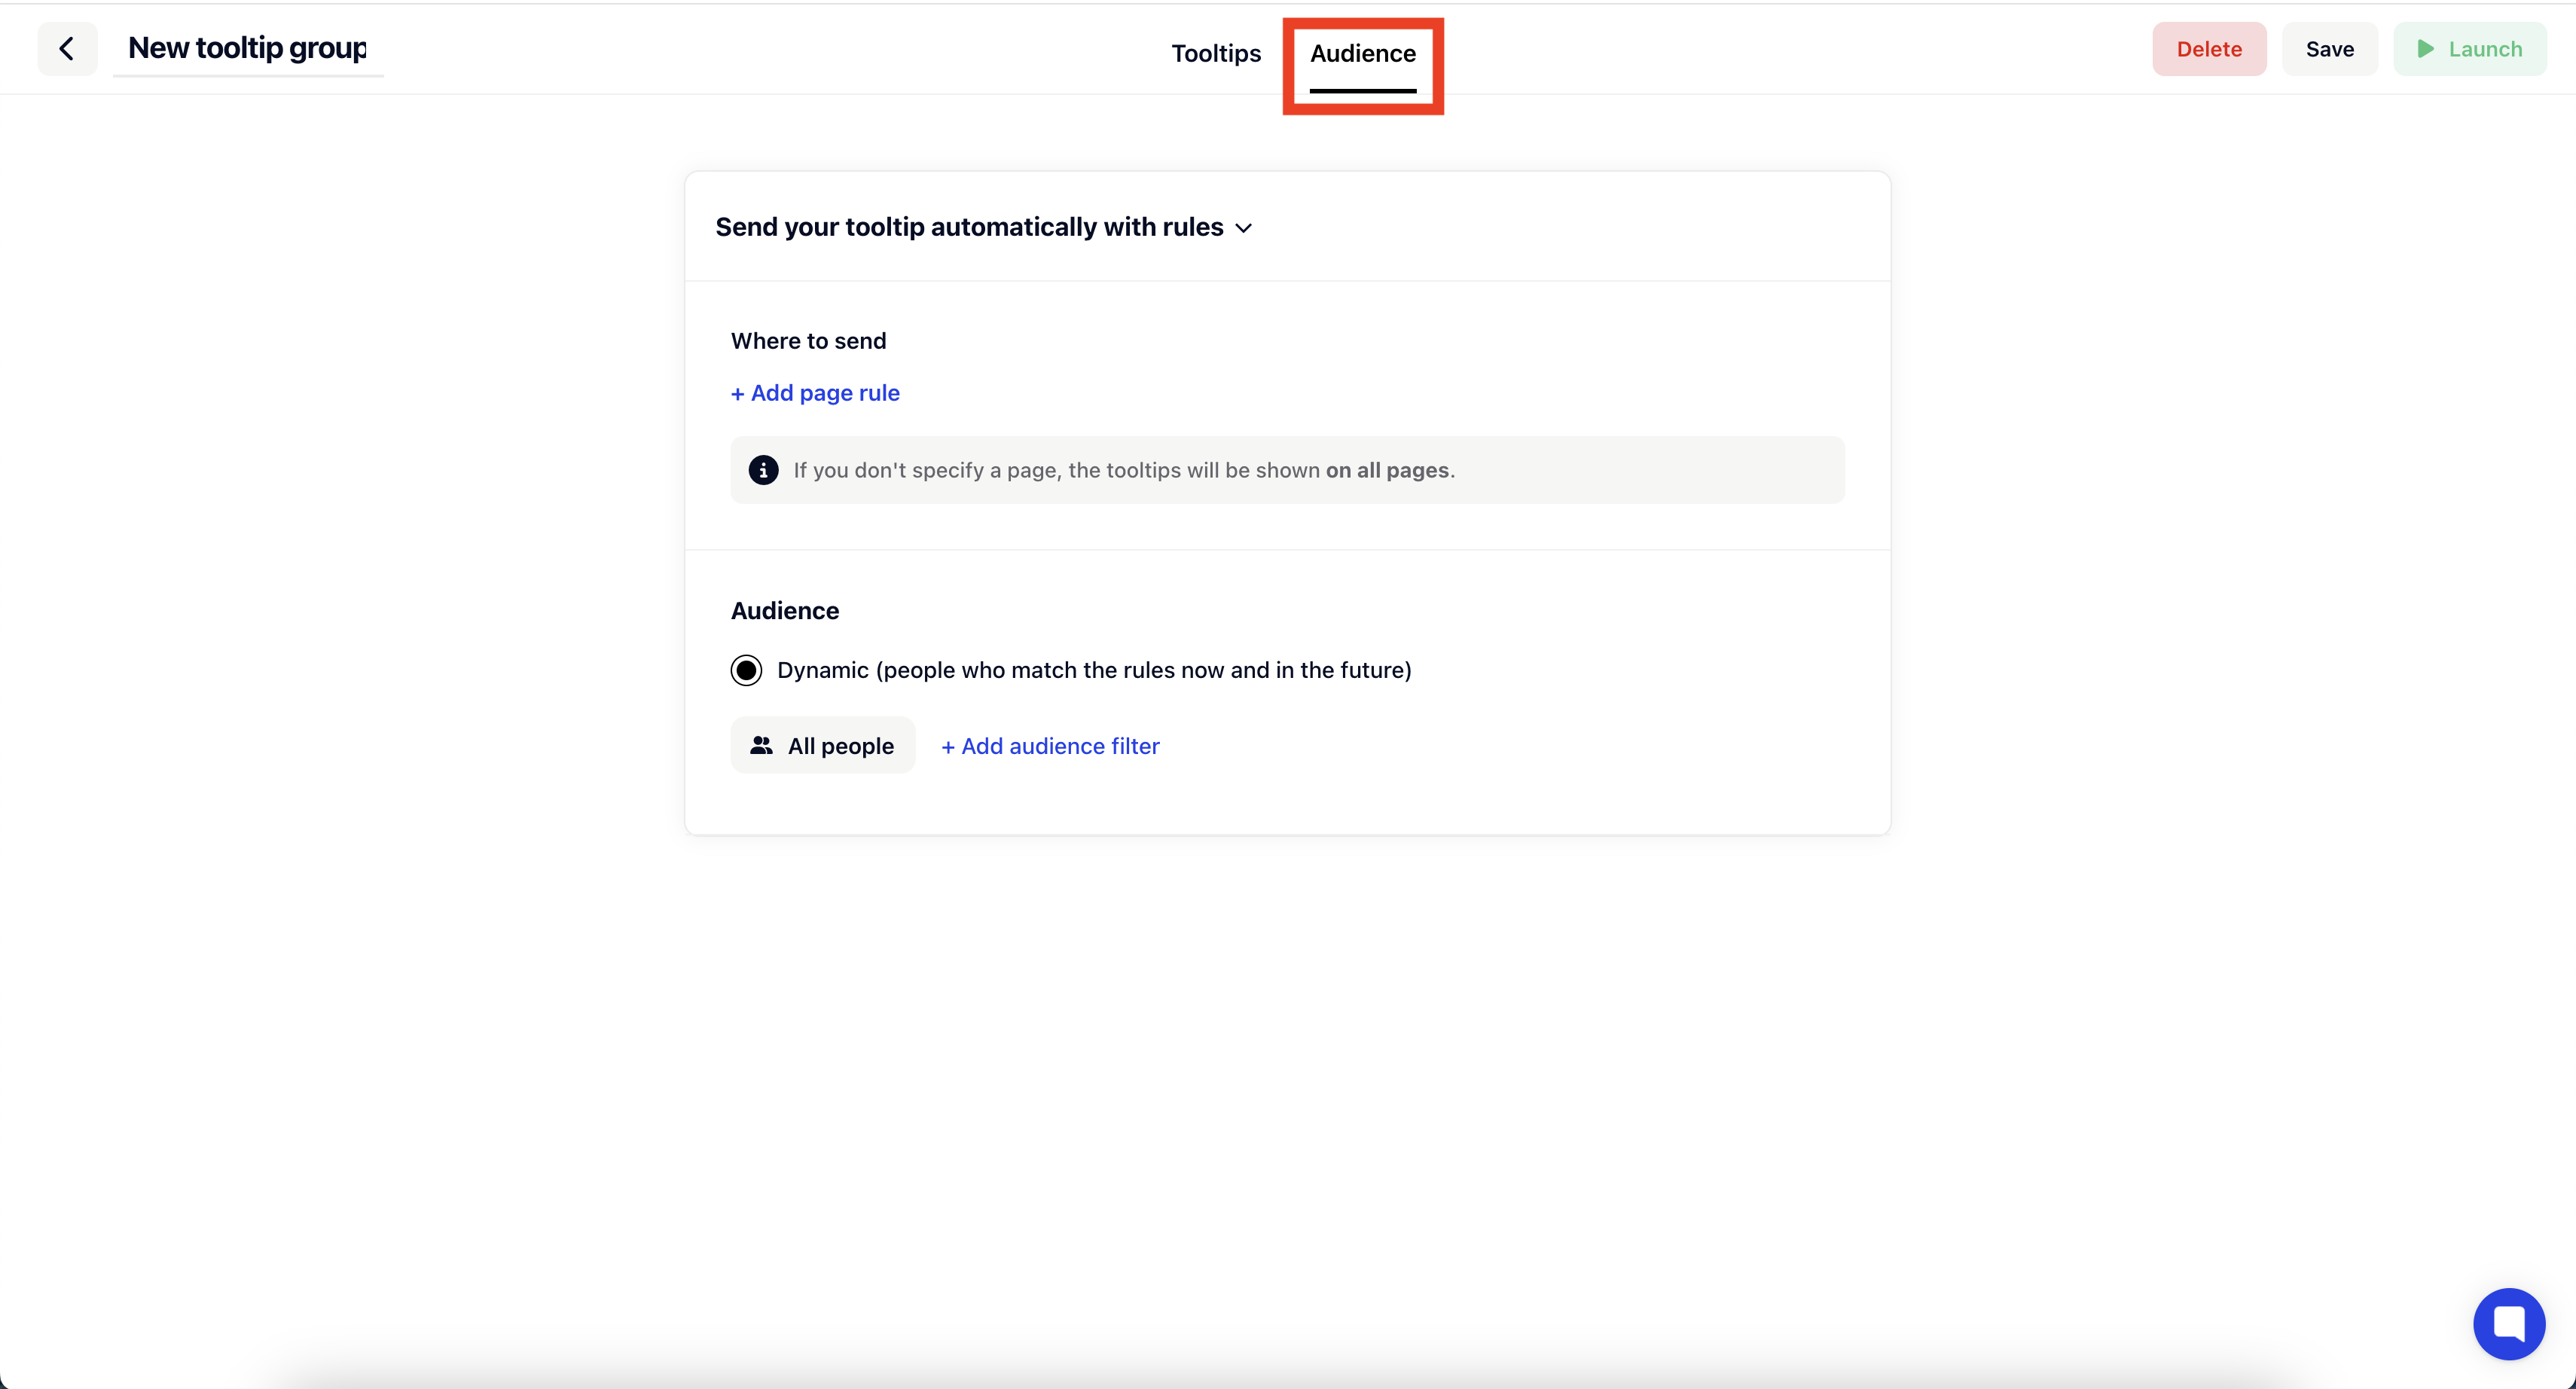
Click on "Audience" to open the audience tab.
This option allows you to filter down the pages, where the tooltip should be shown. If you don't add any page here, the tooltip will be shown on ALL pages that have matching elements. For super specific selectors, that is fine, but if the selector is more general, this could lead to issues. If possible, we recommend using specific selectors & page rules, to make sure the tooltips are shown in the correct locations only.
Contact our support team if you need help on this!
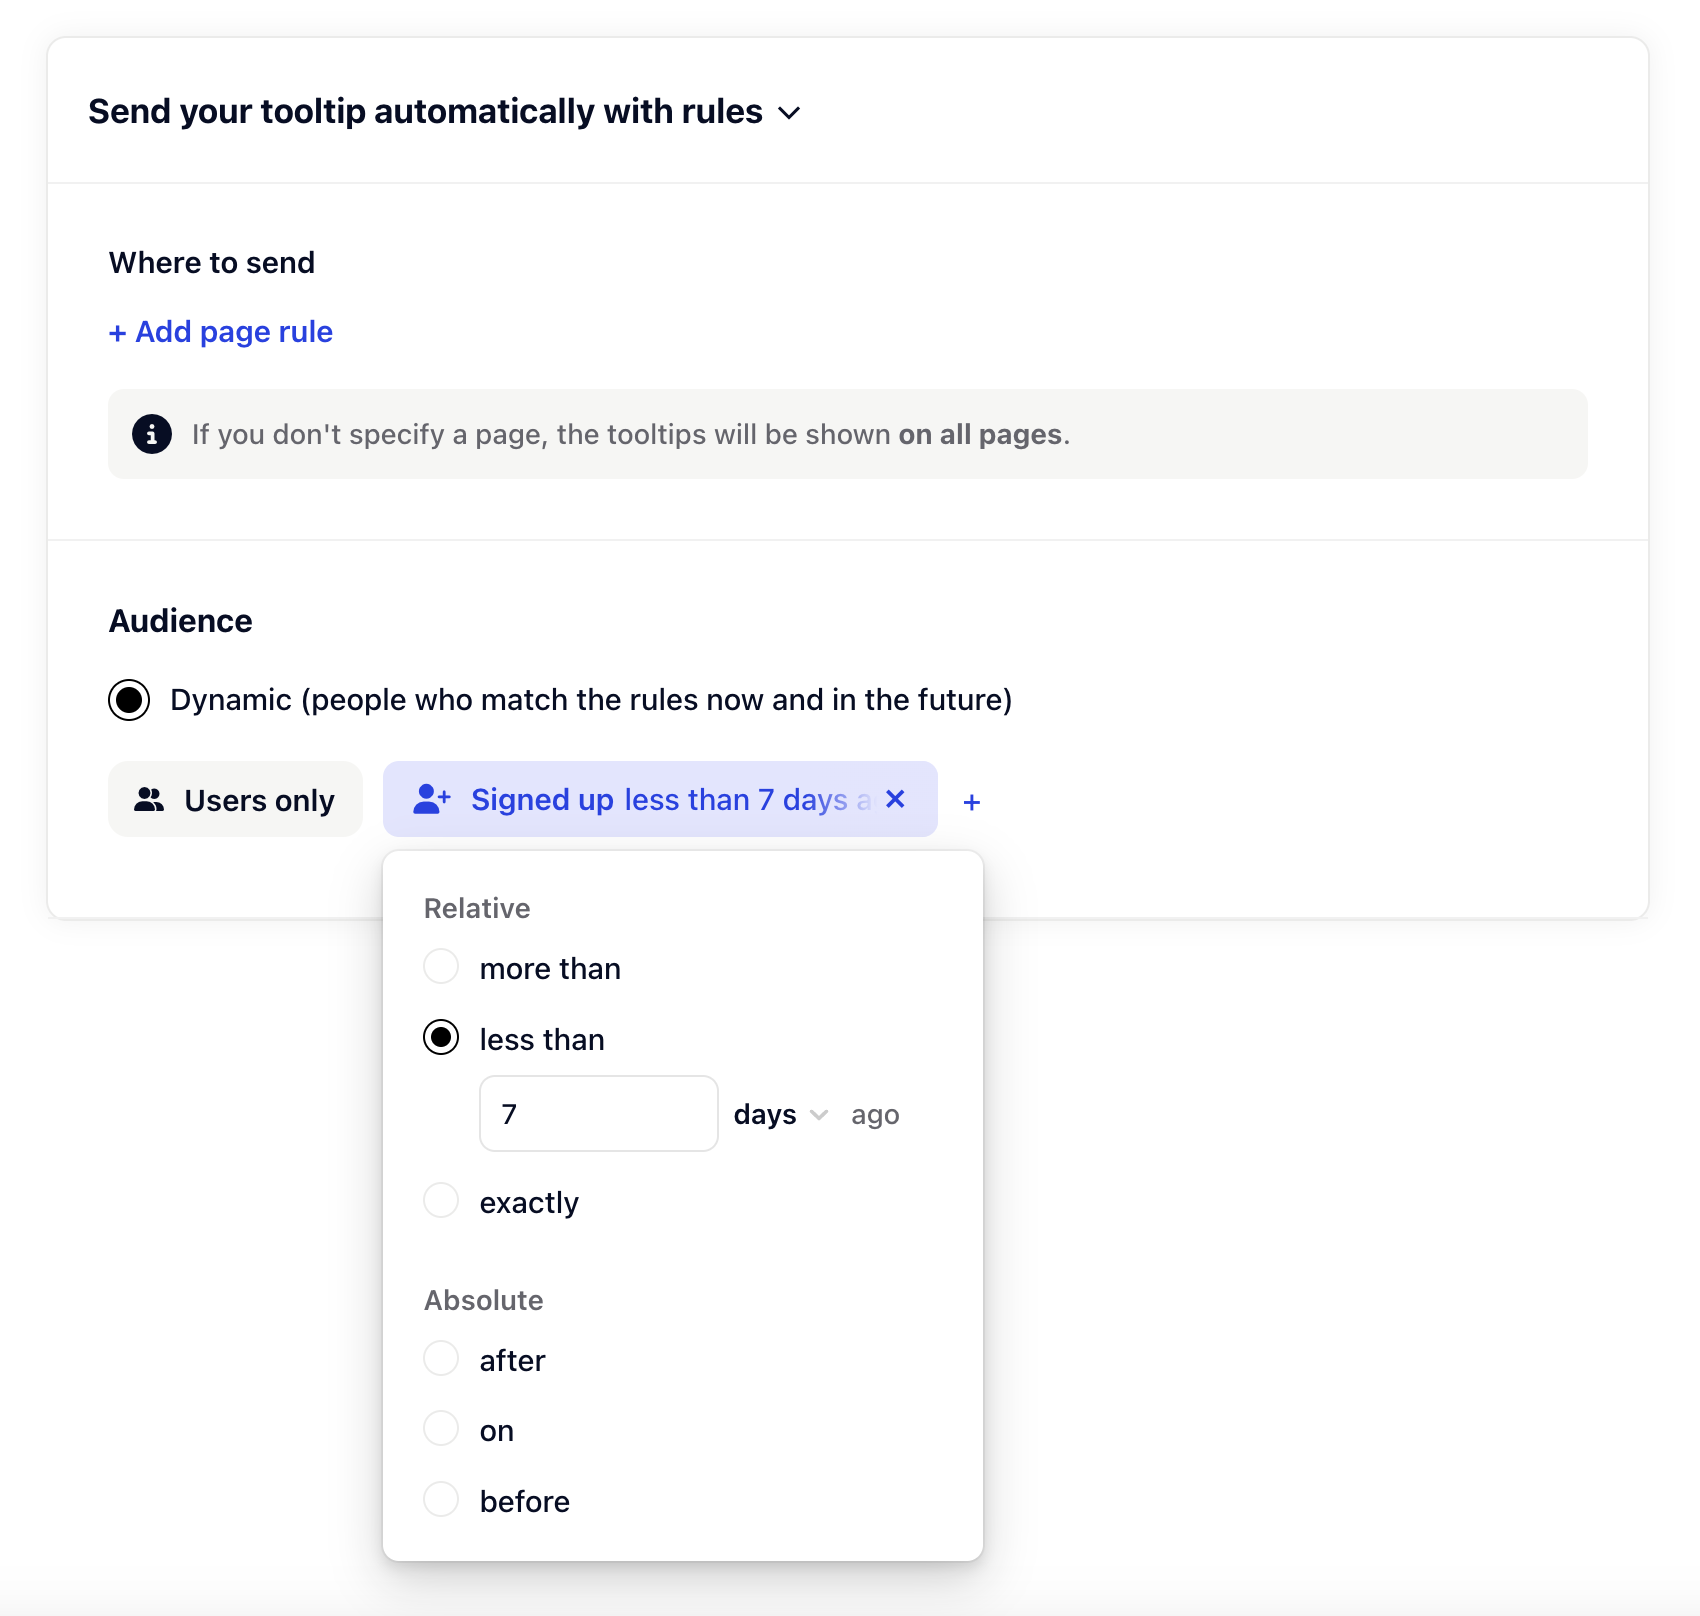
The audience filter allows you to further customize, who will receive the tooltips. You might for example only want to show tooltips to certain users, that just onboarded.
This is something, our audience filters are really good at. First, select "Users only" to only match identified users. Second, add a "Signed up" filter with the options: less than 7 days ago. This way the tooltip will be sent to all identified users, who signed up less than 7 days ago.
The possibilities for audience filters are almost endless. Sometimes they can become quite hard to get the head around - contact our support if you need help with filters!
Now hit Save & Launch 🚀 and you are good to go.
Congratulations on creating your first tooltip!