Gleap provides the flexibility to fully customize your email templates by editing the underlying HTML. This enables you to design emails that align with your brand and messaging, while also ensuring important user information is included through dynamic placeholders
Here's how it works:
Initially, Gleap sends your reply as a chat message via the widget. This approach aims to provide an immediate response if the customer is currently online.
Gleap then waits for 3 minutes before considering an alternative delivery method. This delay allows the customer ample time to notice and read your chat message.
If the customer reads the chat message within this period, Gleap will not send an email, thus avoiding duplicate communication.
However, if the customer is offline or hasn't read the message within the 3-minute window, Gleap automatically dispatches the message as an email. This ensures that your response reaches the customer even if they're not actively using the chat.
This article guides you on personalizing the email template used for such communications.
Go to Project -> Settings -> Email -> Email templates. Gleap comes with a few default email templates, ready for you to be customized.
The default email template for support replies is named "Message reply". Click on it to get started.
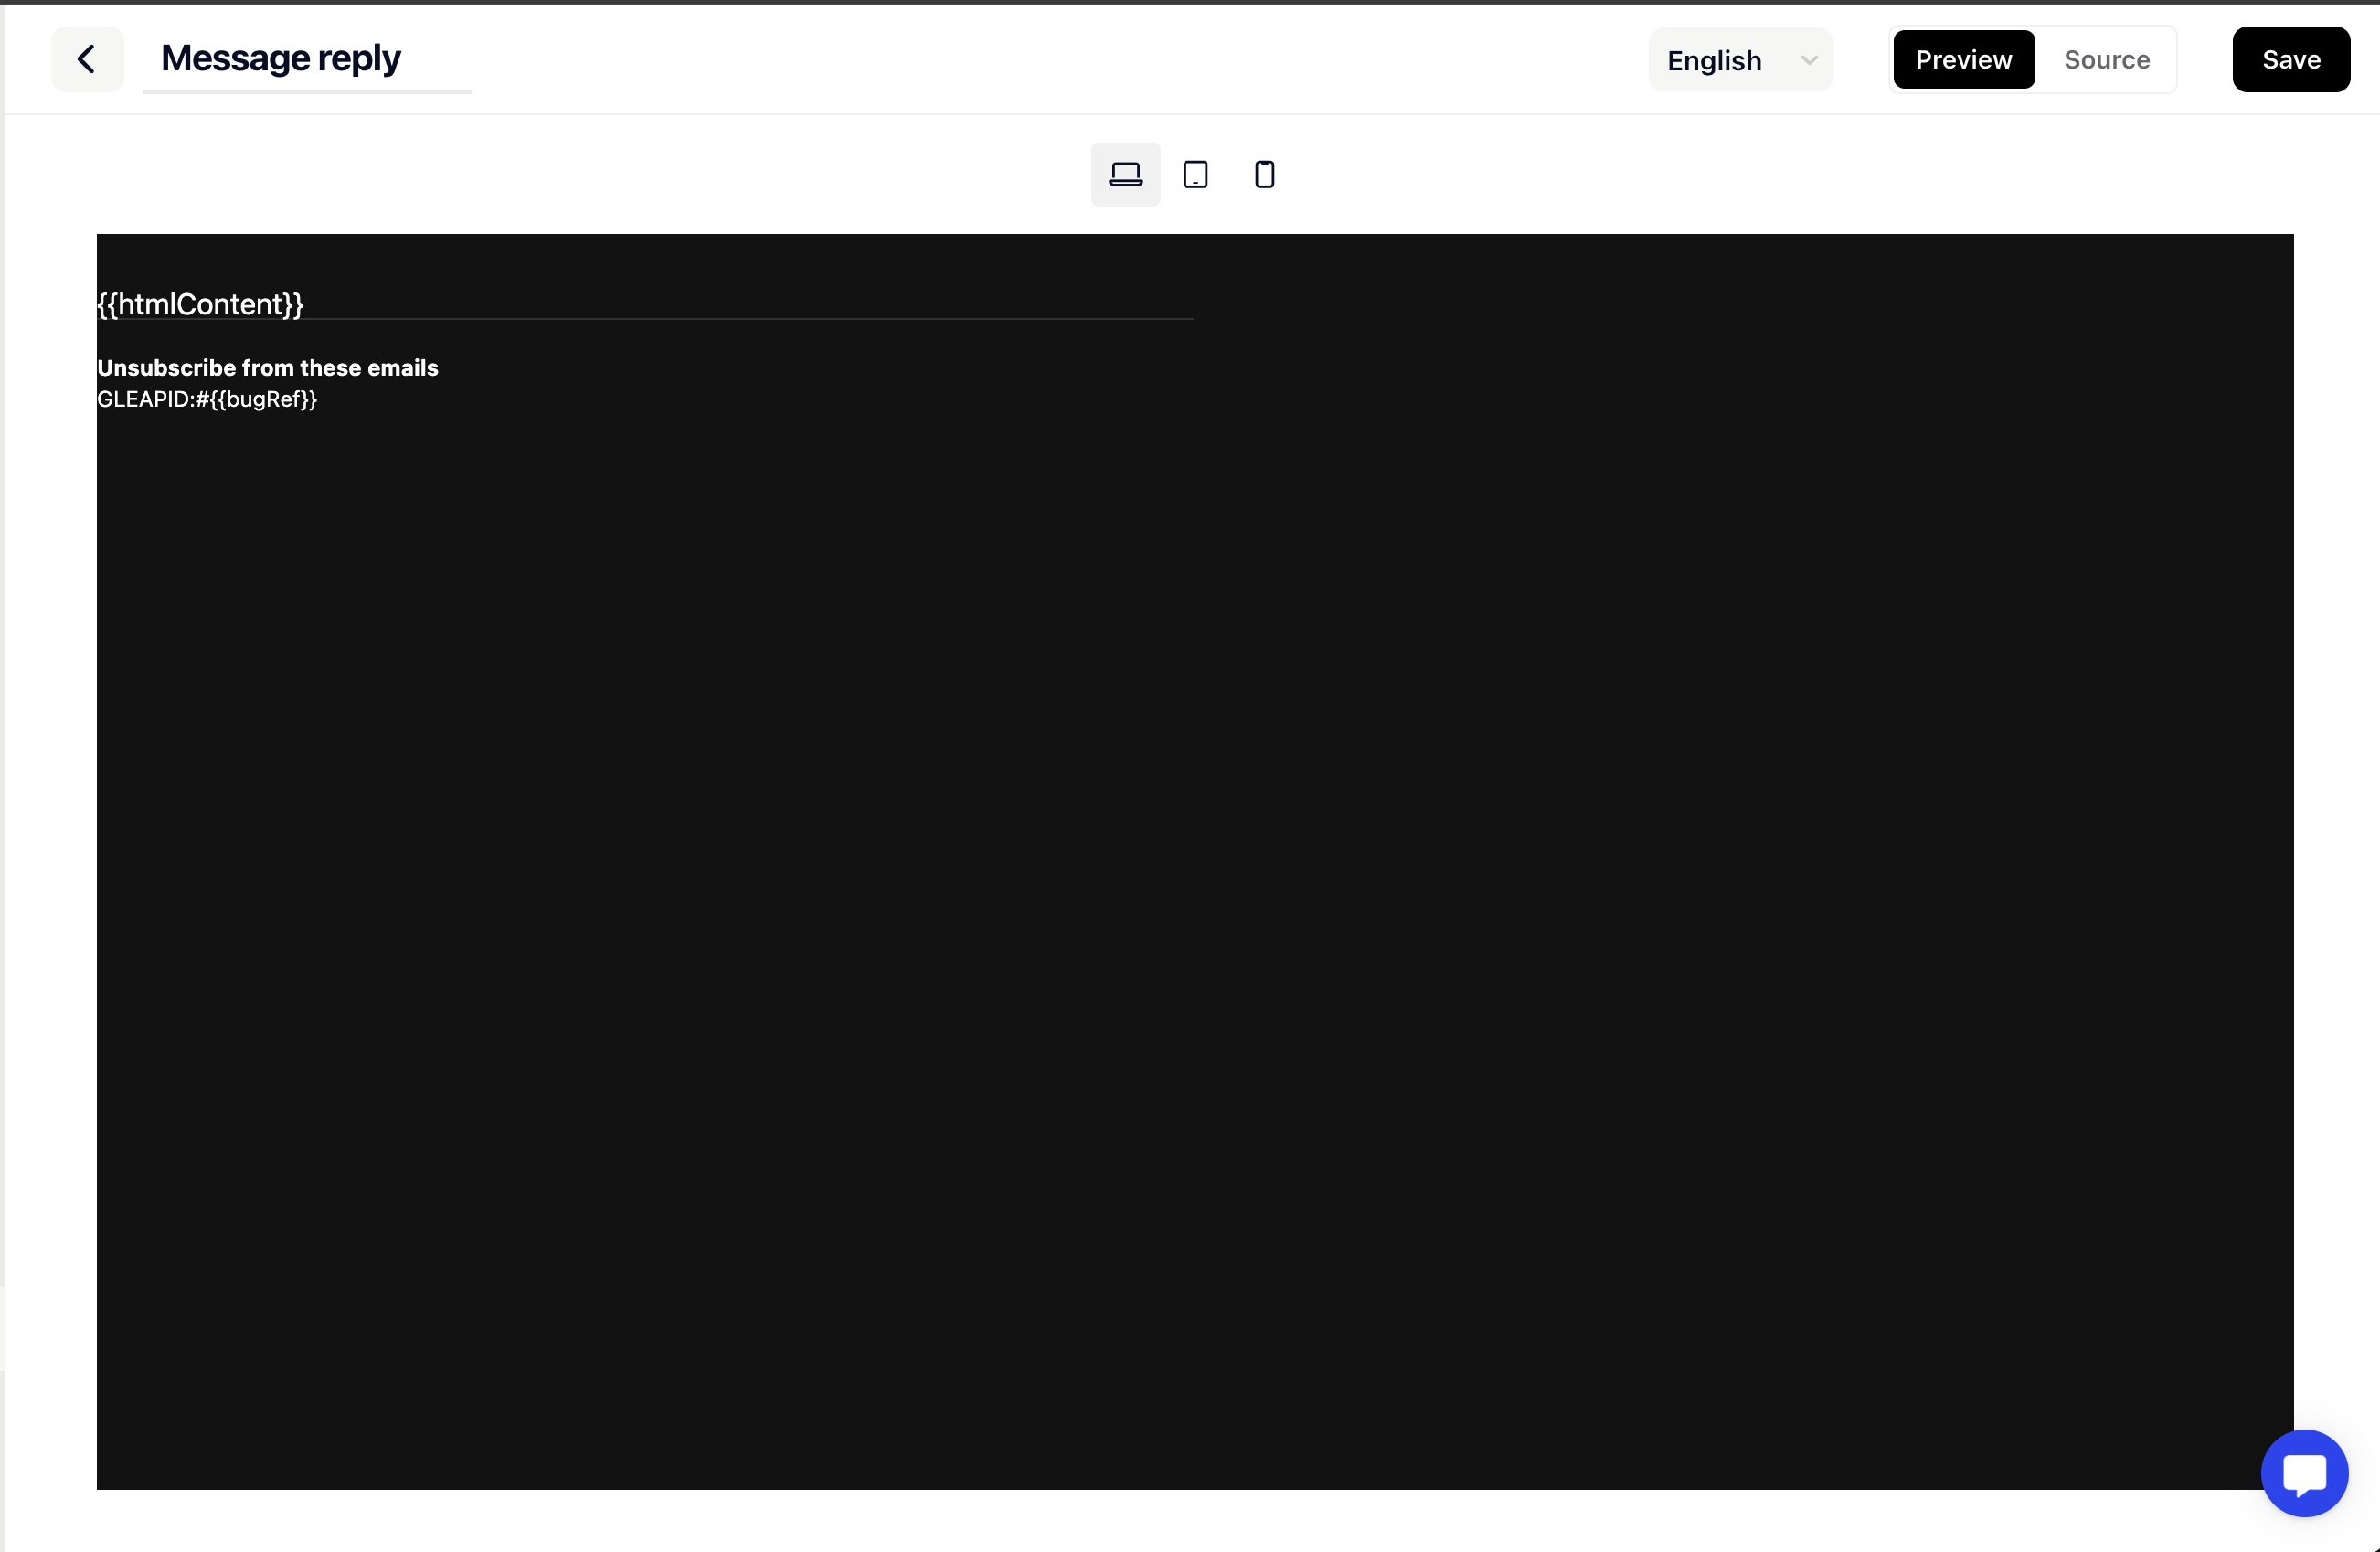
The email editor offers two modes. The preview mode, allowing you to preview the email template and the source mode, which allows you to customize the template.
In order to customize our template you will need to choose the language you want to edit and then click on "Source".
You can now fully customize the HTML of the email template, allowing you to adapt the reply messages to your needs.
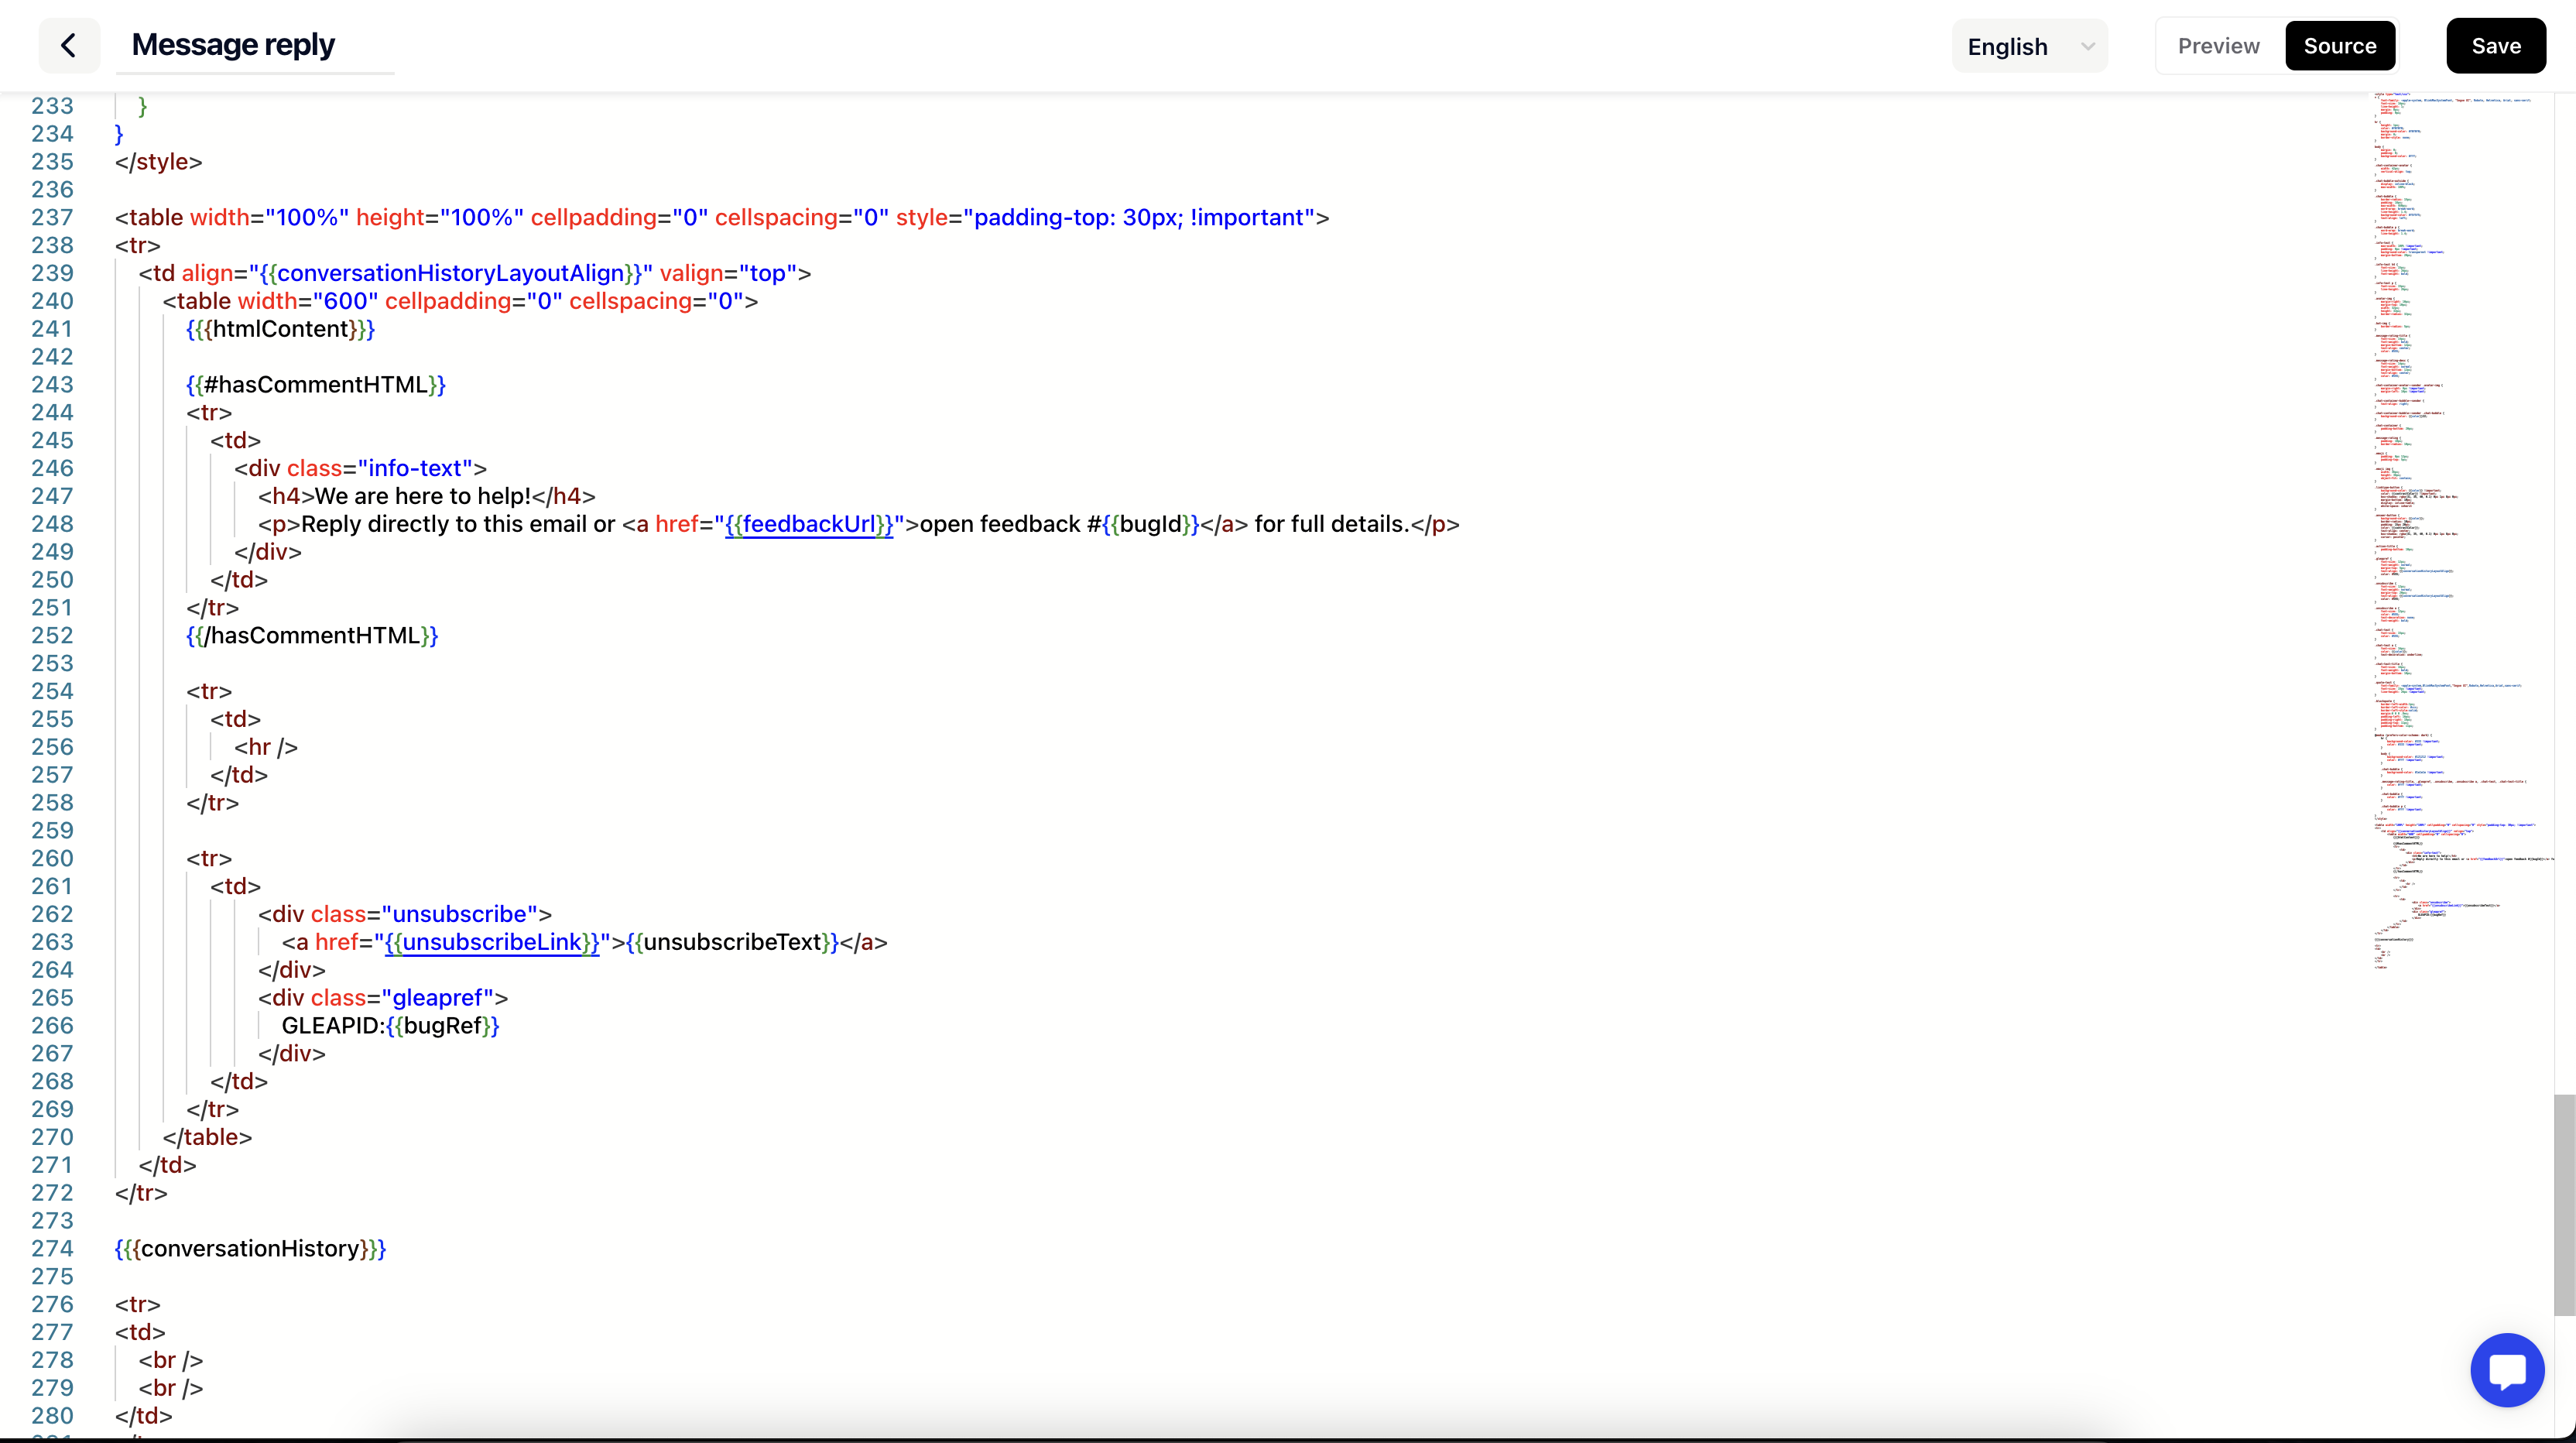
As you can see in the screenshot above, Gleap offers a few variables that you can use to display dynamic content. The following list of variables is available:
{{companyName}} - Company name
{{{htmlContent}}} - This is the place where the actual message gets added. This variable is mandatory.
{{hasCommentHTML}} - Special variable which is used to identify whether or not it's an email from a bot conversation or a real human reply.
{{unsubscribeLink}} - This will add an unsubscribe link. This variable is mandatory.
{{{conversationHistory}}} - This adds the conversation history to the message
{{bugRef}} - This adds the ticket reference to the message.
{{unsubscribeText}} - Unsubscribe text from translations
{{profileImageUrl}} - Image URL from the sender
{{user.name}} - Name of the sender
{{projectName}} - Name of the project
Once you are done with editing your template, hit save.
HTML Structure
Gleap email templates are written in standard HTML code. You can modify the template to include your own styles, such as fonts, colors, and layout. Remember to structure your content within HTML elements like <div>, <p>, and <table>, just as you would for any HTML-based email.
Using the {{{htmlContent}}} Variable
The {{{htmlContent}}} variable is used as a placeholder for the user’s message. This content must always be wrapped inside a <table> element to ensure proper formatting in the email.
Example:
<table>
   {{{htmlContent}}}
</table>
Managing Top Spacing
By default, {{{htmlContent}}} has a top spacing to prevent it from sticking to the top of the email. If you want to remove this spacing for specific designs, you can do so with the following CSS code:
#gleap-content-top-space {
   height: 0px !important;
}
Auto-Reply Variables
When creating or editing auto-reply templates, Gleap provides several dynamic variables that you can include to personalize the email:
{{feedbackId}}: Inserts the unique ID of the feedback or ticket.
{{{formData}}}: Adds details from the submitted form.
{{{screenshot}}}: Includes a screenshot if one was attached.
{{feedbackUrl}}: Provides a link to view the feedback.
{{receiverName}}: Personalizes the email with the recipient’s name.
{{companyName}}: Inserts the name of your company.