The Gleap Chrome Recorder Plugin captures your browser tab while you perform a task, tracks your interactions automatically, and uses AI to generate a step-by-step help center article draft. No more writing documentation from scratch — just record, review, and publish.
Tip: You can also use the Chrome Recorder to create release notes. Check out our guide on creating release notes with the Chrome Recorder for more details.
Install the Gleap Recorder from the Chrome Web Store. Once installed, you'll see the Gleap icon in your browser toolbar.
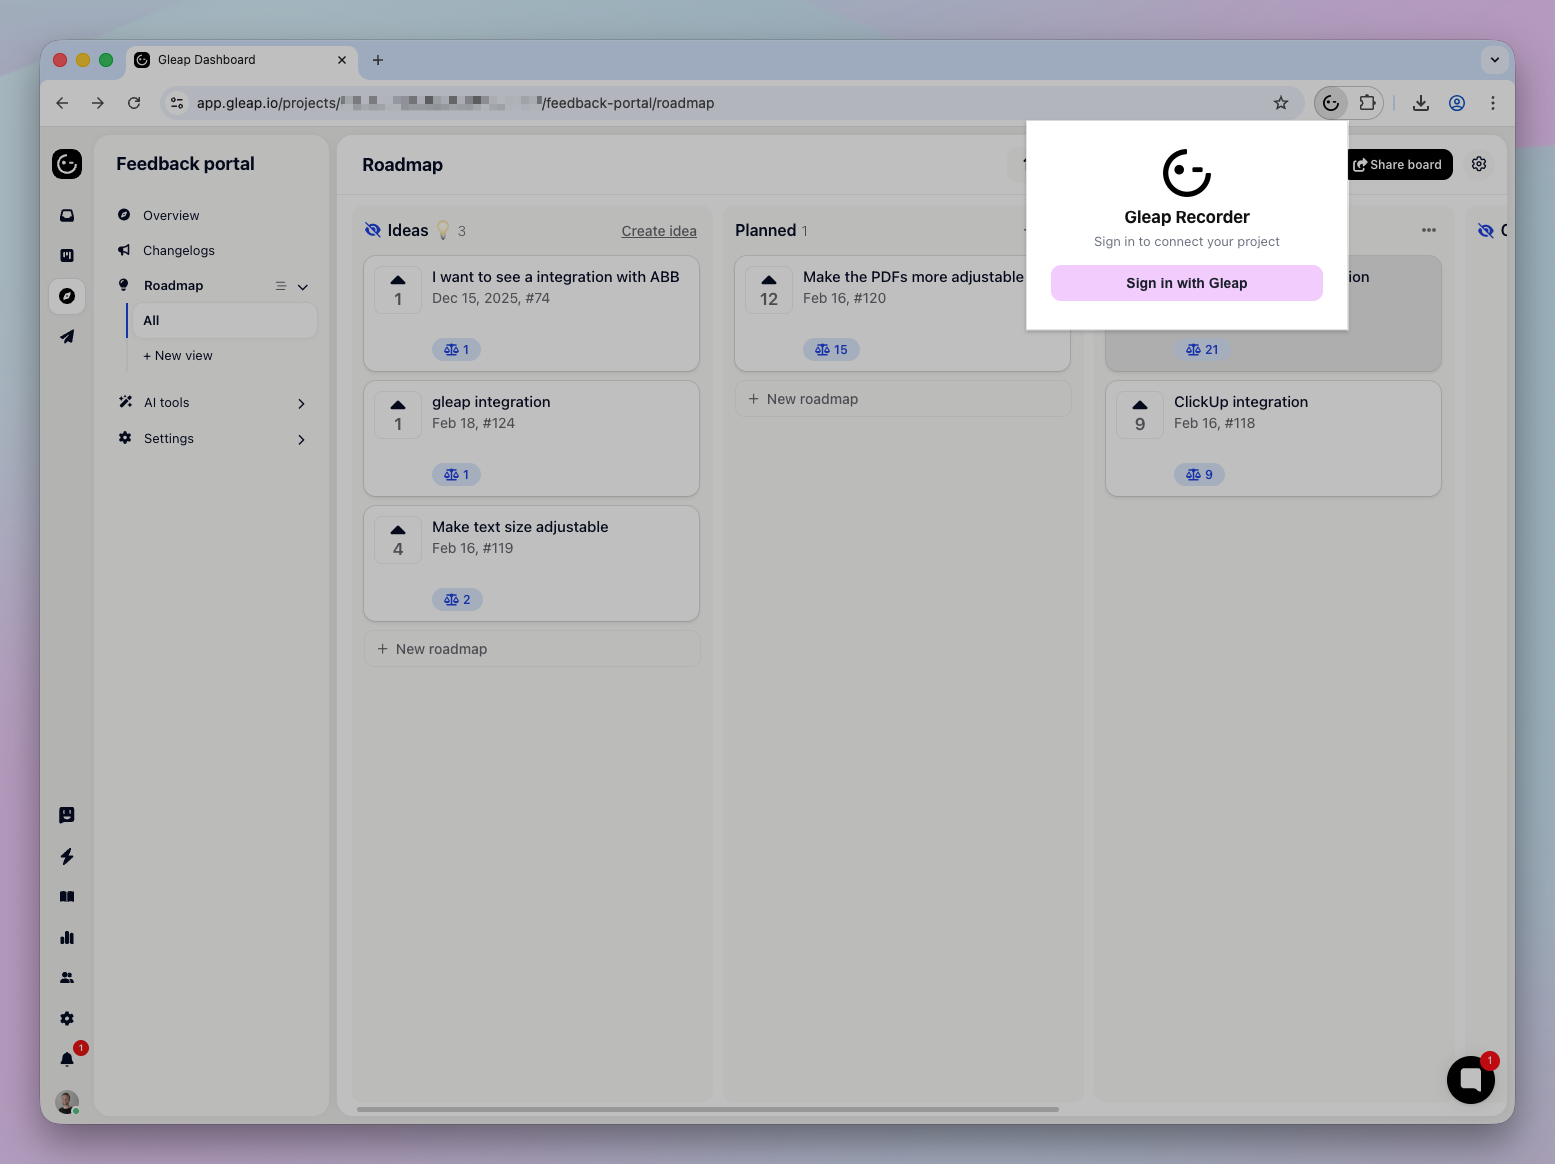
Click the Gleap icon in your toolbar and select Sign in with Gleap. This connects the plugin to your Gleap project. You can connect multiple projects and switch between them at any time using the dropdown in the plugin header.
Before you start recording, make sure Help Article is selected as the recording type. This tells the AI to generate a step-by-step guide format.
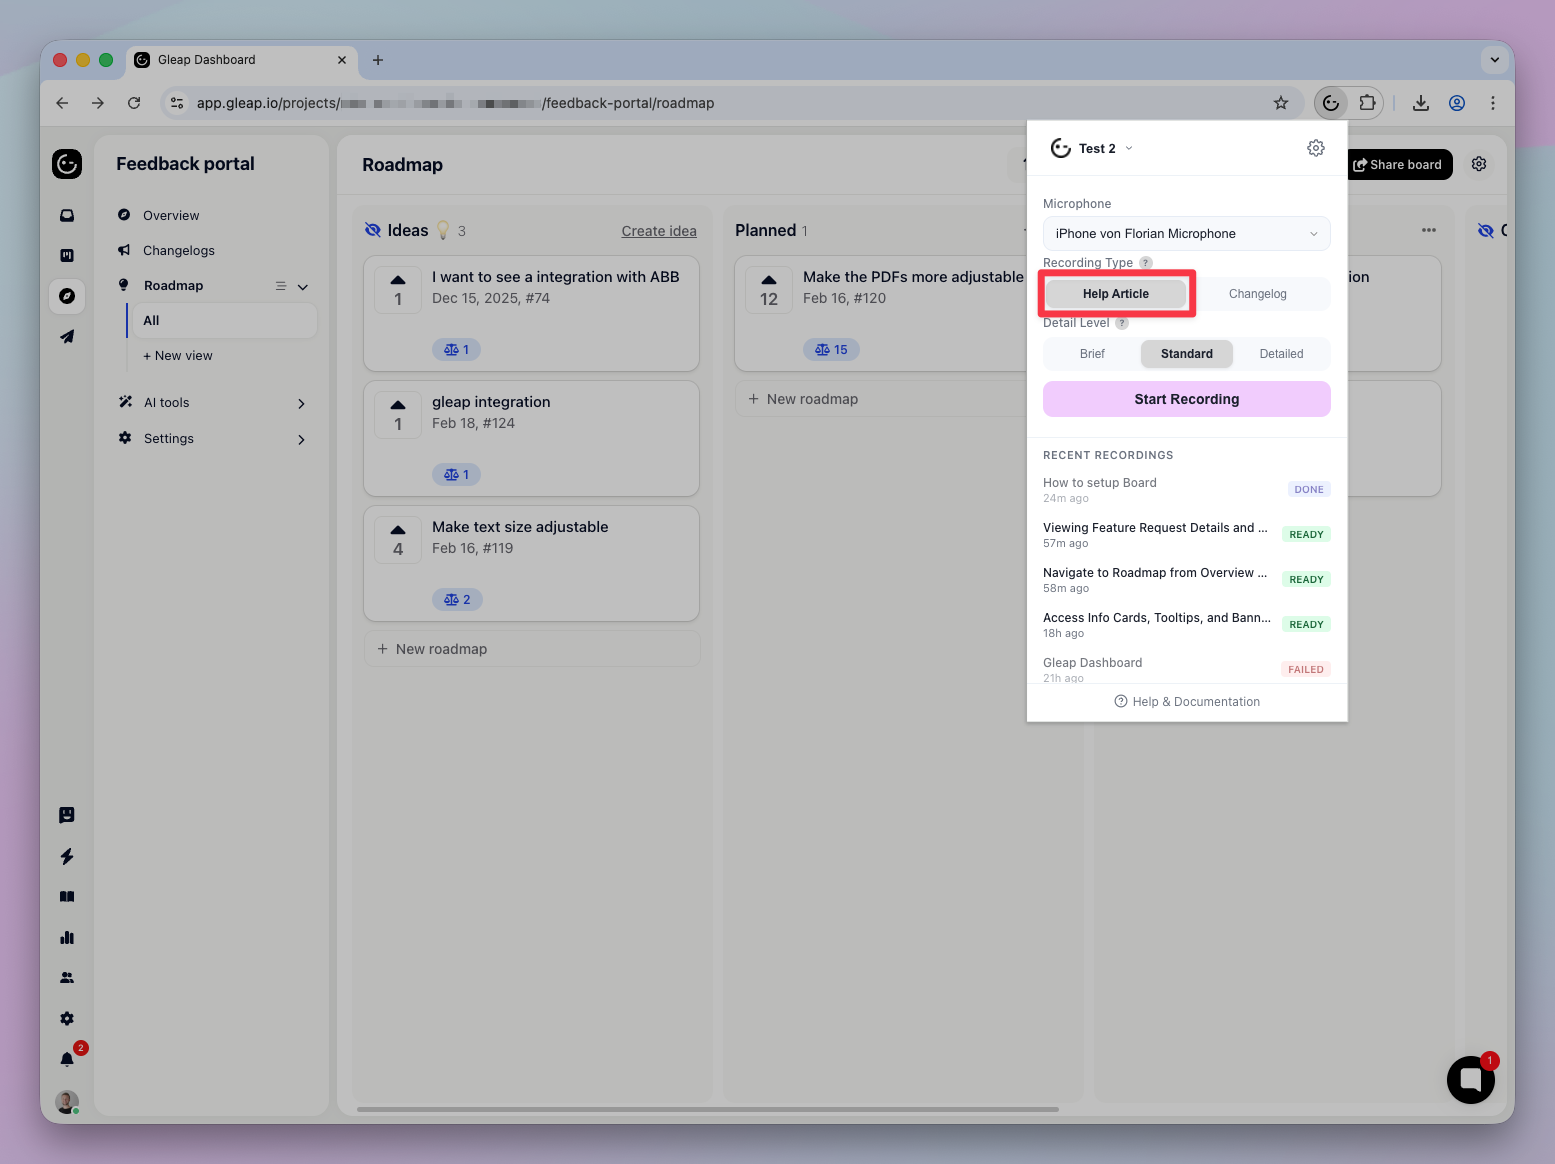
Choose how granular the AI output should be:
Detail Level
Best For
Brief | Short, simple workflows with just the key steps |
Standard | Balanced coverage — works well for most tasks (default) |
Detailed | Comprehensive guides with extra context and tips |
If you want to add voice narration, select a microphone from the dropdown. This is entirely optional — the AI can generate descriptions from your interactions alone.
If no microphone options appear, click the Grant Permissions link to enable microphone access for the plugin.
Navigate to the page you want to record
Click Start Recording
A 3-second countdown appears, then recording begins
Perform your task as you normally would — the plugin tracks your clicks, text input, keyboard shortcuts, and page navigations automatically
A timer shows your elapsed time in the plugin popup
You can Pause and Resume at any time during the recording.
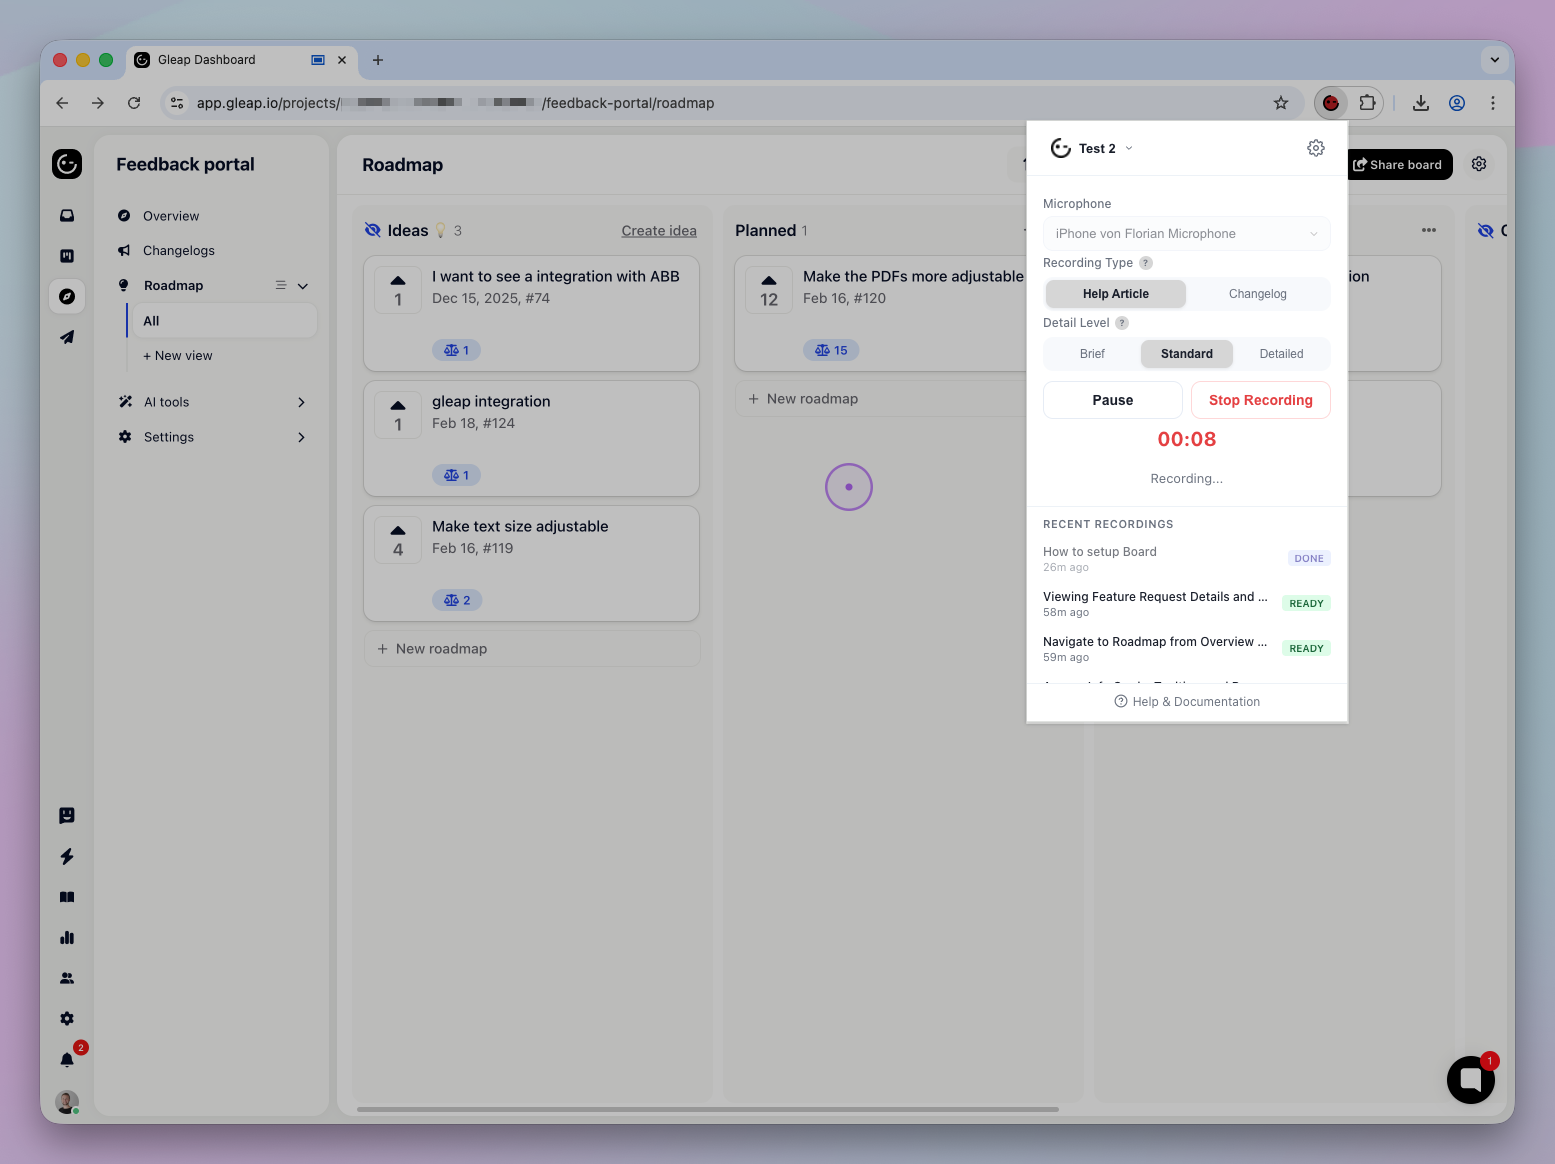
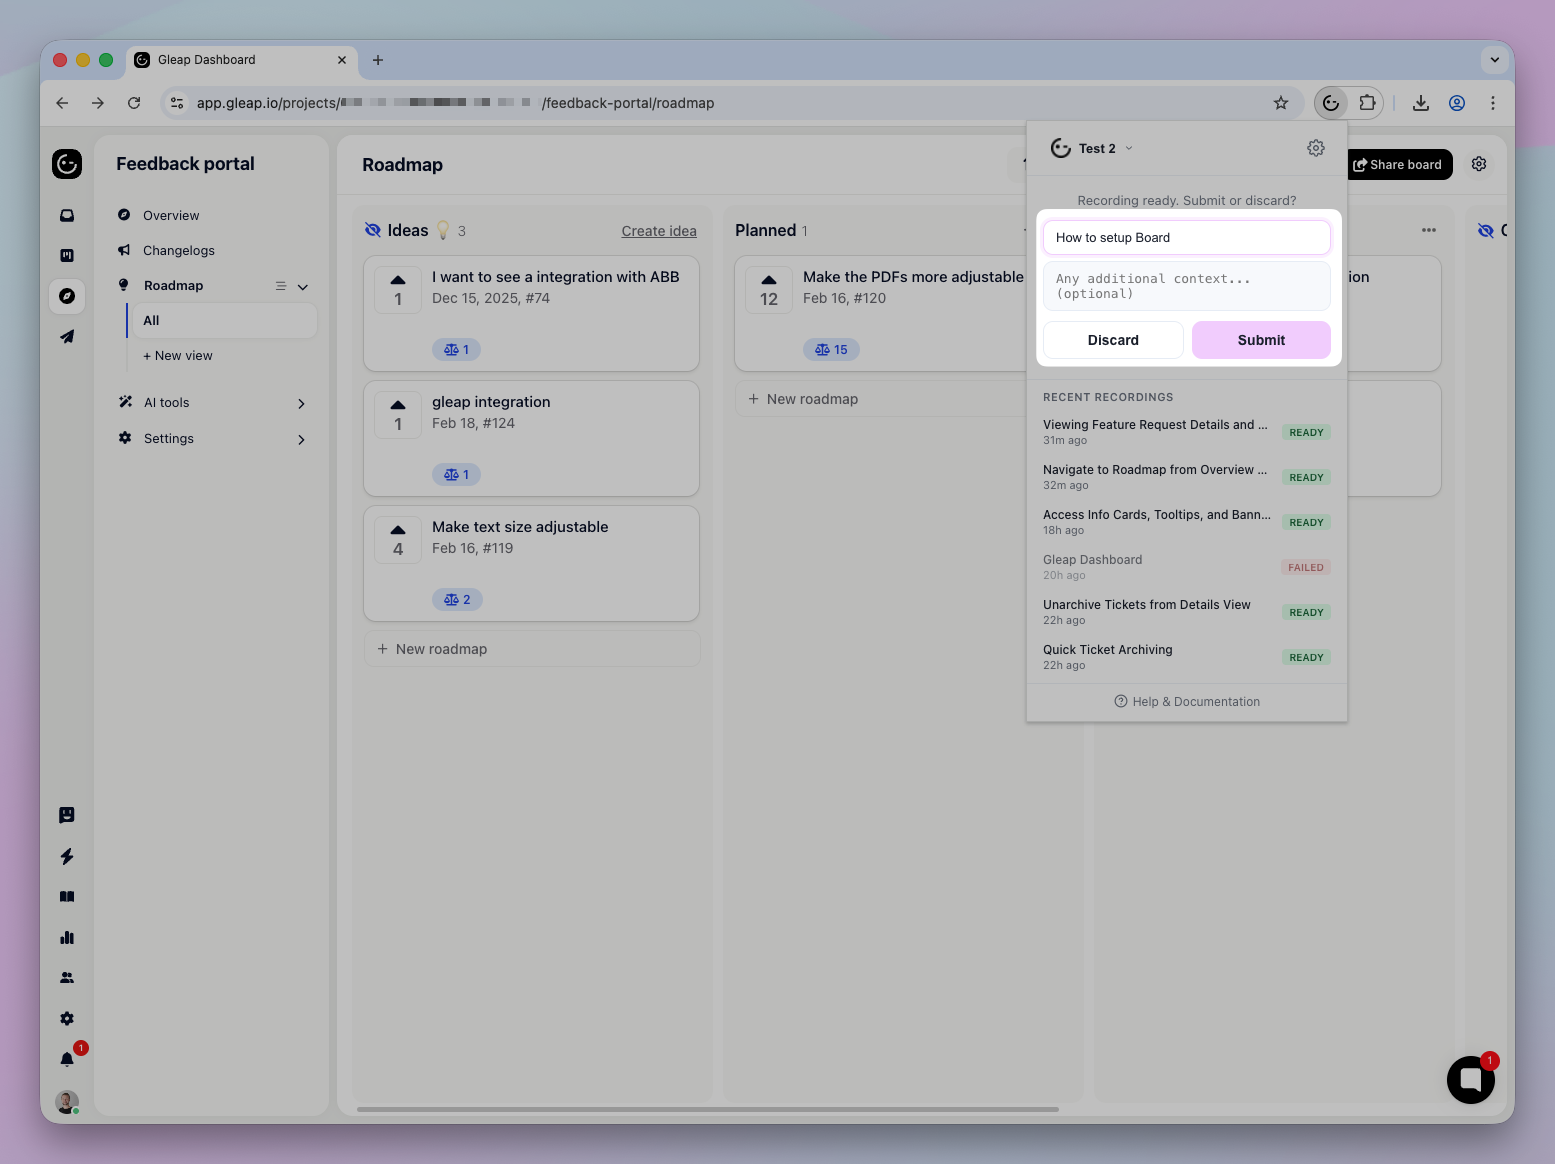
When you're done, click Stop Recording. You'll see a review screen where you can:
Add a Title (e.g., "How to create a new project") — this helps the AI generate more accurate content
Add a Description with any additional context
Click Submit to upload, or Discard to throw it away

After submitting, the AI processes your recording. This typically takes 2–5 minutes. You'll receive a notification when it's ready, and you can track the status in the Recent Recordings list in the plugin popup.
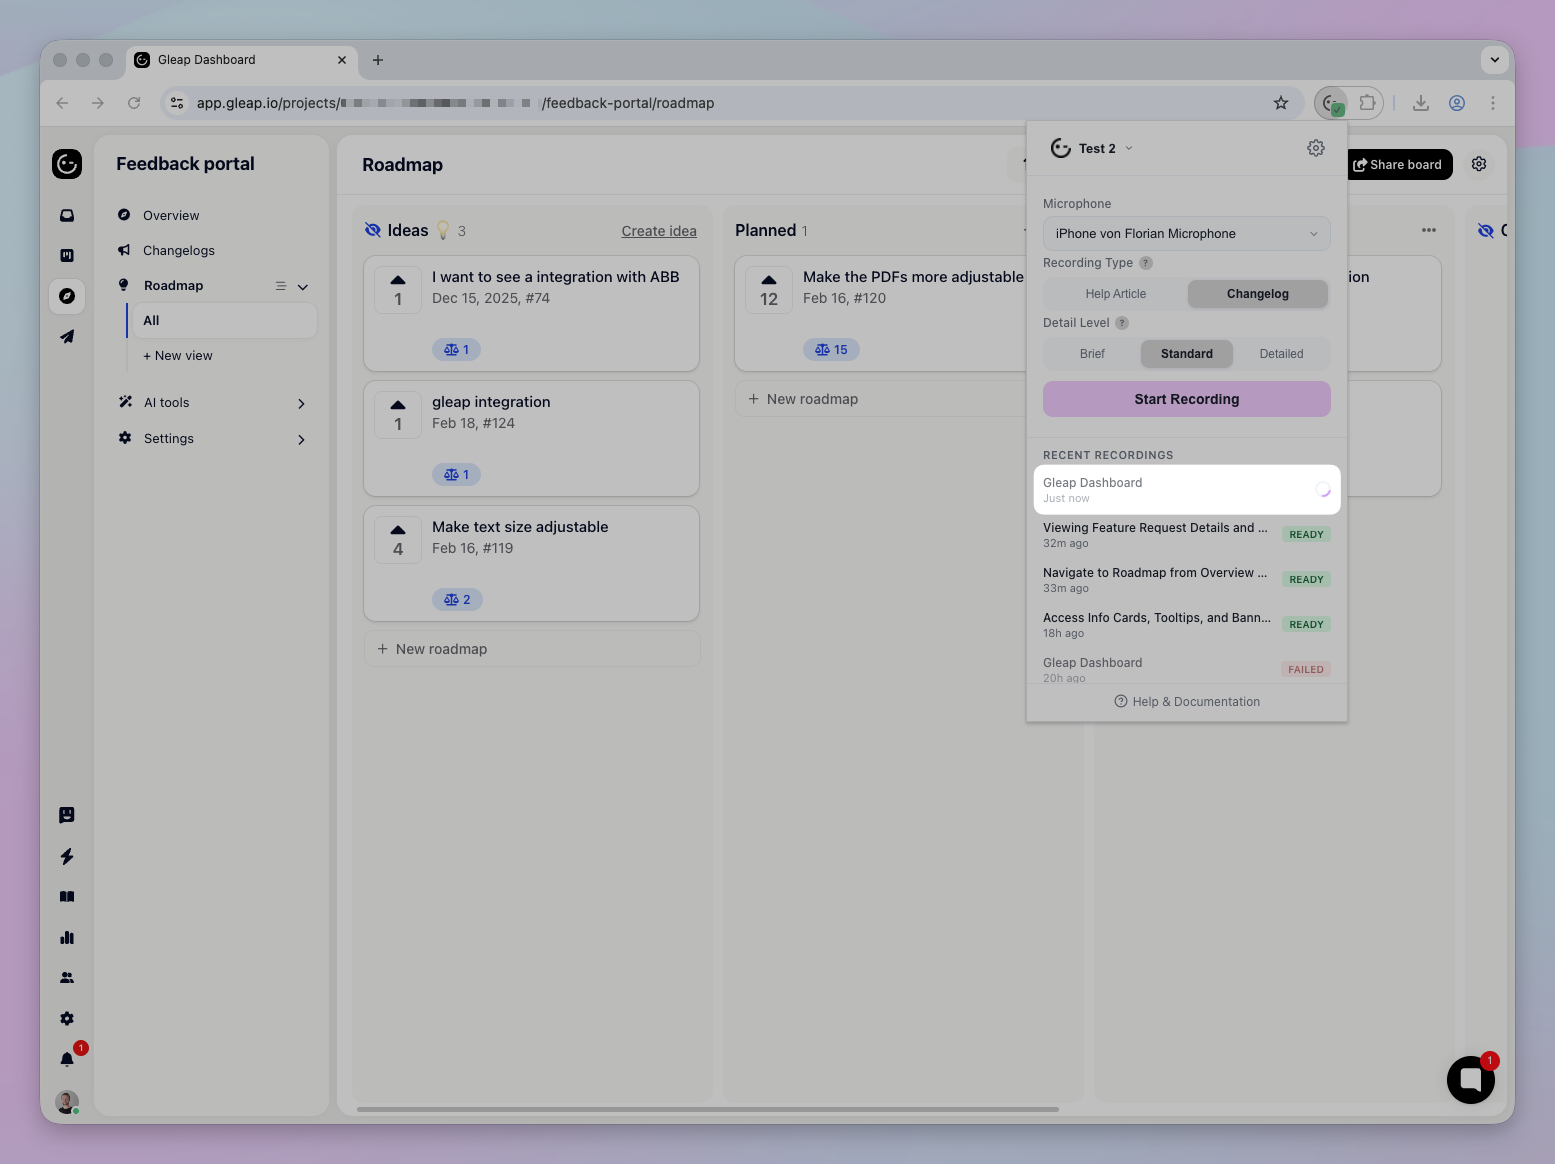
Once the status shows Ready, click on it to open the Editor in a new tab.
The editor lets you review and refine the AI-generated steps before creating your final article:
Step List (left sidebar) — all extracted steps with thumbnails, titles, and descriptions. You can reorder steps by dragging, delete steps you don't need, or add new ones.
Video Player (center) — scrub through your recording and see exactly what happened at each step.
Annotation Tools (toolbar) — draw arrows, rectangles, text labels, step numbers, or blur out sensitive information directly on each step's screenshot.
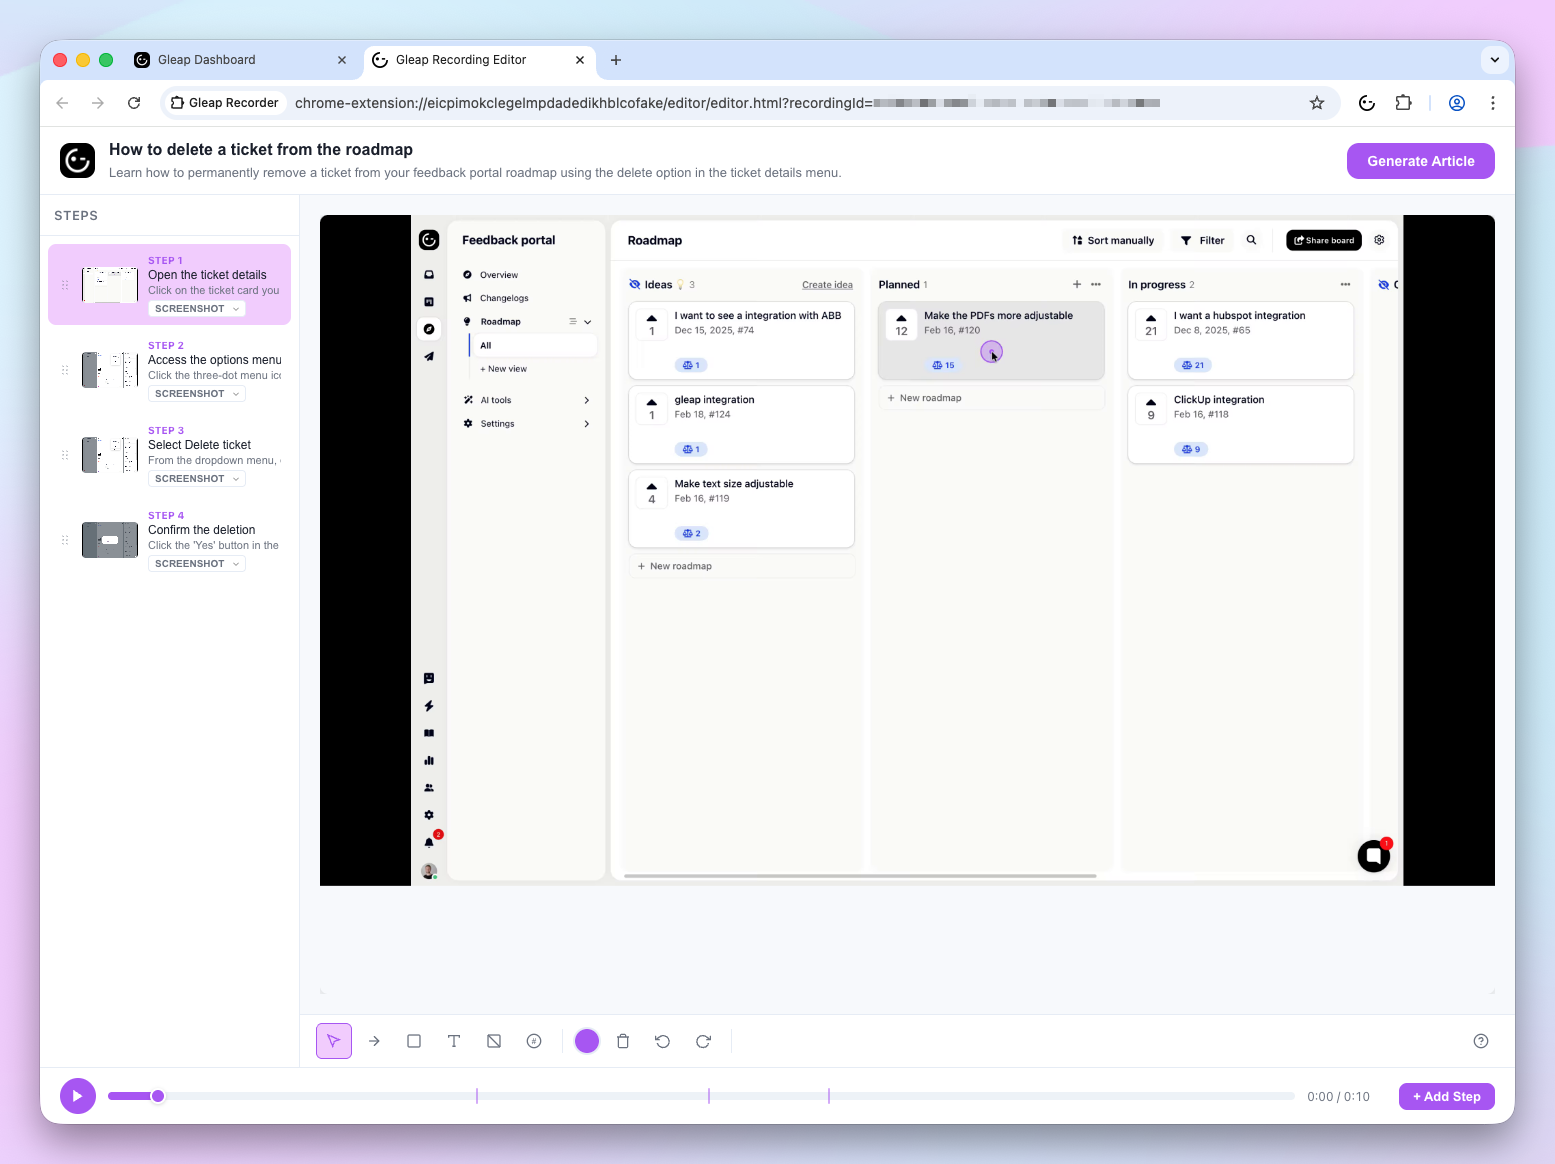
For each step, you can:
Edit the title and description inline
Switch between a Screenshot (static image) or GIF (short animation) for the step
Add annotations to highlight important areas
Changes are auto-saved every 30 seconds, so you won't lose your work.
Once you're happy with your steps:
Click Generate Article
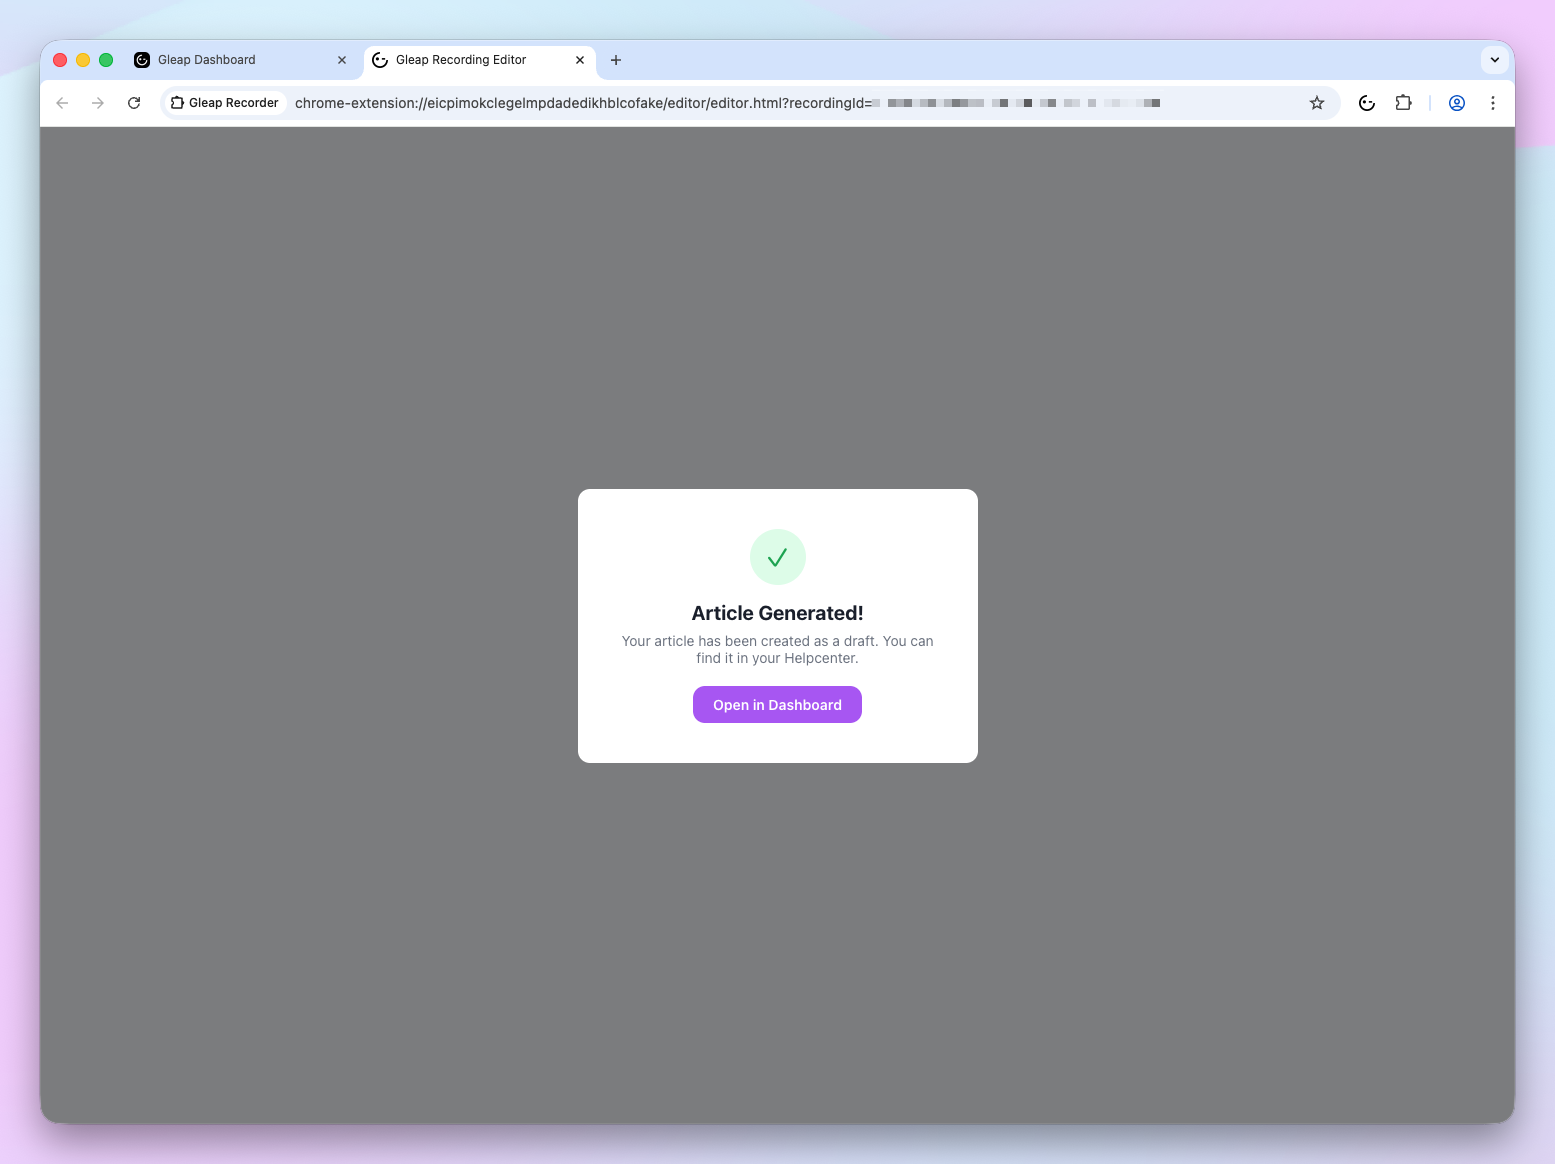
The AI creates a polished help center draft based on your edited steps, titles, descriptions, and annotations
Click Open in Dashboard to view the draft in your Gleap project
The generated article is saved as a draft in your Help Center. From there, you can make final edits and publish it when you're ready.
Chrome only — the plugin works exclusively in Chrome (version 116+)
Tab recording — only the active tab is captured, not your entire screen or other tabs
3-minute limit — break longer tasks into multiple recordings
Drafts, not live — generated articles are always saved as drafts, so nothing goes live without your review
Internet required — recording, uploading, and processing all require an active internet connection
Special pages — Chrome internal pages (like chrome://settings) cannot be recorded
Processing failures — if the AI analysis fails, the recording will show a "Failed" status. You'll need to create a new recording to try again