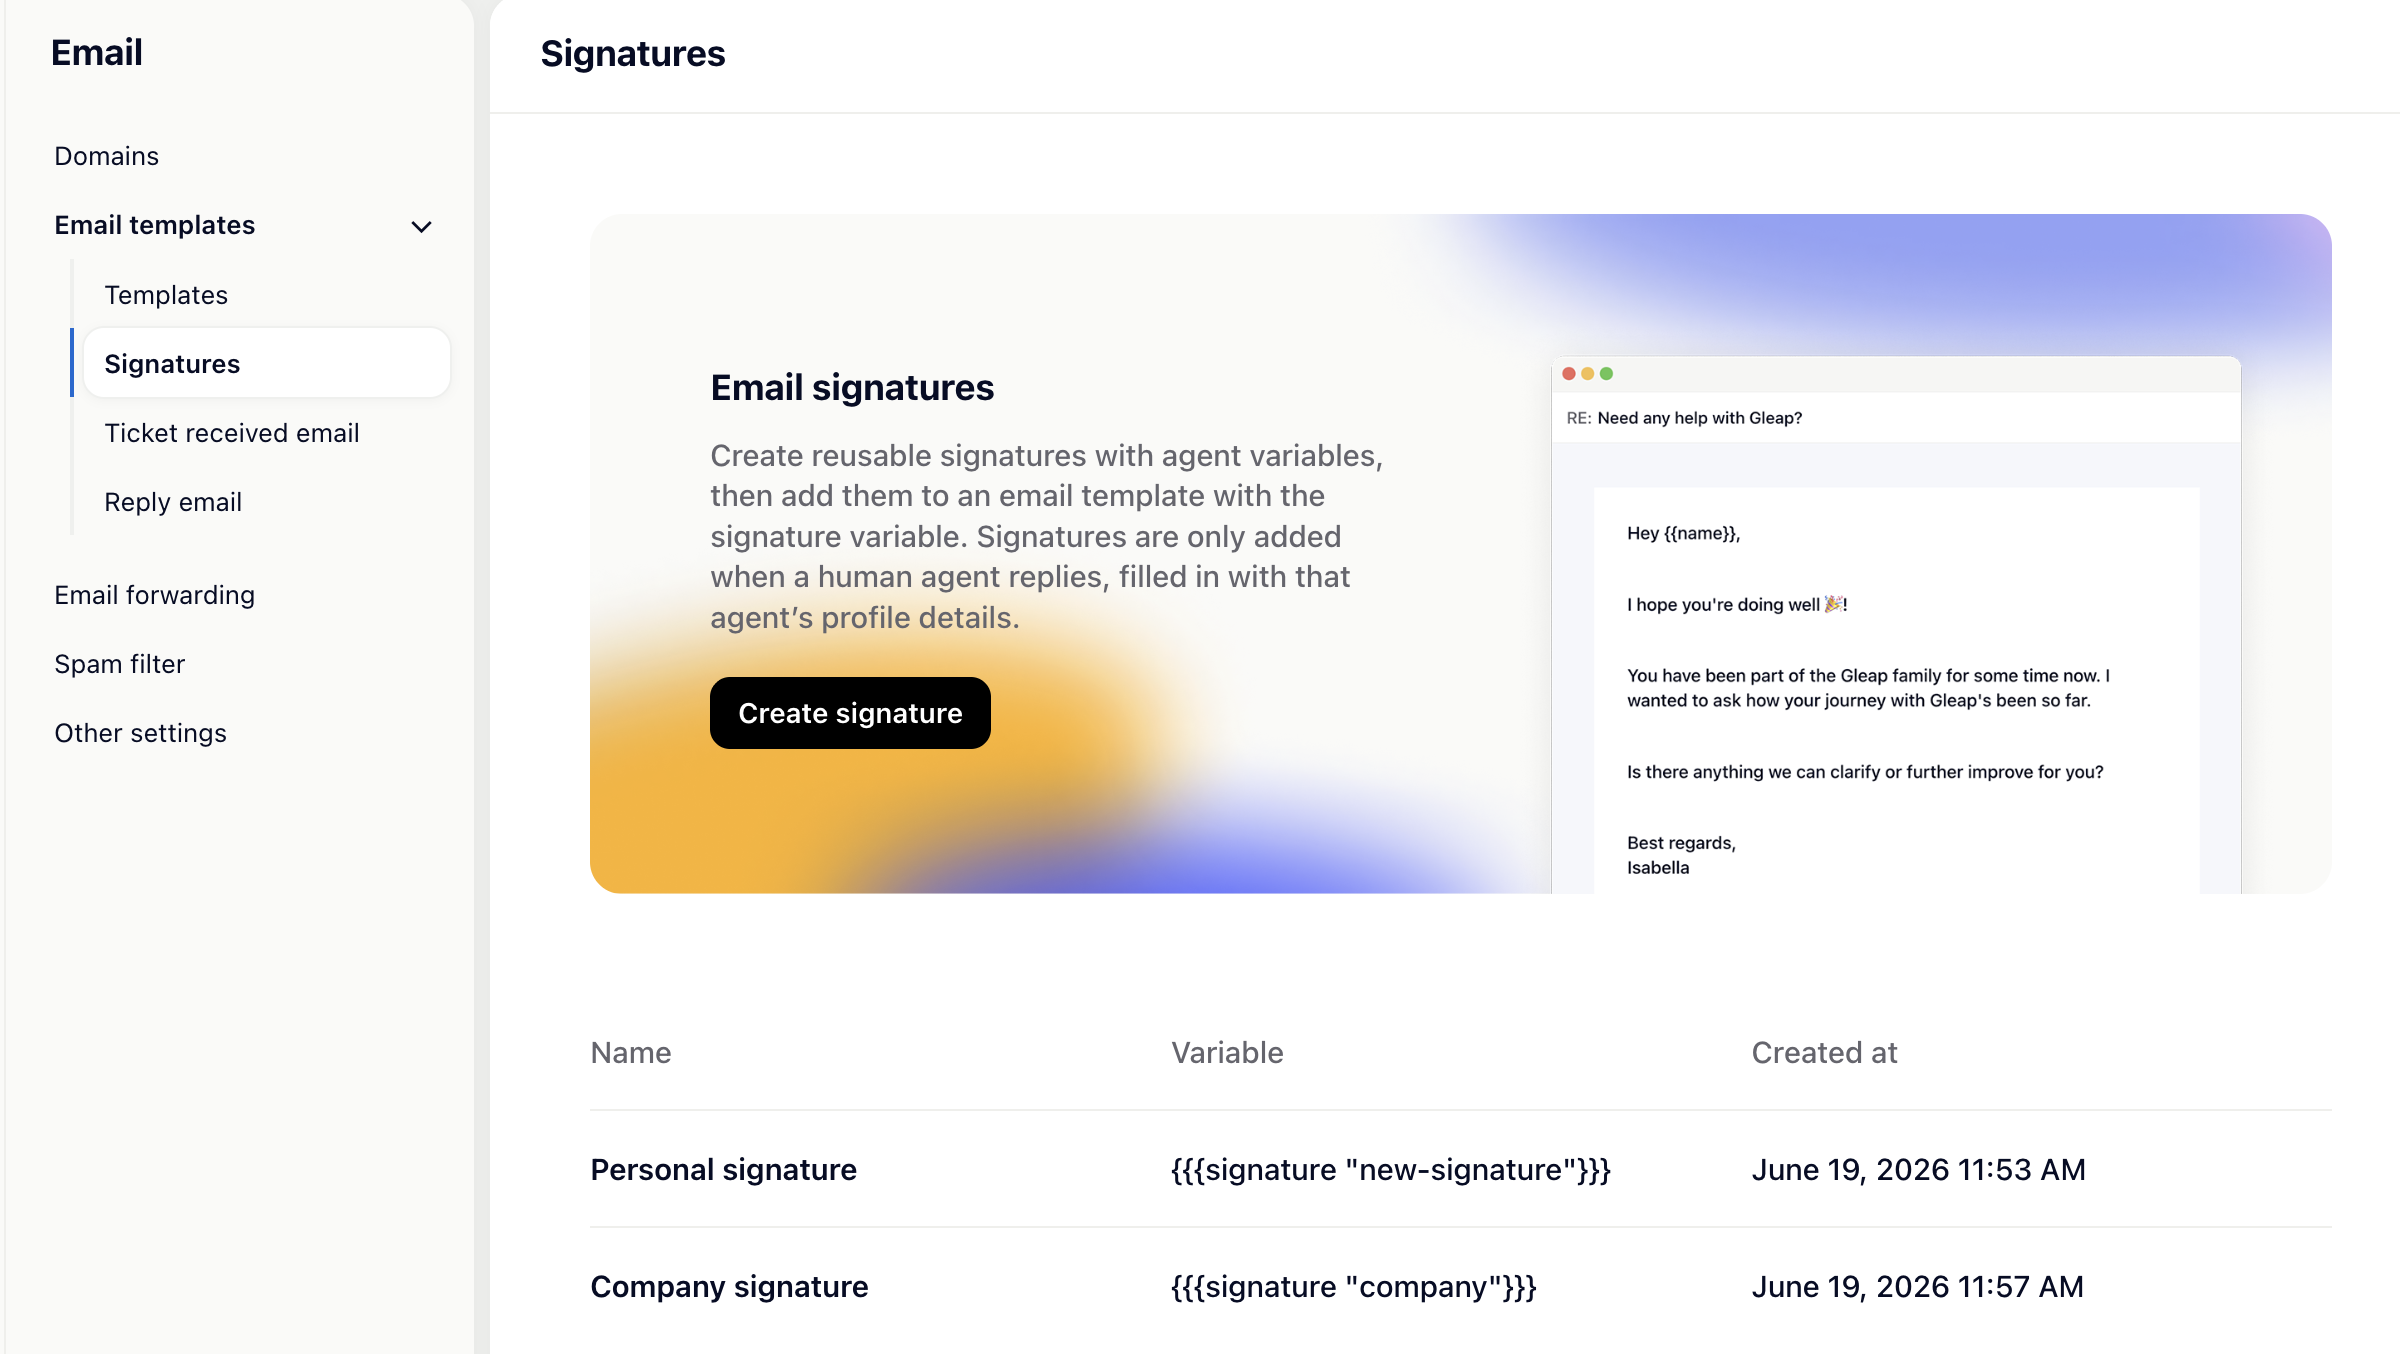
Email signatures add a personal sign-off to the emails your team sends from Gleap. Create a signature once, and Gleap fills it in automatically with the details of whichever agent is replying — name, role, photo, phone and more. Manage them under Settings → Email → Signatures.
Good to know: Signatures are only added to human agent replies — not replies sent by Kai or other AI bots.
There are two pieces: the signature (reusable content) and the email template (where it appears). A signature does nothing on its own — it only shows up once you add its variable to an email template. The personal details come from each agent’s own profile, so the same signature is correct no matter who replies.
Go to Settings → Email → Signatures and click Create signature.
Pick a starting point (Minimal, Classic, With links, Branded, or Start from scratch).
Name it, then edit the content. Use the Insert variable bar to add personalized fields like {{user.firstName}}, {{user.jobTitle}}, {{user.phone}} or {{companyLogo}} — the Live preview shows how it looks.
Click Save.
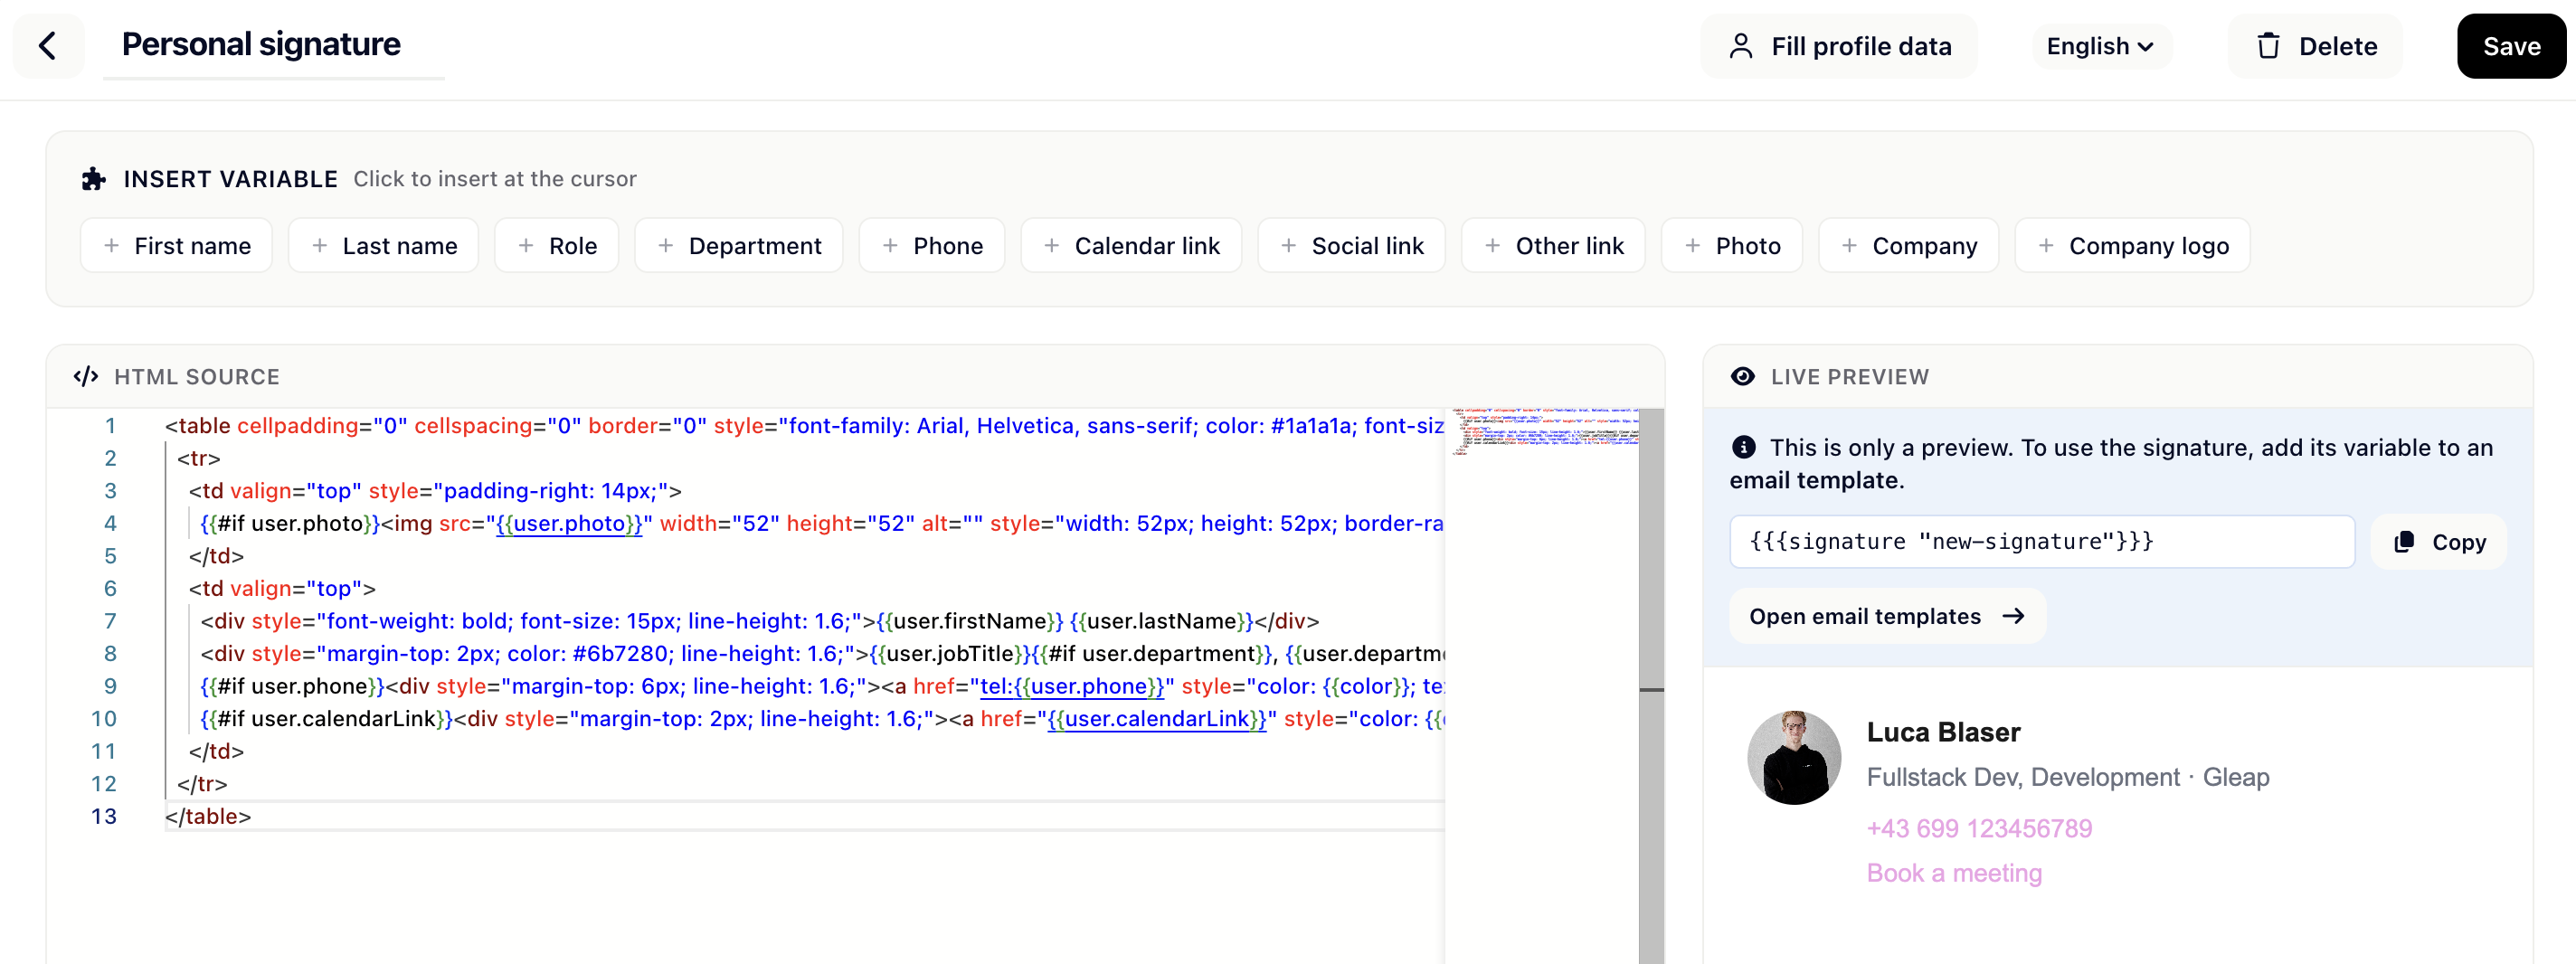
Saving generates a signature variable like {{{signature "support-signature"}}}.
Copy it from the signature editor (or click Open email templates).
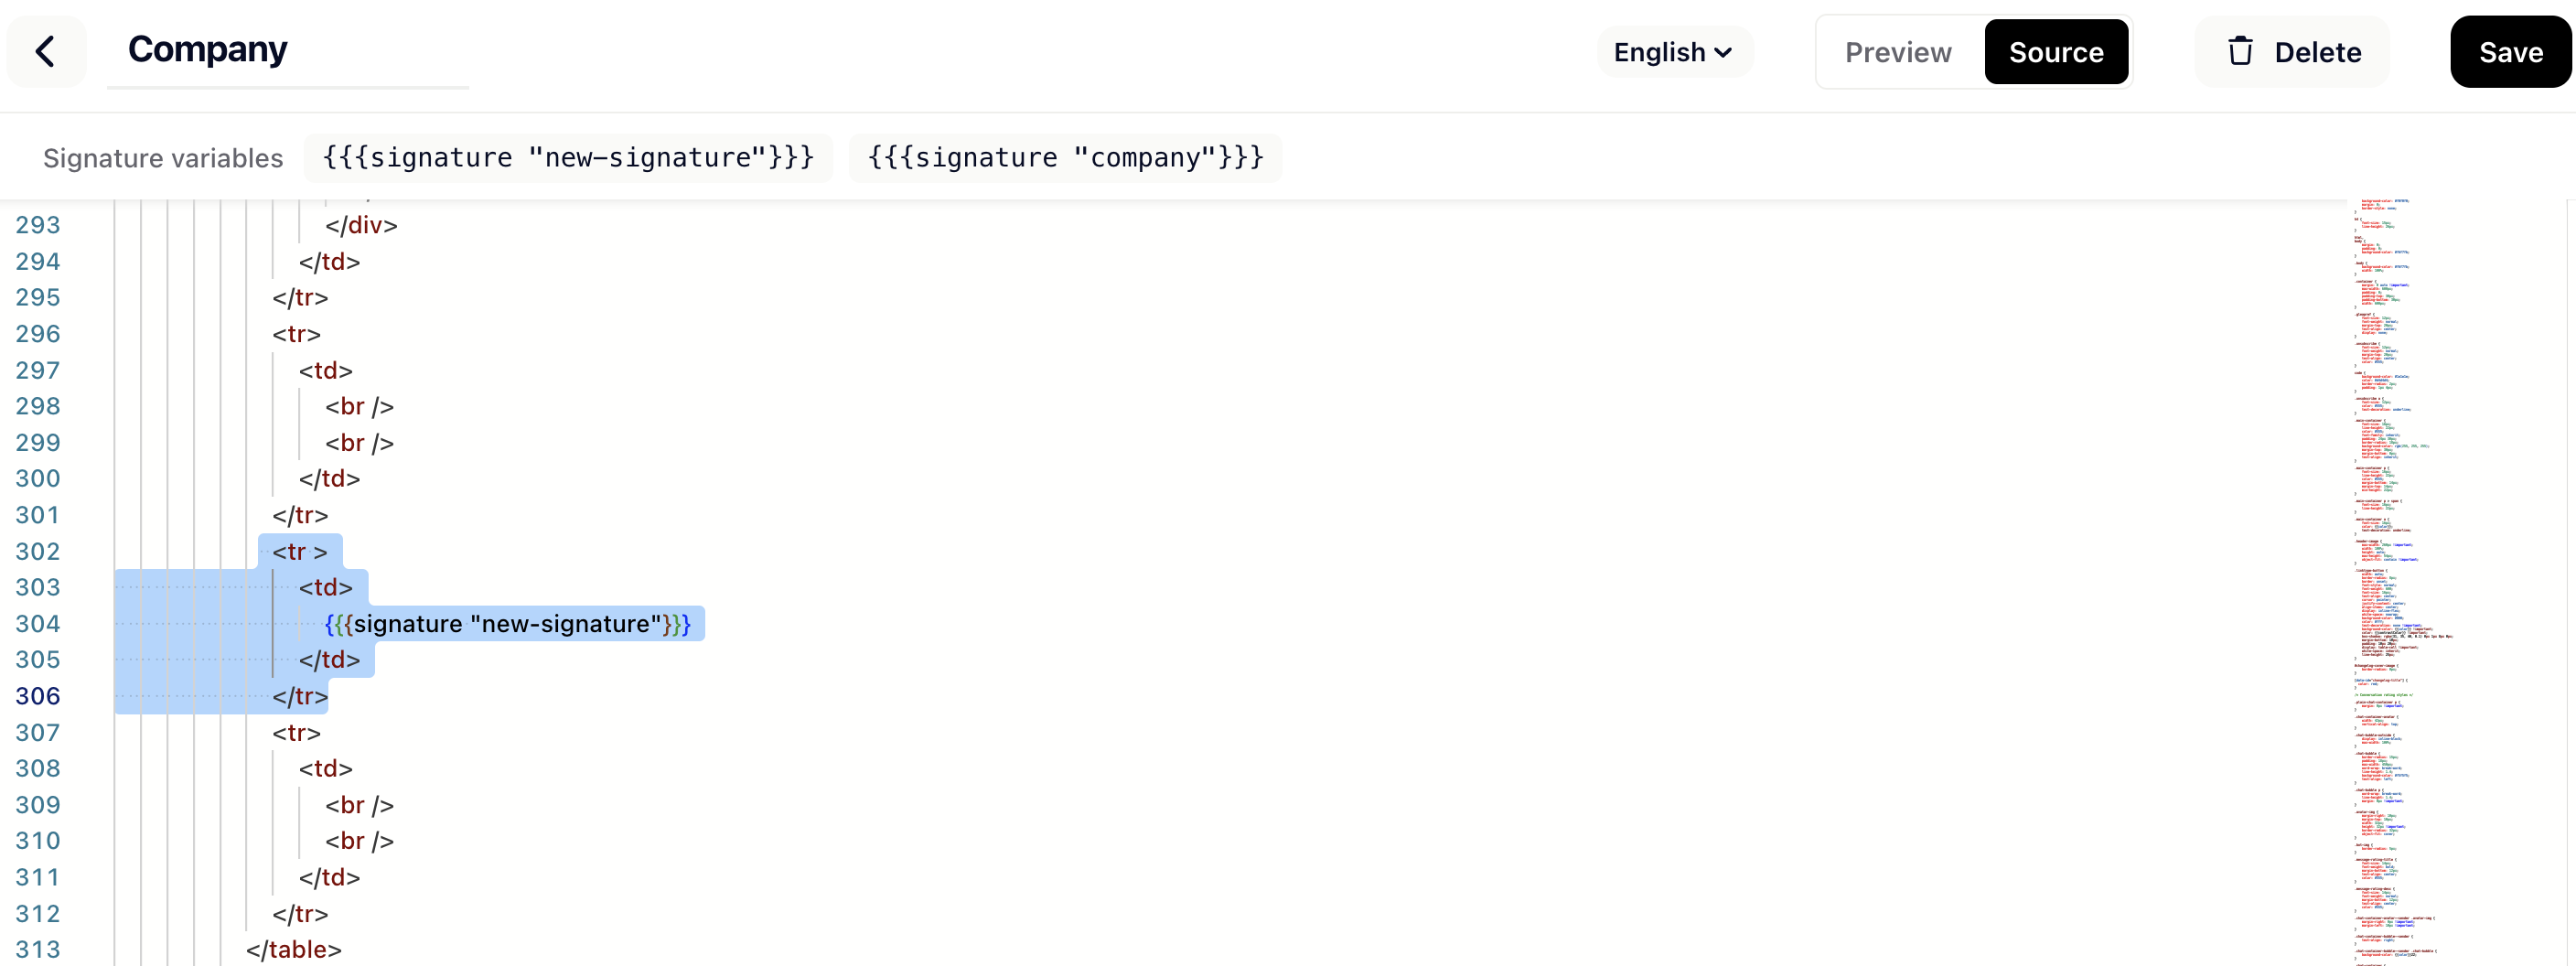
Go to Settings → Email → Email templates and open your reply template.
Paste the variable where the signature should appear, then Save.
You only do this once — every human reply through that template then includes the signature automatically.
Since signatures are personalized per agent, each team member should complete their own Profile fields: Role, Department, Phone, Calendar link, Social link, Other link and Photo. Empty fields are hidden neatly. You can jump there via Fill profile data in the signature editor.
Edit your profile data here: https://app.gleap.io/profile