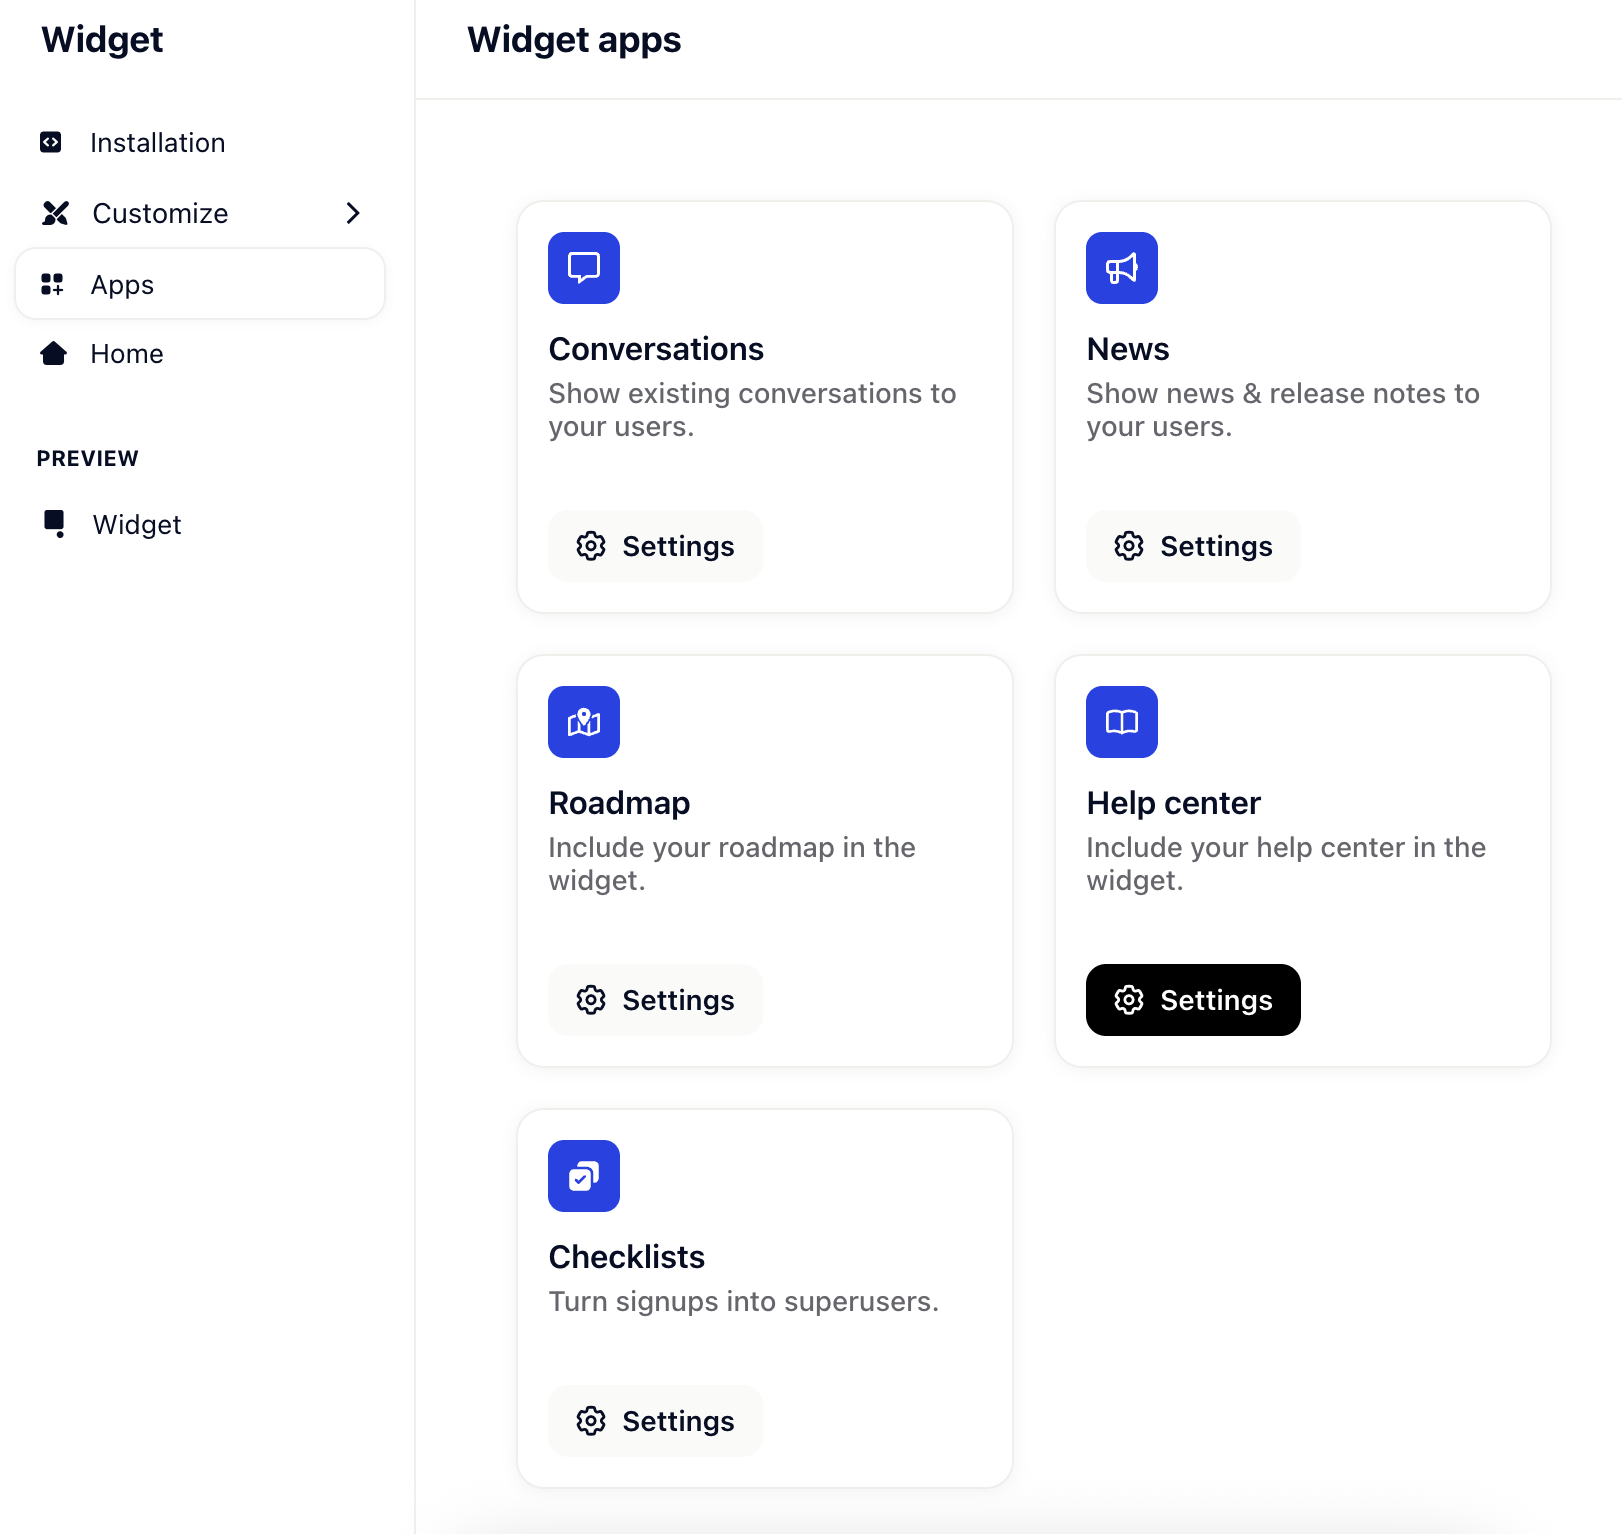
The first step to successfully setting up your own help center is creating a new collection. Hit the respective button and choose a language, an icon, title and a short description. This information will then be displayed accordingly in your knowledge base as seen on the screenshot below. If you’d like to - at some point - edit those settings, simply click on the collection and then hit the edit button. On a different note, besides having your own knowledge base page, you can also display your help center in your Gleap widget. To do so, simply check out the widget apps in the widget configurator.

 Note: In the set up screen you can only choose from the languages you’ve added in the knowledge base settings. For more on this topic follow this link.
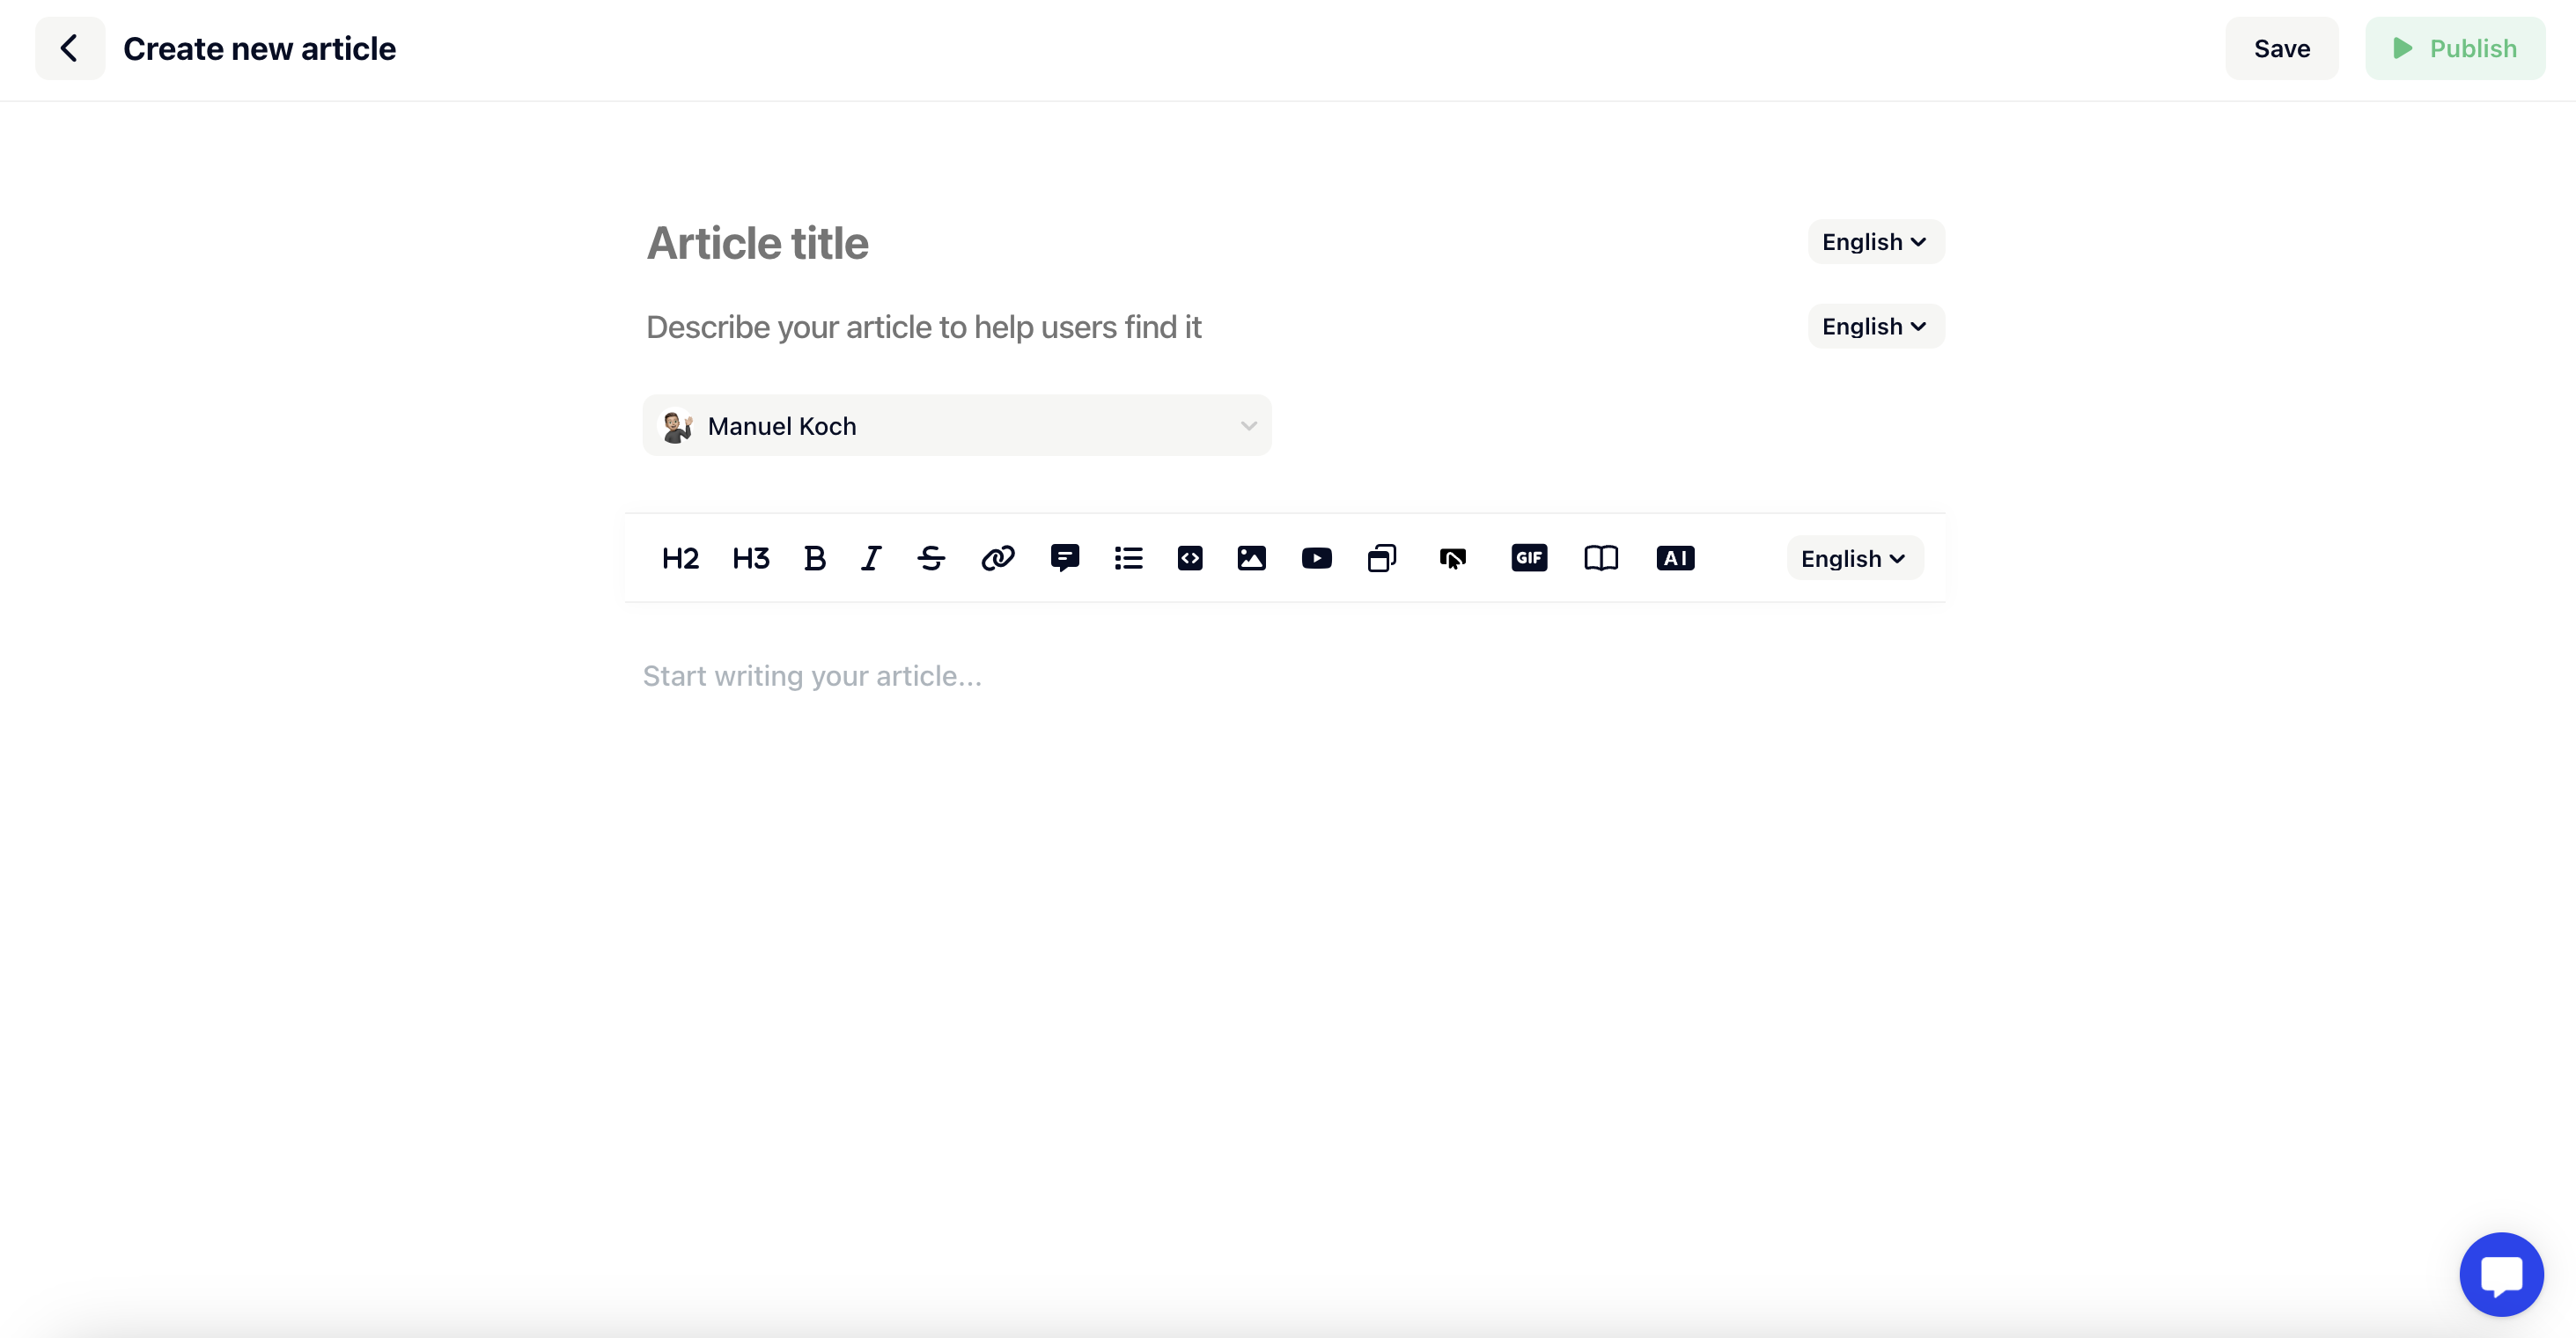
Once you hit save, you’re good to go. You can now start creating the articles that go with the collection. Doing so is pretty easy, add a new article and give it a title, description and text. With the toolbar on the bottom of the article page, you can set headlines, format texts and add images, links as well as iFrames or even embed code snippets.

Easily translate the articles using the drop downs to set a language. Again, you can only choose from the languages you’ve added in the knowledge base settings. Choose English to add your text in English, choose Spanish to add the Spanish translation, and so on - you know the deal.
That’s it. After hitting save, your article will be published to your knowledge base.