We're excited to introduce you to the newly enhanced Filter feature, your ticket organization's new best friend. This step-by-step guide will walk you through harnessing the full power of this tool, helping you streamline your ticket management effortlessly.
To get started, log in to your Gleap account and open the ticket management dashboard. You'll find the Filter feature prominently displayed at the top of the screen.
Click on the Filter icon to open the sorting options menu. You'll notice several sorting options, each designed to help you find and manage your tickets more effectively.
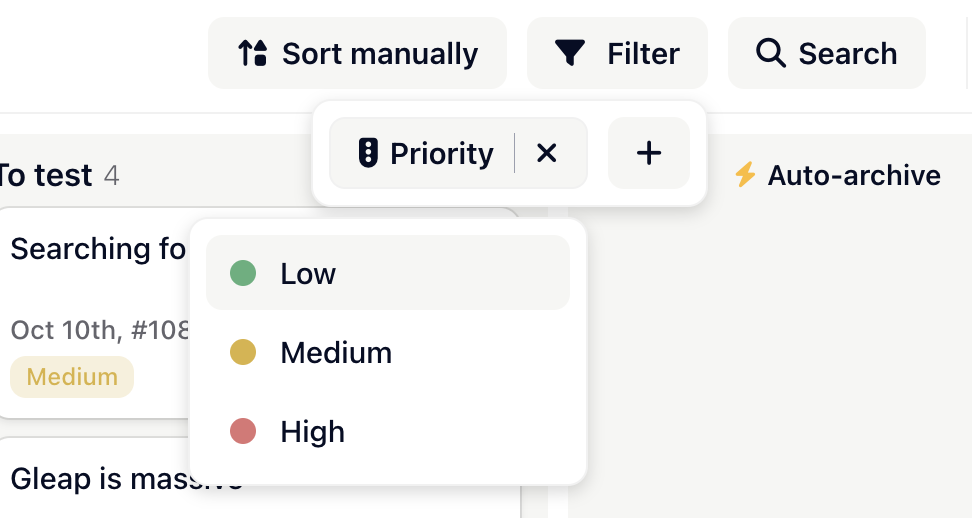
Filtering by priority helps you quickly pinpoint and address high-priority tickets, ensuring that critical issues are handled promptly.
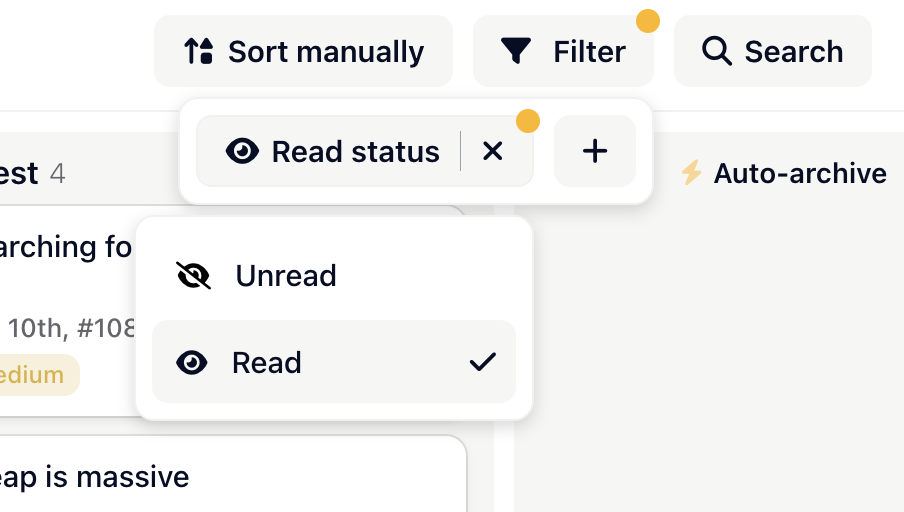
Easily identify unread tickets by selecting this option. Unread tickets will be highlighted, allowing you to prioritize them.
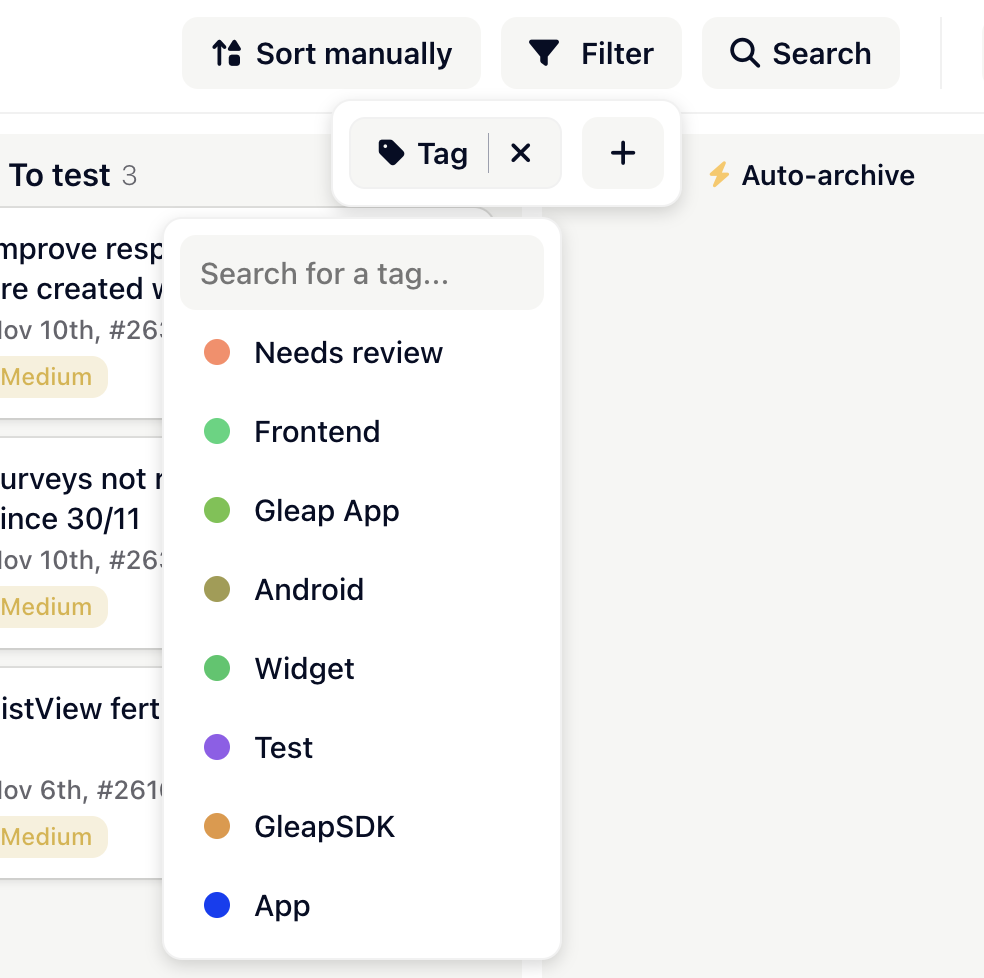
Organize and access tickets efficiently by filtering them based on custom tags, streamlining your workflow.
Easily view tickets assigned to specific team members, simplifying task delegation and collaboration.

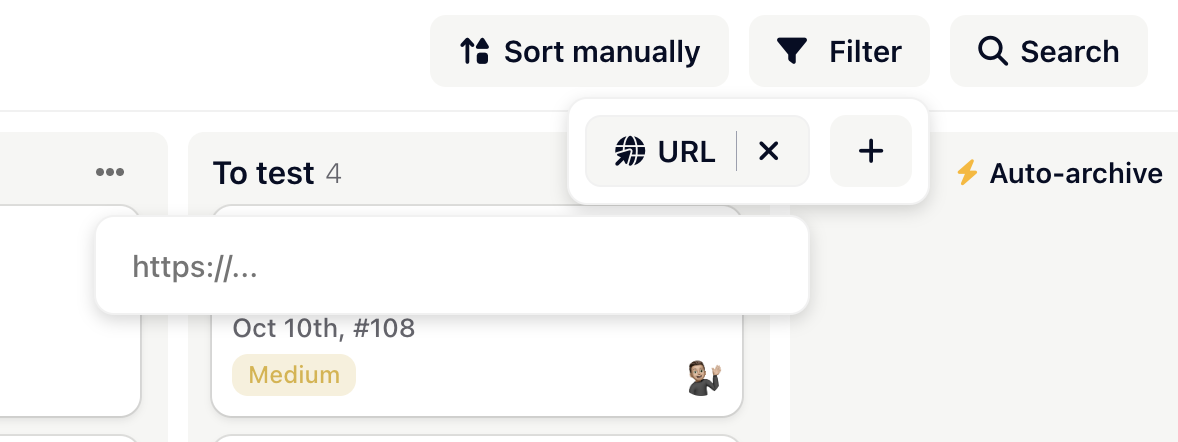
Quickly locate tickets associated with specific links or URLs. Perfect for managing references and external resources.
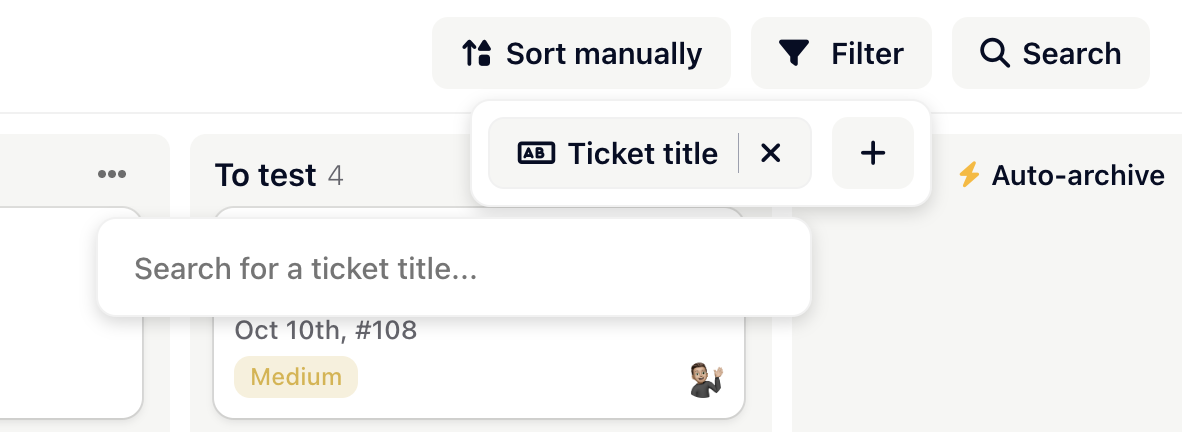
Looking for a specific ticket? Sorting by title makes it a breeze to find the ticket you need.
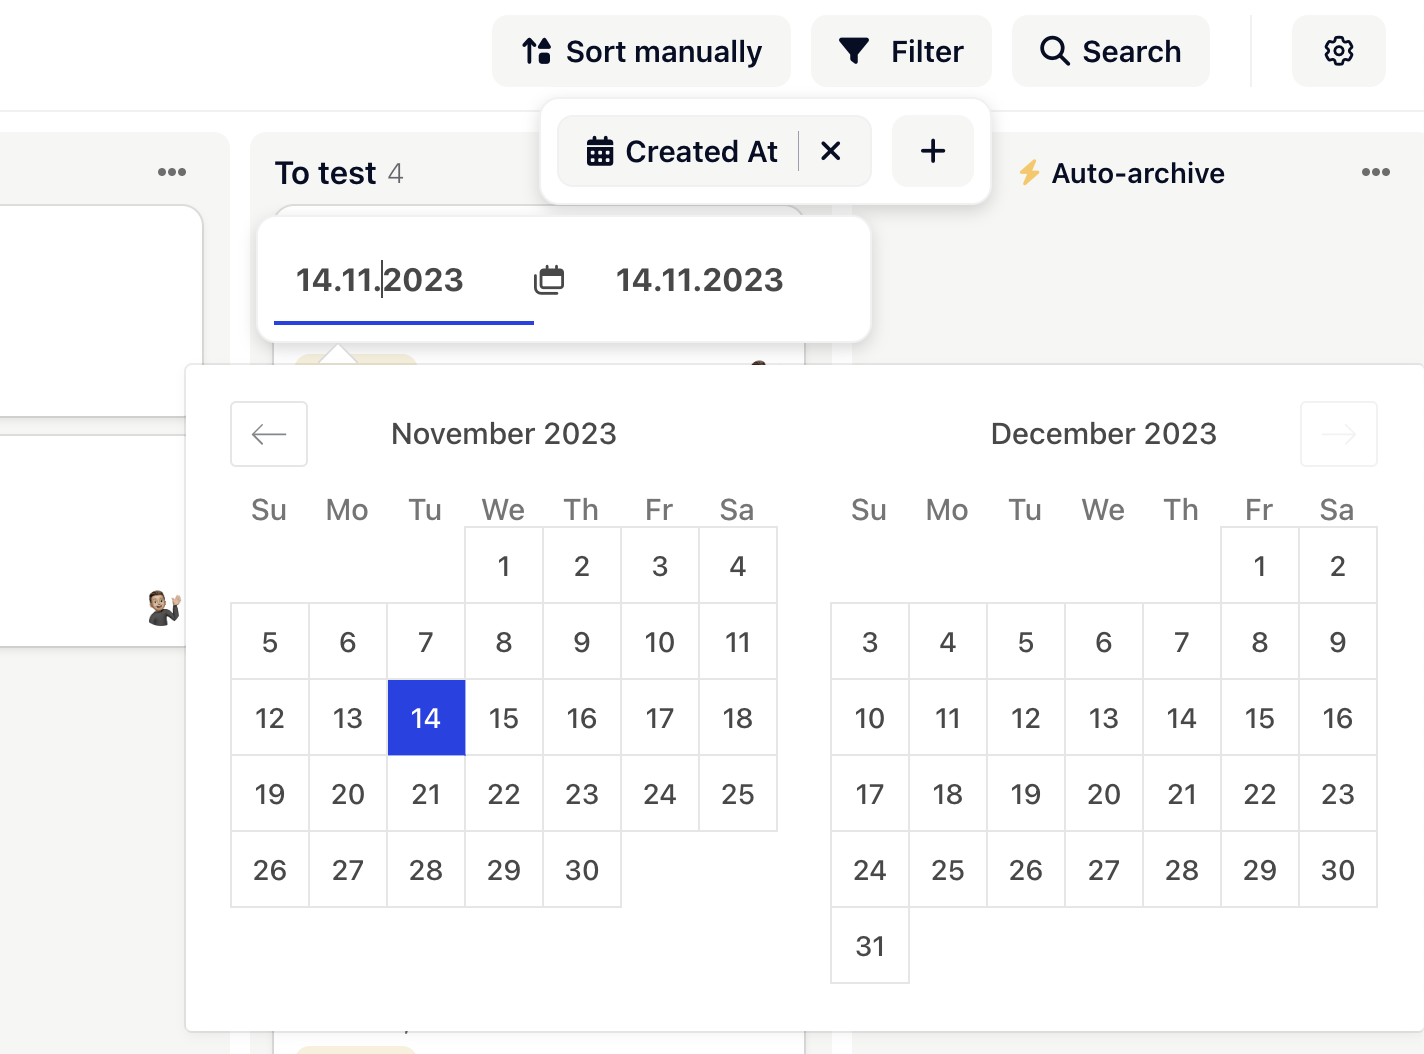
Click on this option to arrange your tickets based on their creation dates. This is particularly useful for tracking timelines and deadlines.
Once you've chosen a sorting option, the filter is applied automatically, and your ticket list instantly rearranges according to your selection. You can mix and match filters to refine your search further, and they are also multi-selectable.
To remove a filter and return to the default view, simply click on the "X" button. This is especially handy when you want to start fresh or explore other sorting options.