
Co-browse tours are a whole new way to help your customers. Whether it’s exploring features, finding settings, or learning how to use your app, co-browse tours make it effortless—no long instructions required. Just create a tour, share it when needed, and let it do the rest.
And with Kai, our AI chatbot, co-browse tours go even further. Kai can suggest tours automatically, resolving questions faster and more efficiently.
It’s simple. It’s intuitive. It’s like showing your customers exactly what to do, right when they need it. With the added option of an AI voiceover, it’s even more accessible.
This isn’t just better customer support—it’s the future of customer support. It’s the kind of experience customers actually love.
To get started, open your Gleap Dashboard and navigate to Outbound → Co-browse Tours. From there, create a new co-browse tour.
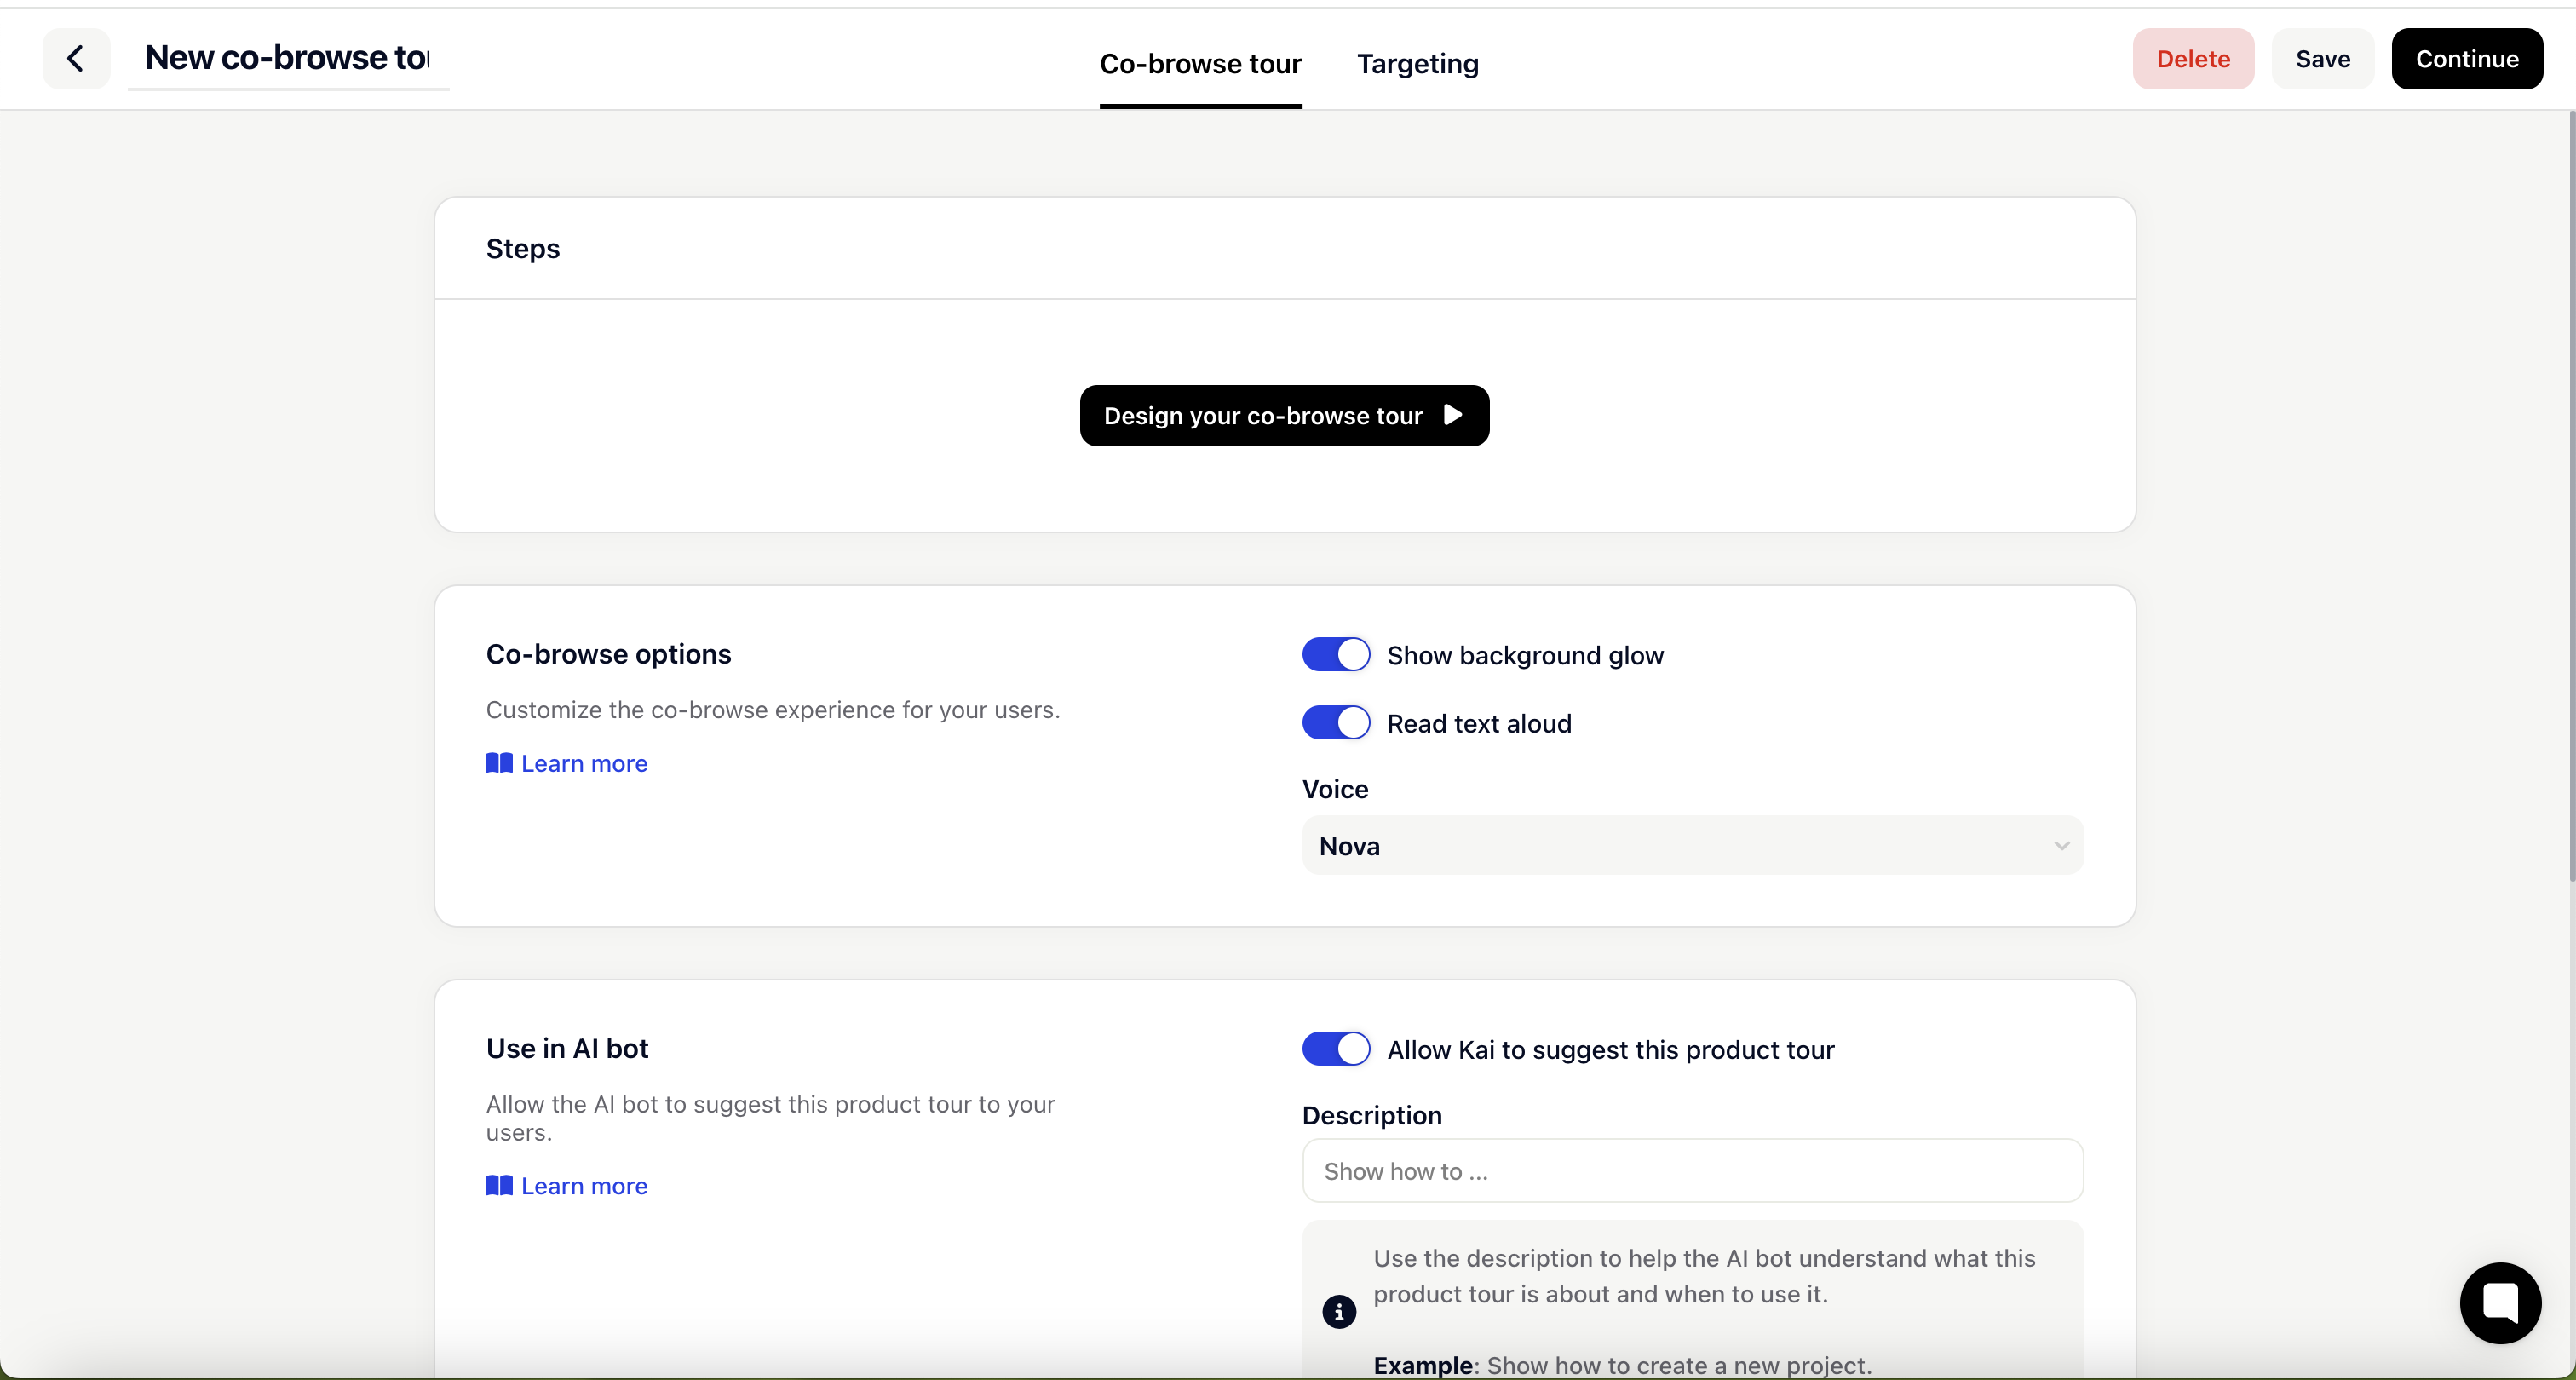
Begin by setting up the steps for your tour. Click Design your Co-browse Tour and specify your start page—this will be the starting point for your co-browse tour.
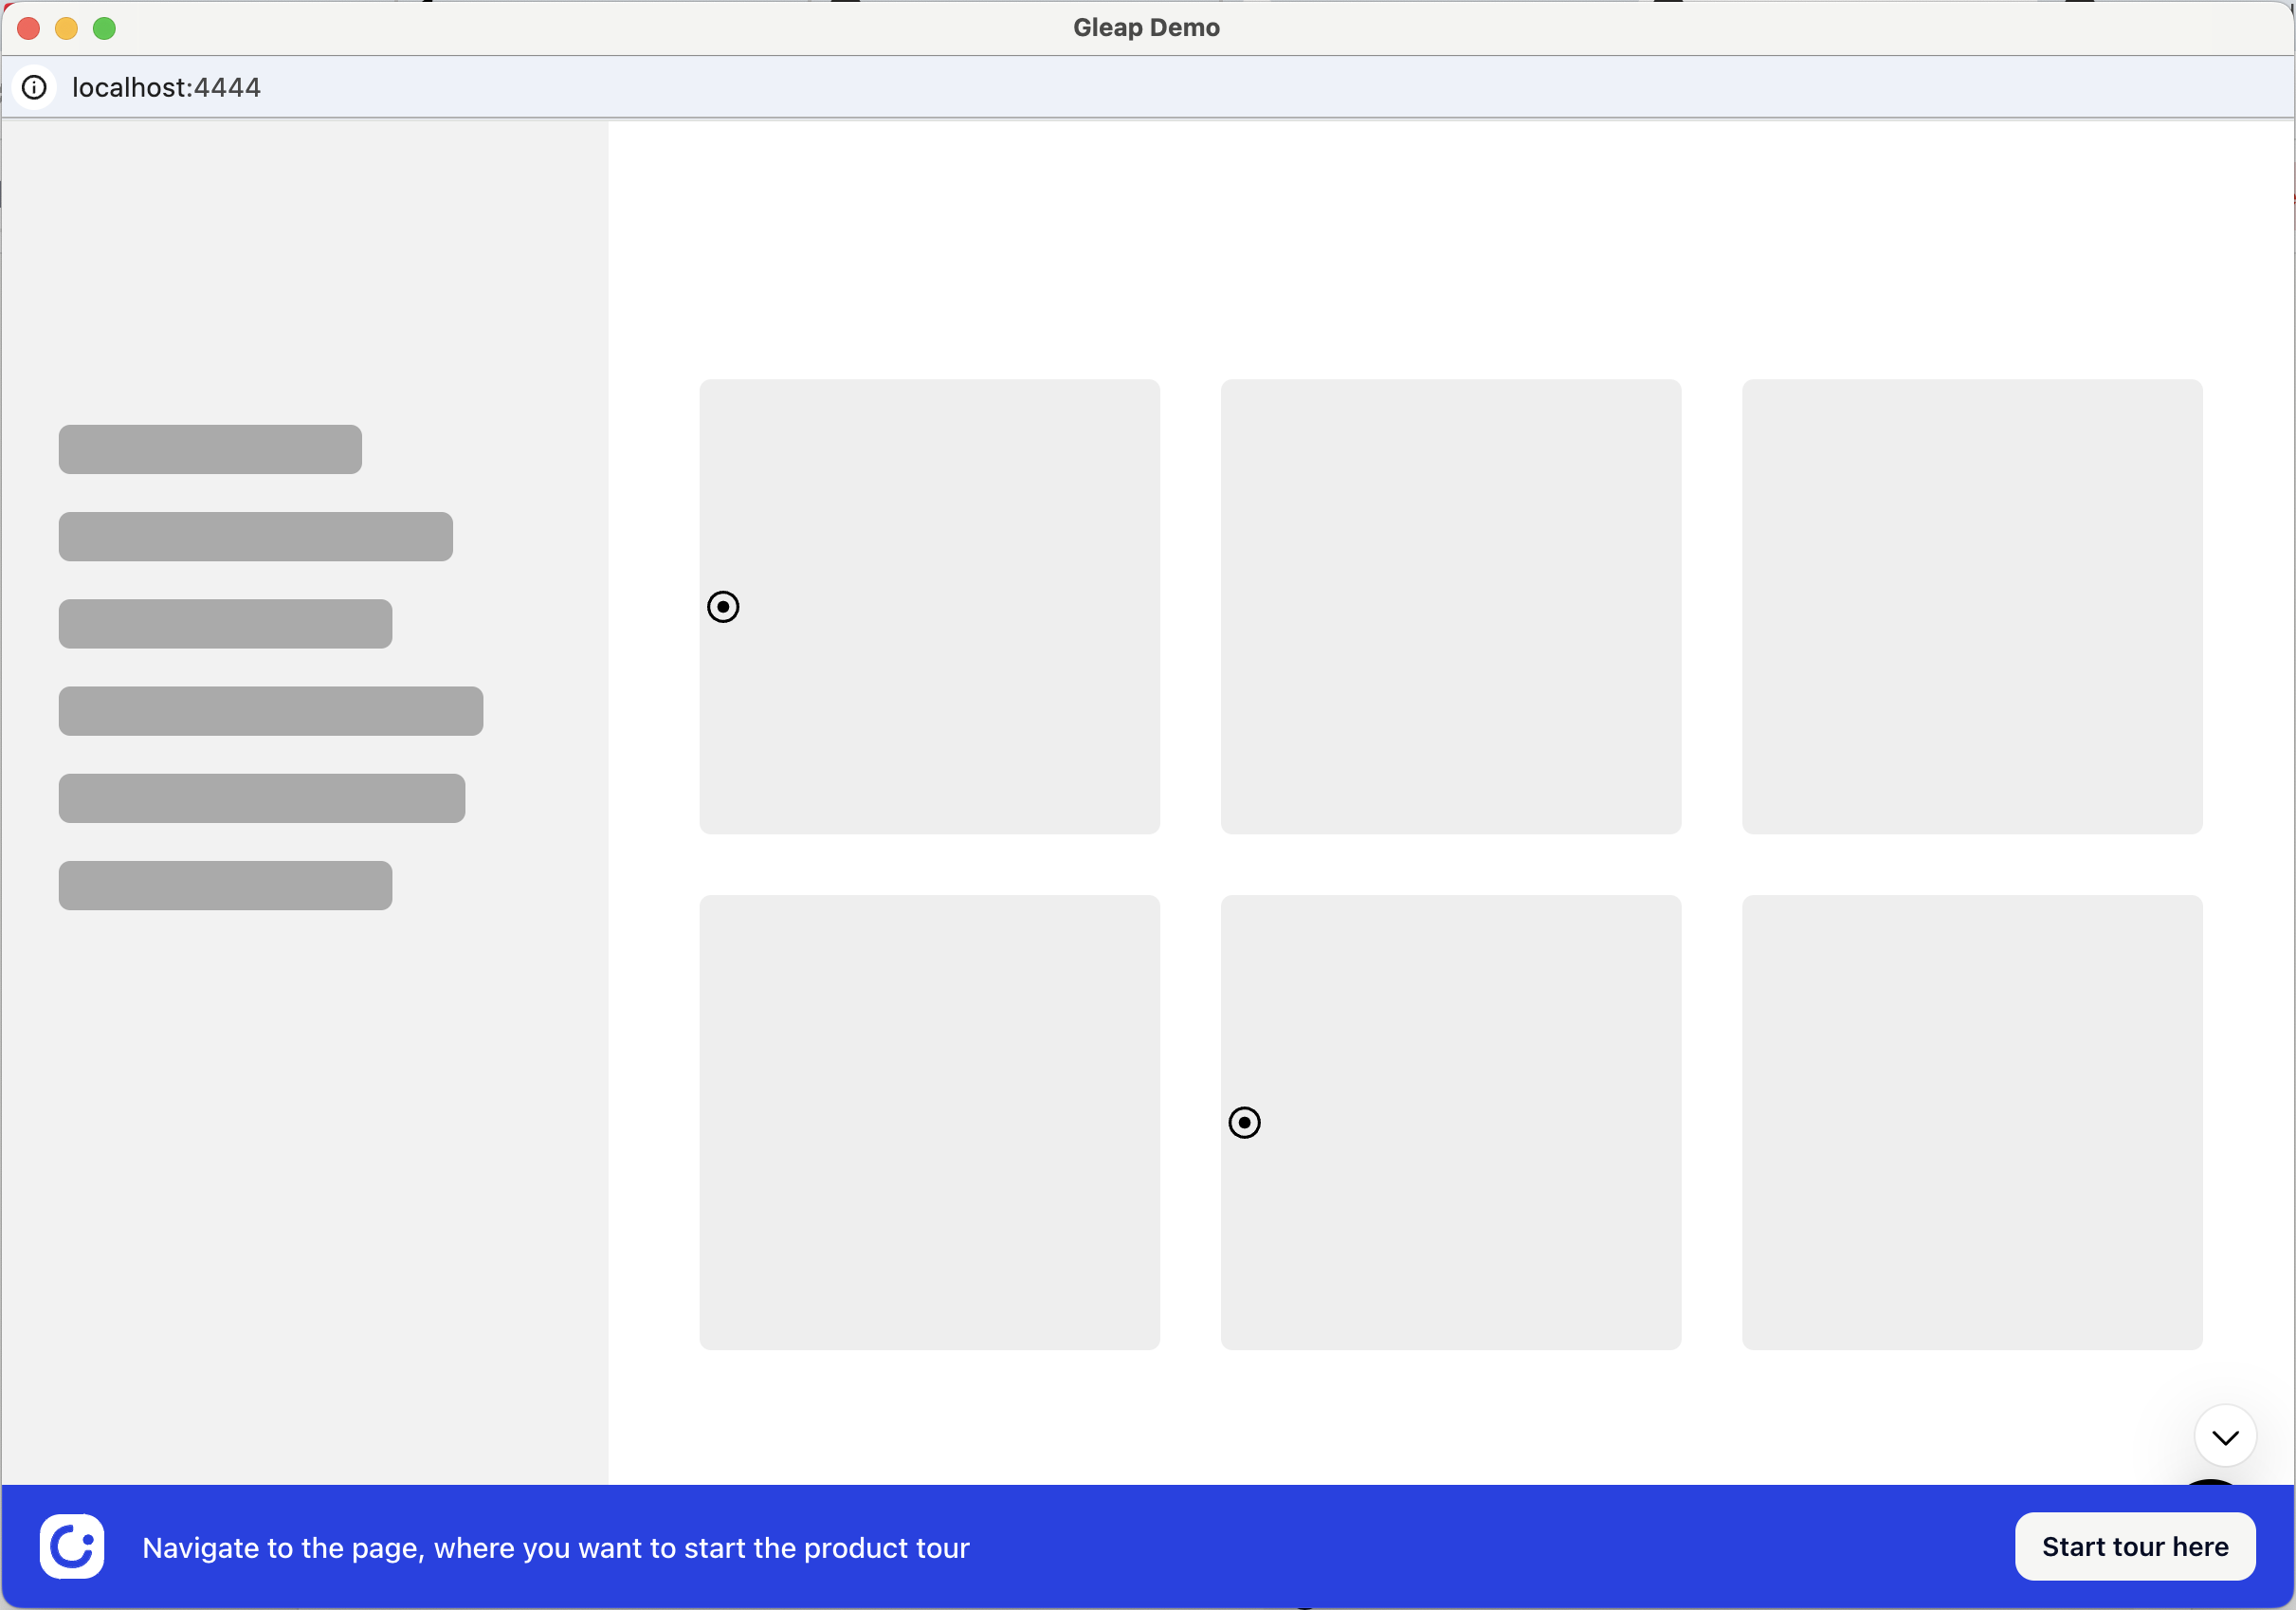
After entering your start page, navigate to the page where you want to start the tour. When you are there, click on Start tour here to start designing your tour.
Now it’s time to add some steps to your tour. Co-browse tours allow the following step types:
Centered message: This step has no anchor and will show in center
Pointer: This step is linked to an anchor and can also perform a click event
For our tour we want to add a new centered message first to welcome the user and then add a pointer to perform a click on the navigation par. This allows us to navigate around within the tour. You can create tours through multiple pages, allowing you to really show a customer how to navigate through your app.
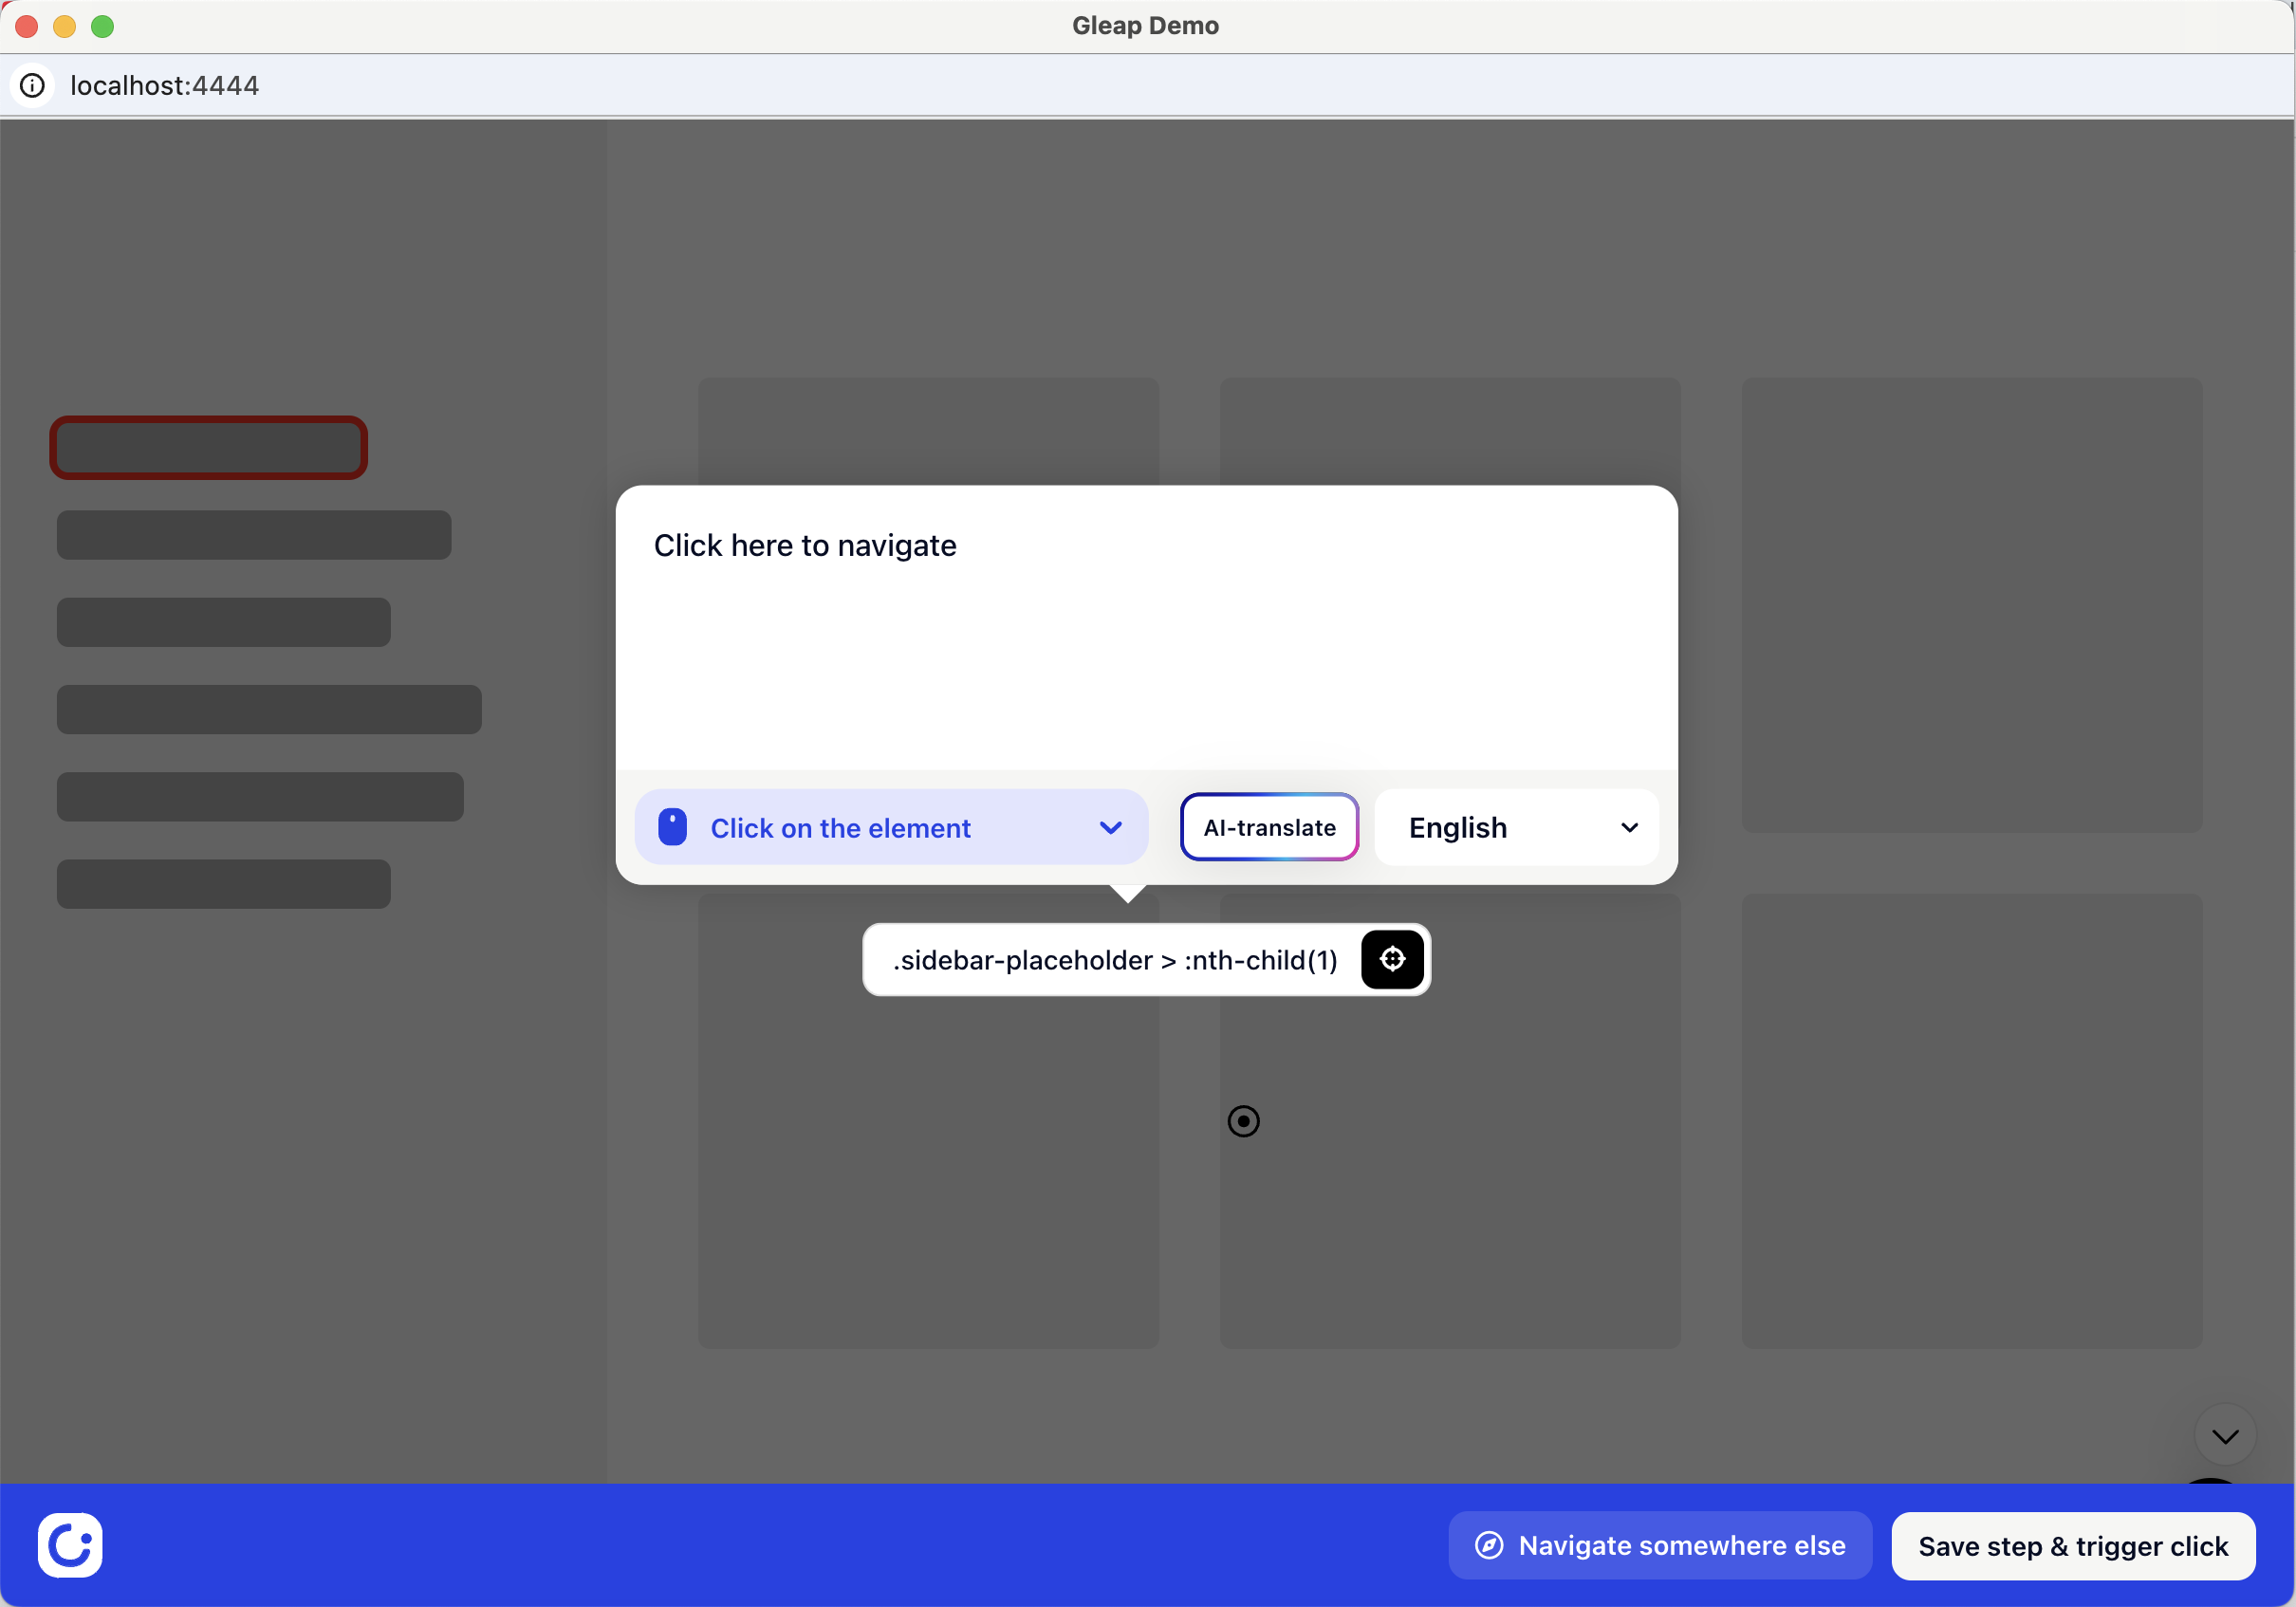
As you can see in the image above, we selected Click on the element as type. This will click the element to proceed. For the demo to proceed, click on Save step & trigger click.
After this, Gleap performs a click on the element, which will navigate to the next page. It’s now time to add more messages to the second page.
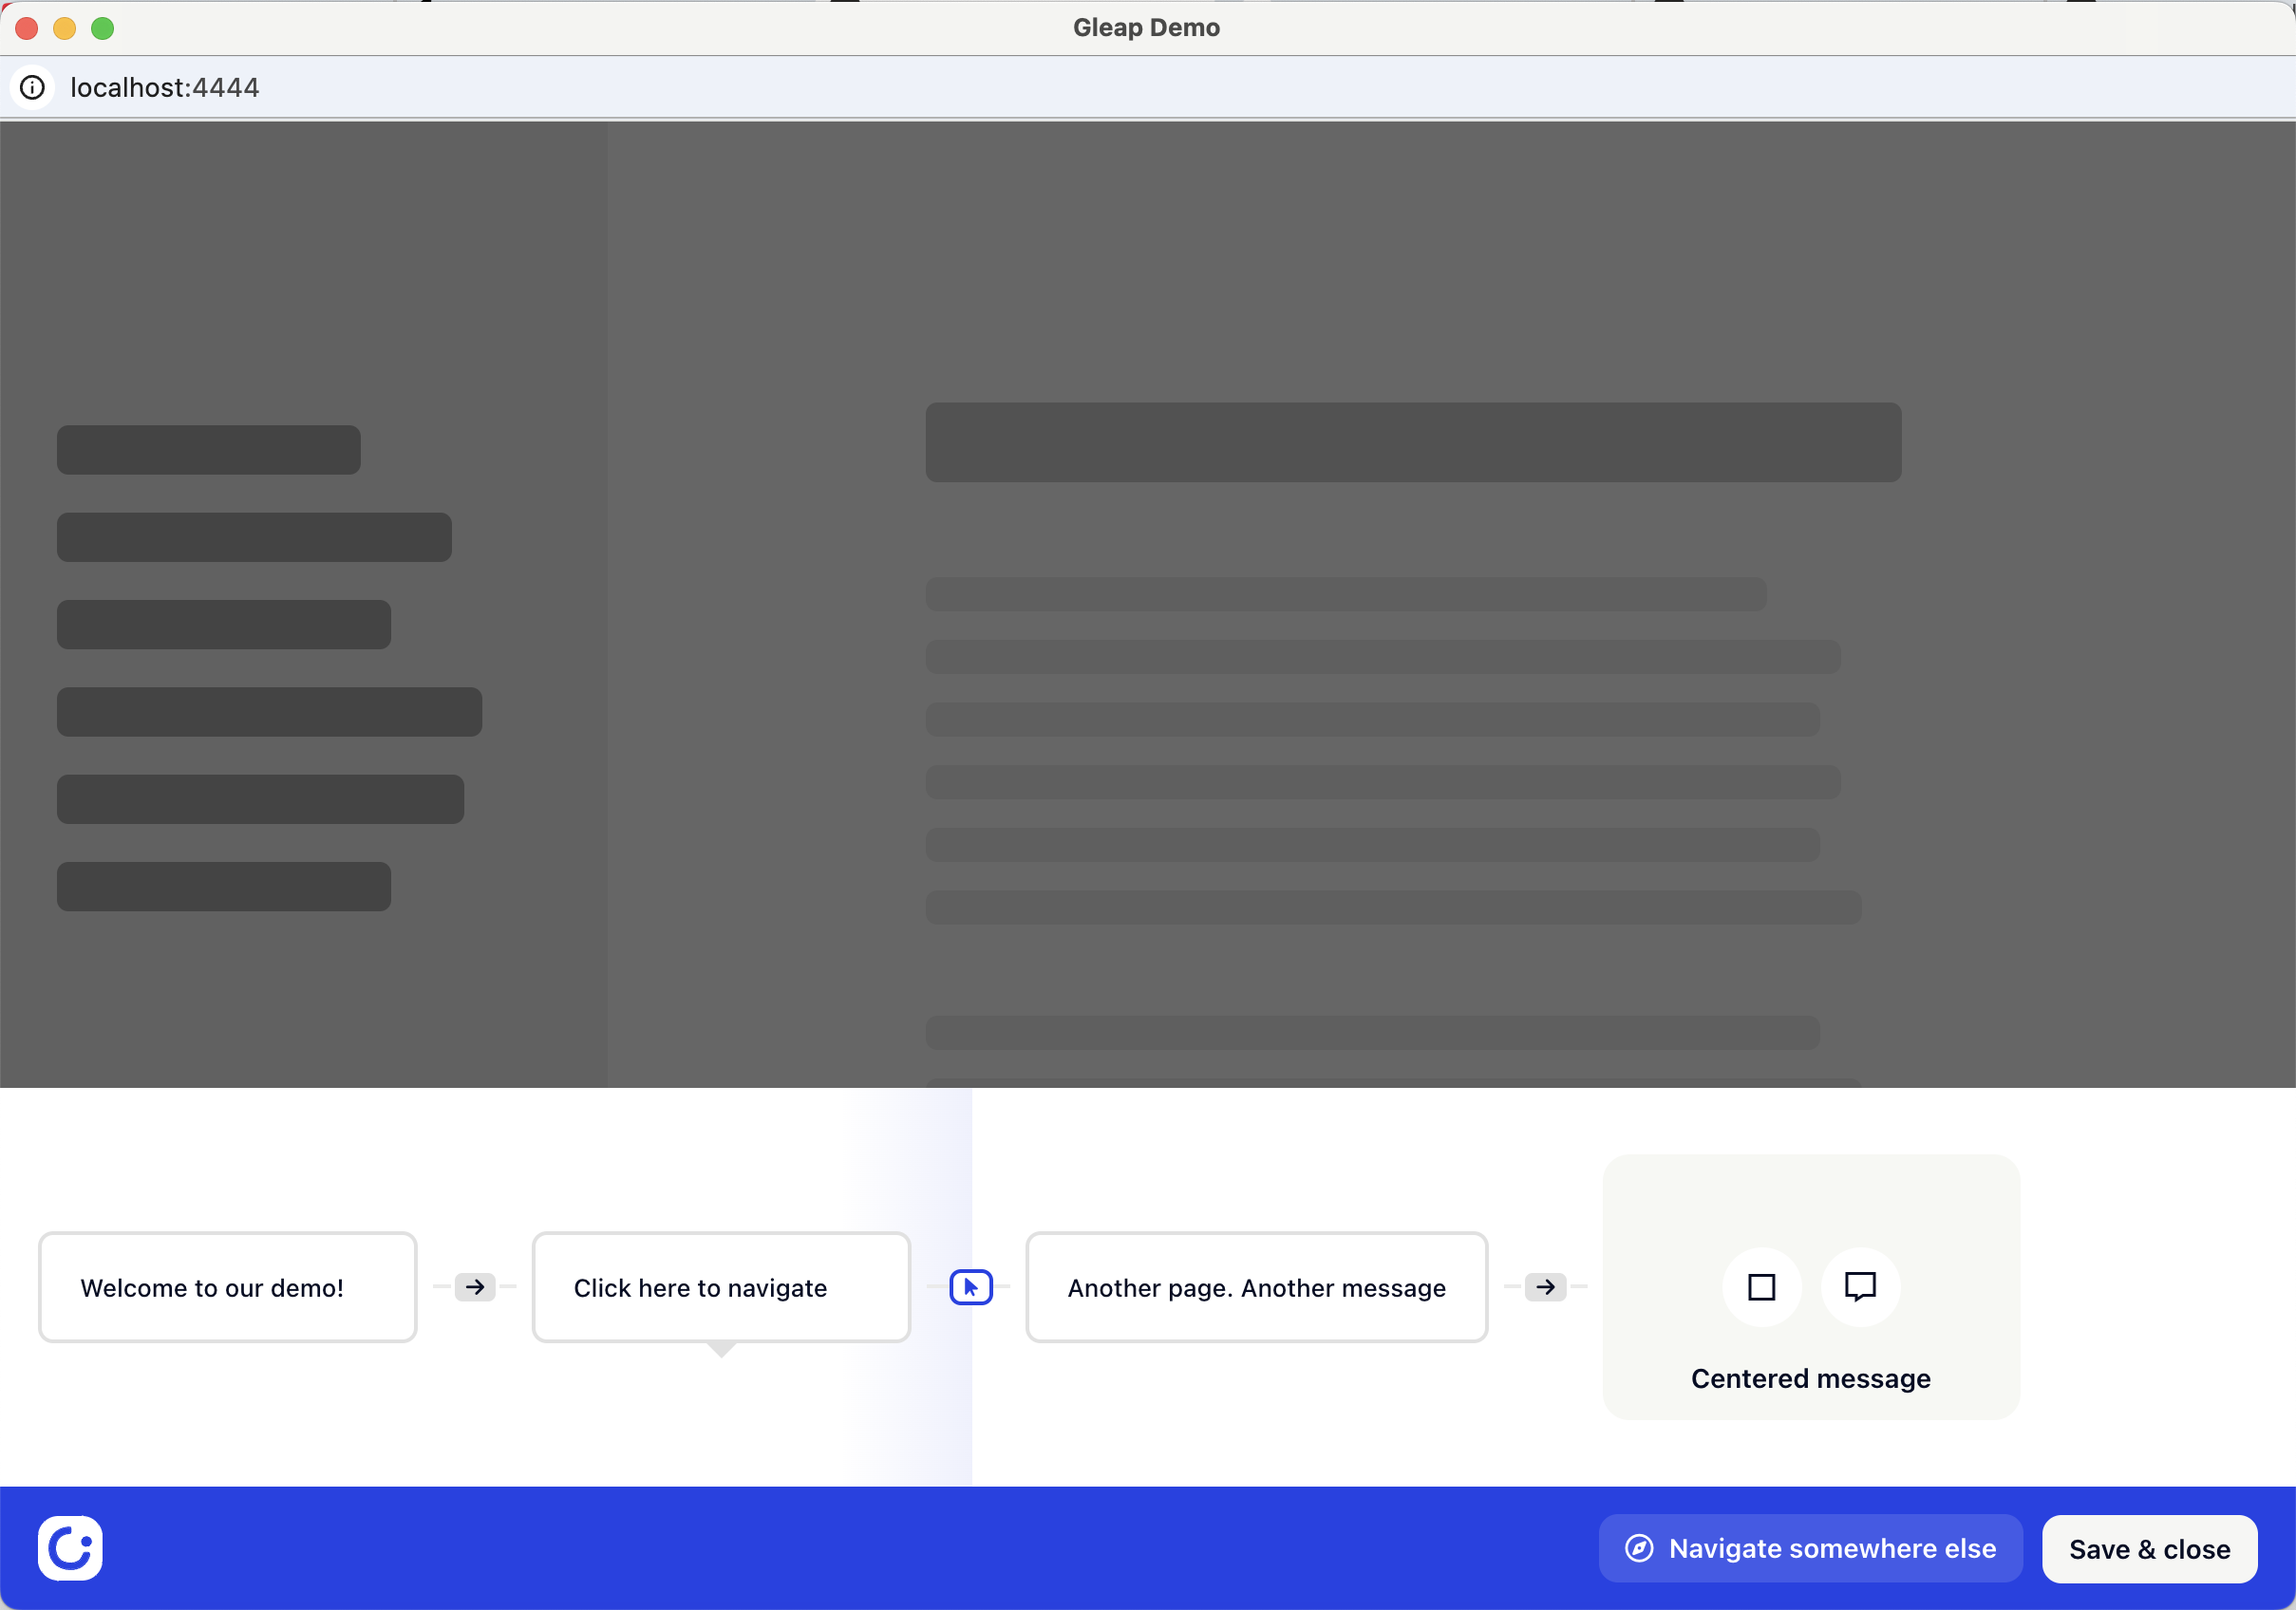
That’s it! Hit Save & close to save the tour.
In order to allow the AI bot to suggest this co-browse tour to your users, enable the Allow Kai to suggest this product tour option and add a description of your tour.
Learn more on meaningful description below:
Allow the AI to suggest product tours
Learn how to configure product tours to be used with the AI chatbot.
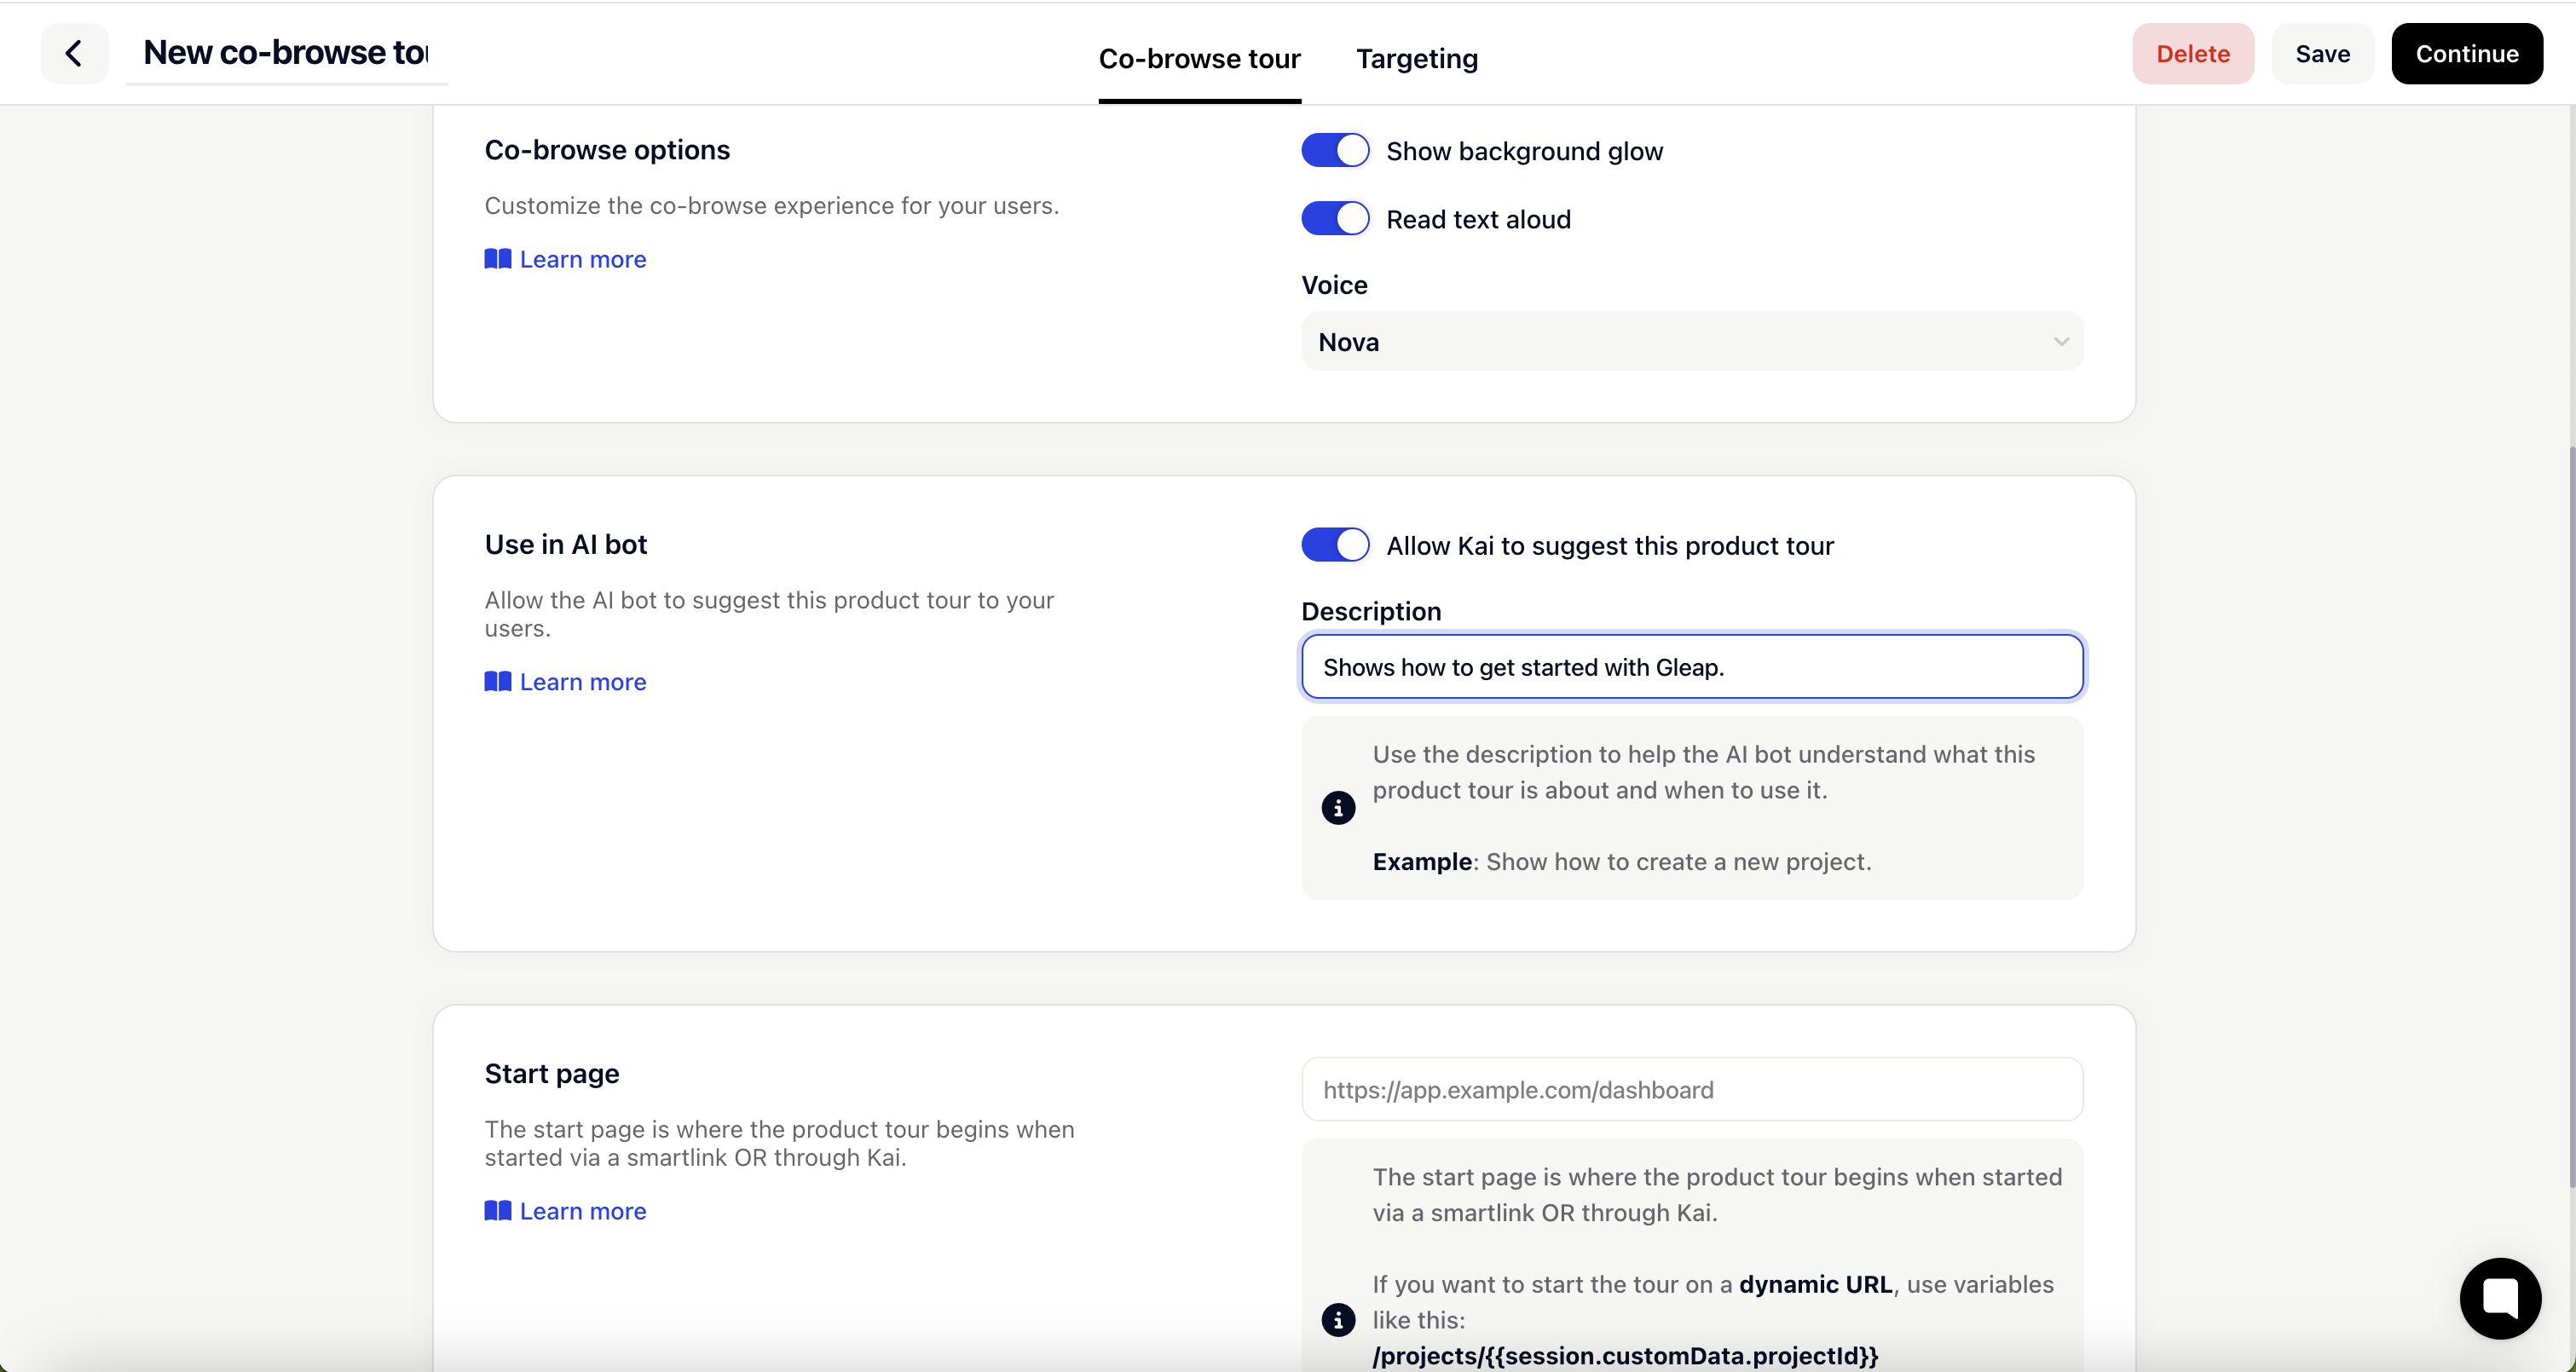
The start page is the initial page where the product tour begins. You can configure this page to provide users with a seamless experience, whether they access the tour through a Smartlink or Gleap's AI bot, Kai.
Learn more on how to set a start page below:
Start page
This article helps you set your start page.